The Artisan Key Ring Lighters are perfect for everyday carry. They accept standard lighter fluid and feature replaceable flint so they’ll last for a very long time. The lighters fit easily into your pocket, and you can turn two kits out of most pen blanks.
Preparing the Blank
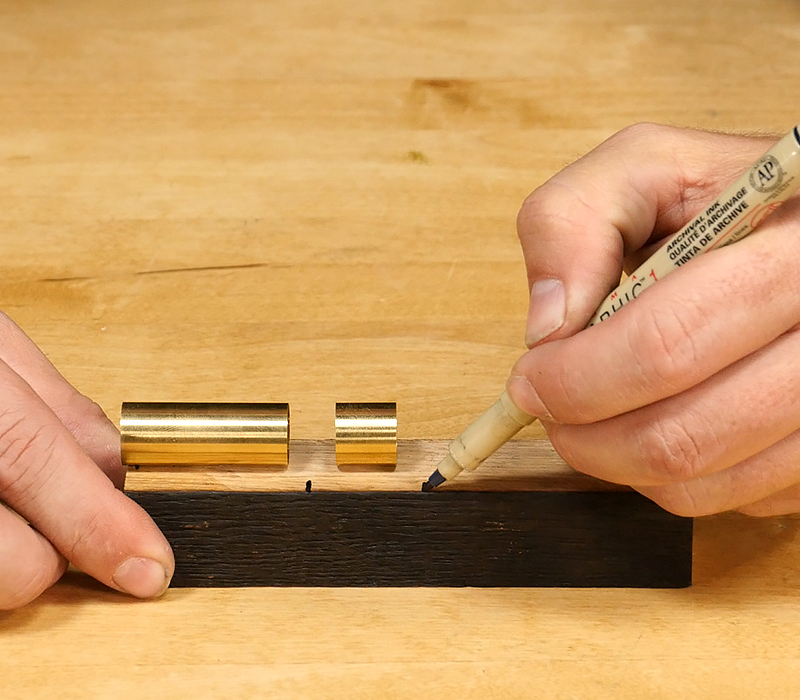
Begin by making a mark on the blank about ¼” longer than each tube. Add a perpendicular mark for grain alignment, then cut the blank on your marks. Then mount one of the blanks in a chuck using pen drilling jaws, then bring up the toolrest, and turn the lathe on to around 2,500 rpms.
Square the end of the blank. Then add a dimple to help center the drill bit, and, using a drill chuck with the lathe turned down to around 750 rpms, start drilling the blank. Make sure to back out every half-inch to prevent heat build-up. Drill completely through the blank. Then do the same with the second blank.

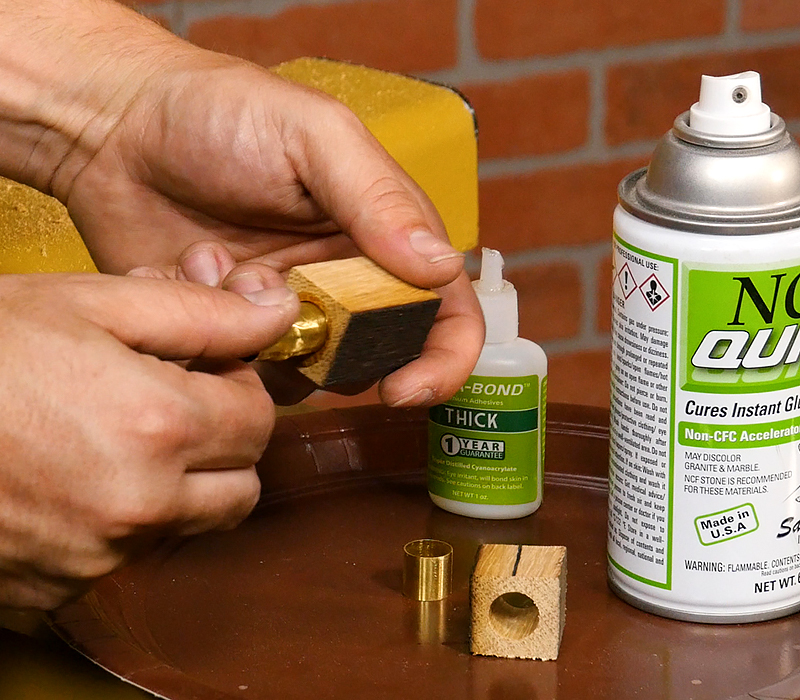
Before gluing the brass tubes into the blanks, score them with 220 grit sandpaper to improve the bond. Then glue the tubes into the blanks with thick CA glue. Twist the tubes as you insert them to evenly spread the glue. Spray with an activator to cure the glue instantly, or let them cure for a few minutes on their own.
Making an Adapter Blank
Now it’s time to square the ends of each blank and we’ll do that with a barrel trimer. You can do it with a pilot shaft that fits the kit, or make your own adapter blank to get the job done. Here is how to make an adapter blank.
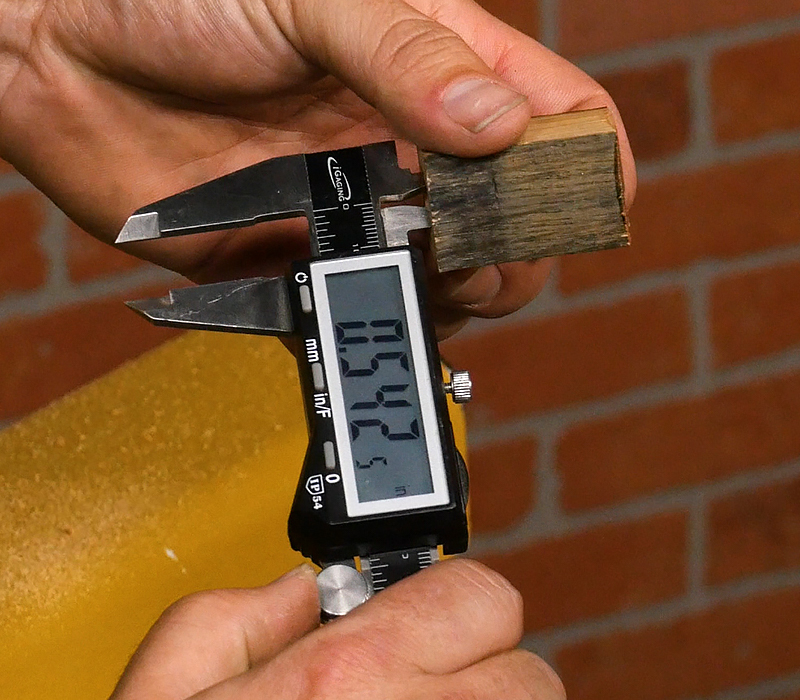
First, measure the inside diameter of the brass tube with some calipers.
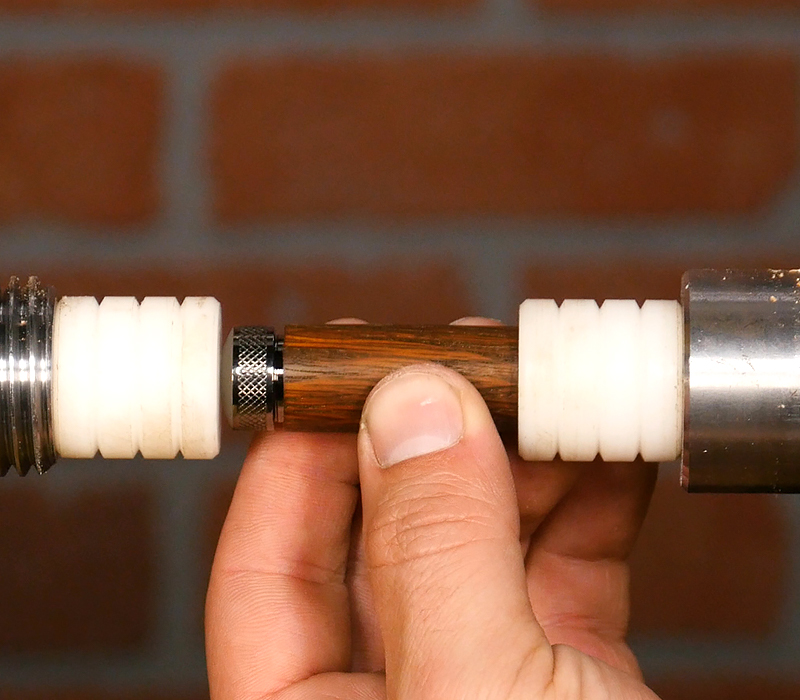
Then mount the adapter blank on a pen mandrel. Turn the blank to your measured size like you would any pen blank. Use your calipers to verify the diameter. Turn the blank just below the size measured.
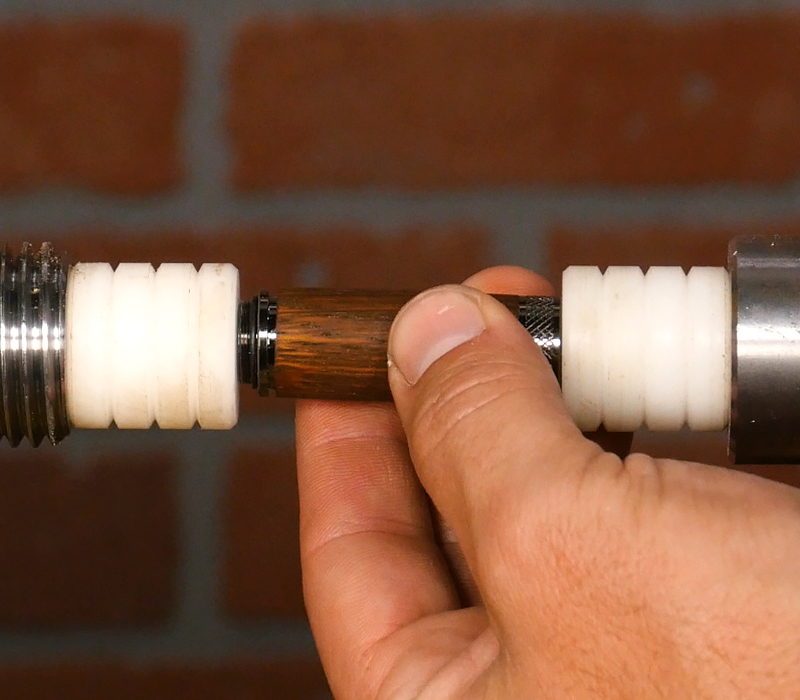
Once the adapter is turned, slide it onto a 7mm pilot shaft. Then, using a vise, trim each end of both blanks just until the brass shows like you would with a normal barrel trimmer. The adapter blank will keep the cutting head perpendicular to the blanks.

Turning
At the lathe, mount the blanks on a pen mandrel using the lighter kit bushings. Refer to the Key Ring Lighter instructions that came with your kit for the proper order. When mounting, make sure the ends of the blanks we marked earlier are next to each other so the grain aligns when we’re done.
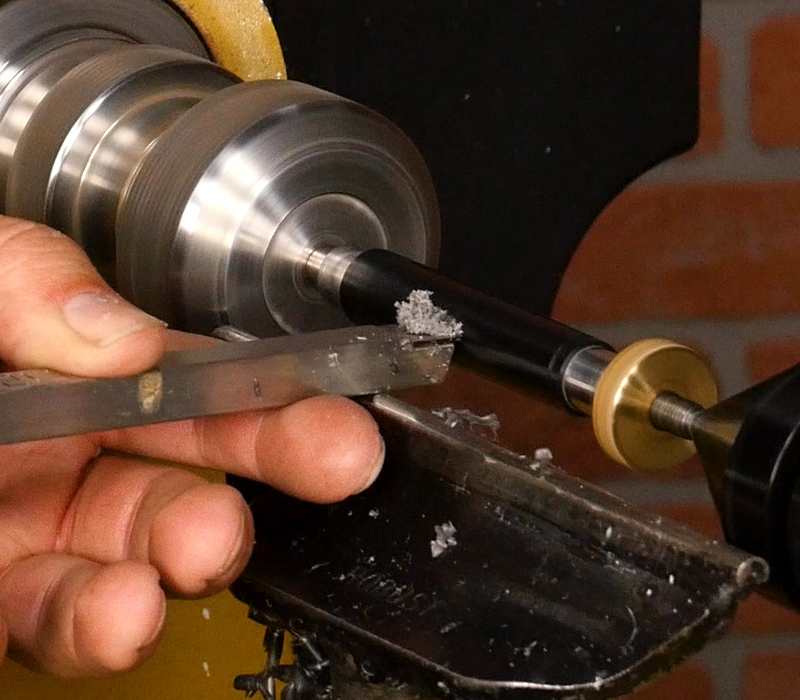
Now rough the blanks to round with the lathe at 2,500 – 3,000 RPMs.
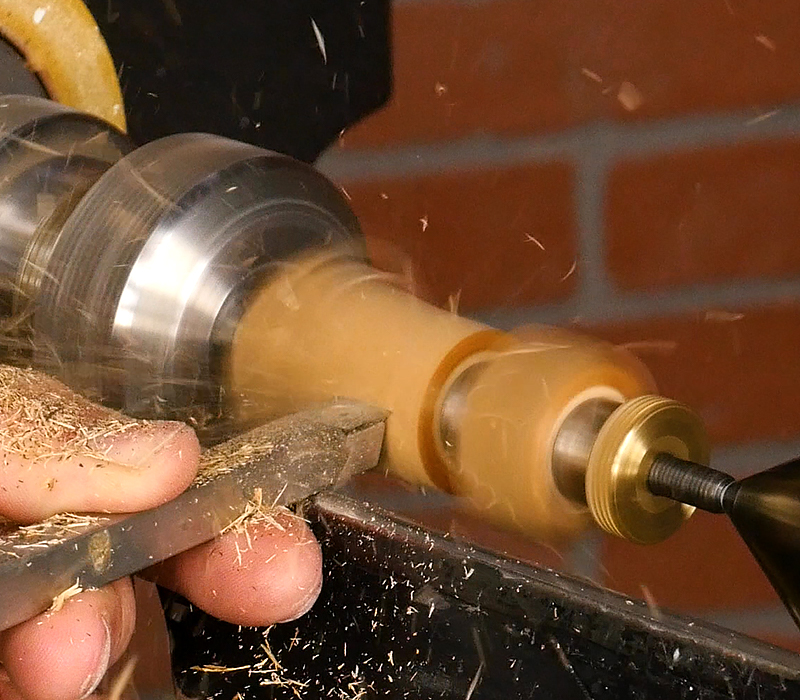
Once round, turn to your desired shape until the blanks are just proud of the bushings to leave room for sanding.
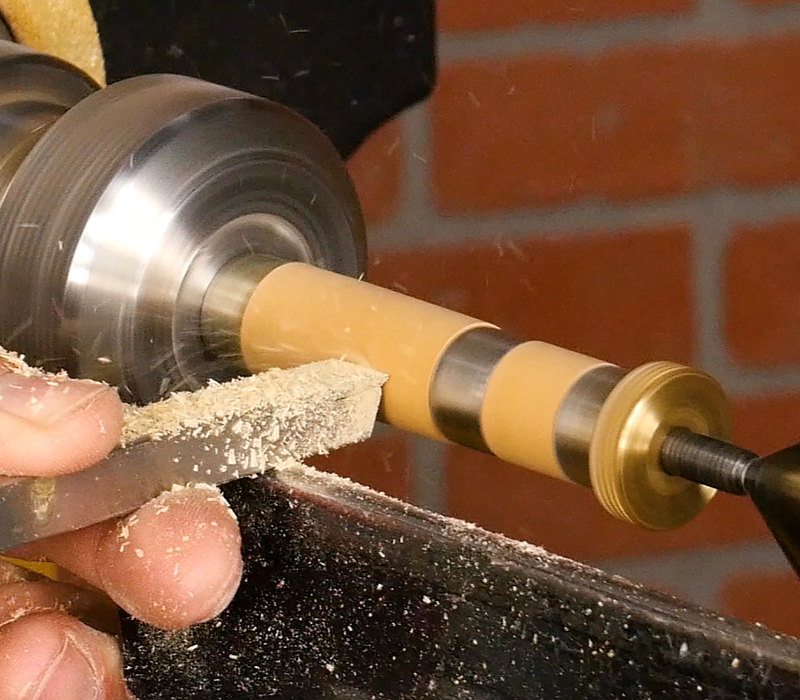
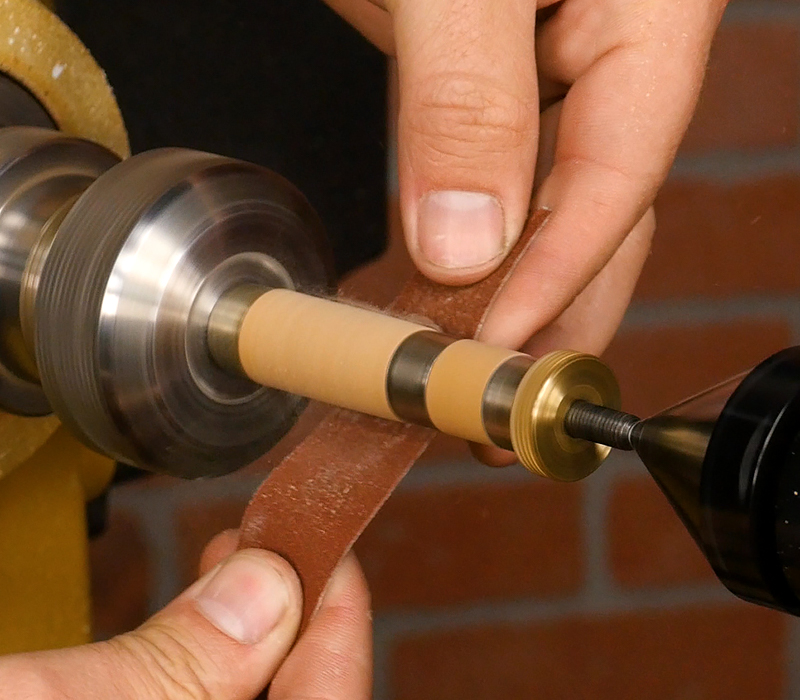
After you finish turning, sand both blanks through at least 600 grit. Between each grit, turn the lathe off and sand the blanks end-to-end to get rid of circular scratches.
Applying a Finish
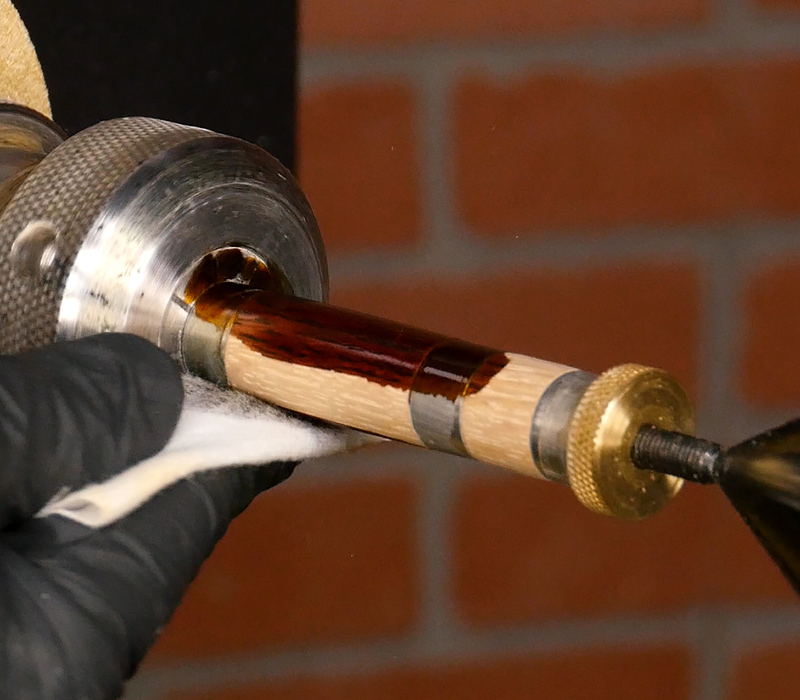
Now it’s time to finish the blanks. You can use any type of finish you like, but for this one I’m going for a rustic look by dying this blank with the Chocolate color Artisan Premium Dye.
Use a clean rag and apply a generous amount of dye to the blanks with the lathe off, rotating them by hand. Then turn the lathe on and buff the blanks for a few seconds until the dye is dry.
Assembly
When you remove the blanks from the lathe, make sure to keep the grain aligned.
To start the assembly, press the end cap into the bottom of the long tube.
Then roll the retainer spring and fit it into the spacer, then place the spacer into the long tube.
Now press the coupler with the o-ring into the other end of the long tube.
Press the threaded coupler into the end of the short tube that will screw onto the body of the lighter. Then, press the cap into the other end of the short tube. Attach the keyring to the lighter cap.
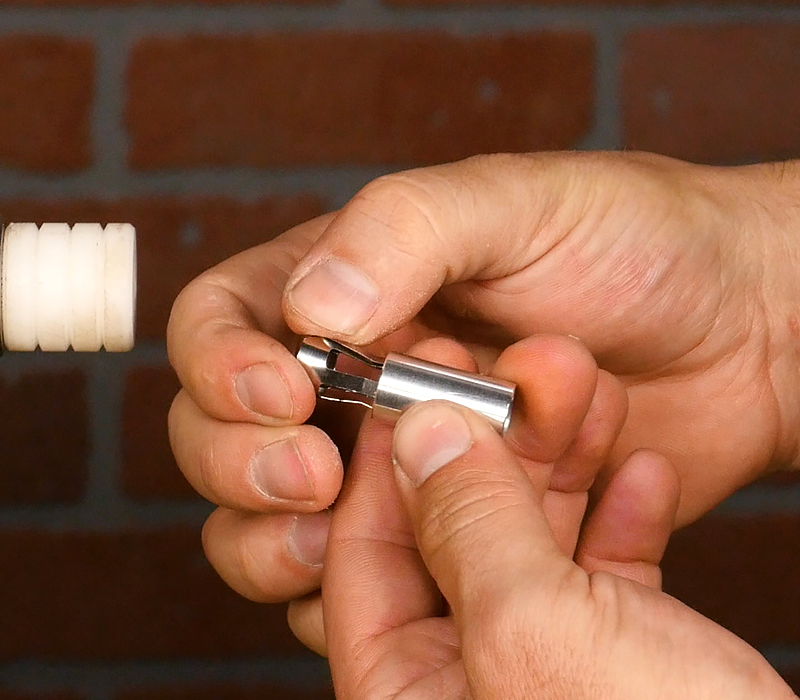
Insert the flint and spring into the lighter cartridge and secure them with the included screw.
Fill with Lighter Fluid
We recommend Zippo or Ronsonol fluid which you can buy just about anywhere. DO NOT use butane – these lighters use liquid fuel and not gas. Remember to follow all of the fluid manufacturer’s safety guidelines when handling lighter fluid.
To start filling, remove the felt pad from the brass tube to reveal the packing material.
Slowly saturate the packing material with the lighter fluid. Stop when it reaches the top or if the packing begins to change color. Don’t overfill or the lighter will leak.
Finish by replacing the felt pad. The pad will soak up some of the fluid and may feel wet or change color – that’s okay and doesn’t mean your lighter is broken or overfilled.
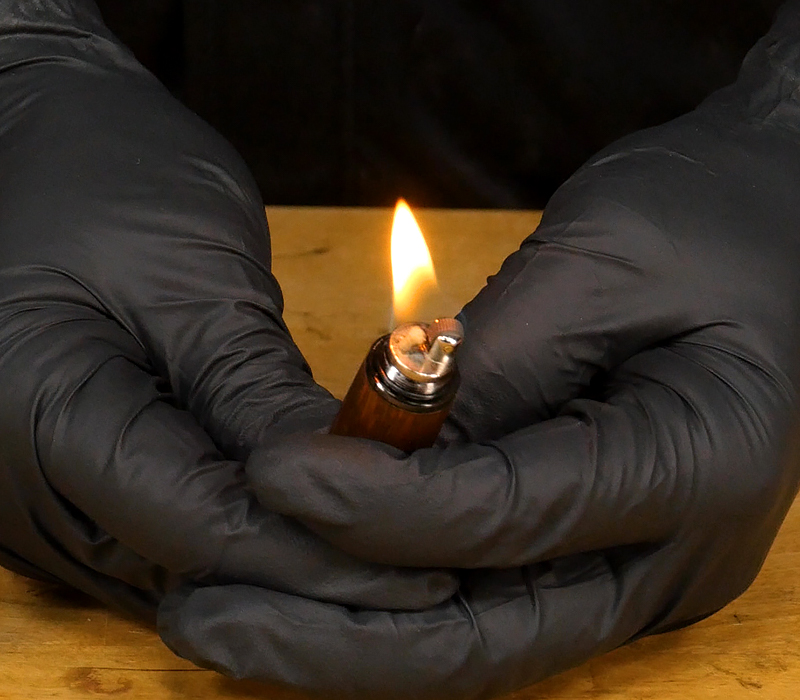
Slide the cartridge back into the long tube until it’s flush with the o-ring coupler to complete the lighter.