
Pen turning is one of the most popular projects for woodturners, and a great place to start wood turning. In this article, Mike describes the techniques he has developed over years of pen turning to teach you how to turn a pen from start to finish using a carbide insert turning tool.
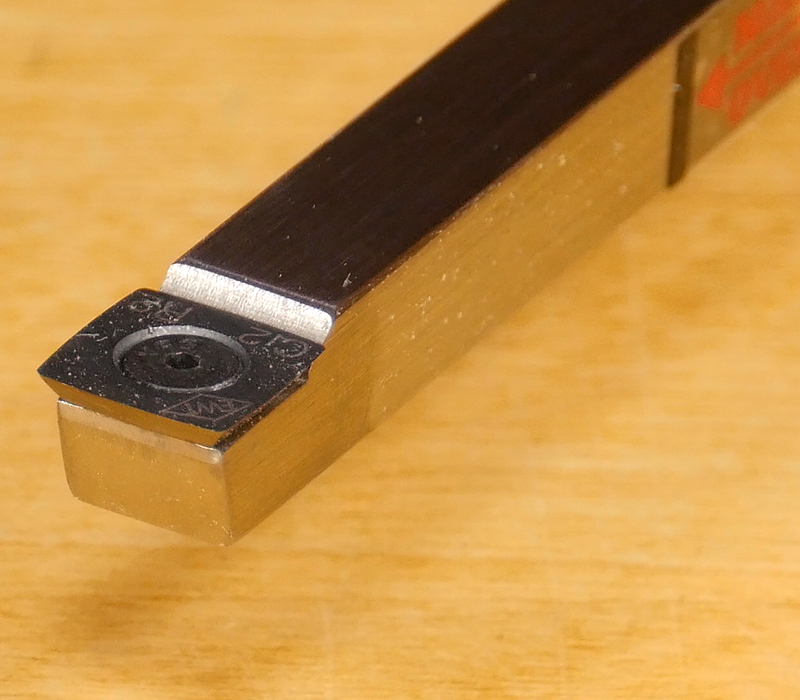
Pen turning is always evolving, and one recent development is carbide insert tools. These tools use small, replaceable carbide cutters set in a square tool shank, and when the cutters get dull, you simply rotate to a fresh cutting edge.
Carbide insert tools offer several advantages over traditional tools. They don’t require a grinder for sharpening and they’re very easy to control. The carbide cutter makes it easy to achieve a smooth surface on most materials.
There are several carbide insert tools on the market and most of them are great. For pen turning, I recommend using one with a radiused cutter profile – it is the most forgiving and easiest to use. We’ll turn a Roadster pen from start to finish using just one tool with a radiused cutter.
Preparing the Pen Blanks
When turning pens, use a dense hardwood, stabilized wood, or acrylic blank. Pens get handled a lot and soft woods will show dents and scratches. I’m going to turn this pen from a stabilized Box Elder blank.
After selecting your blank, grab the brass tubes that came with your pen kit and check their length. Some pens use brass tubes with different sizes for the top and bottom of the pen.
With this pen both tubes are identical so it doesn’t matter which is the top or bottom. If you are unsure, check the instructions that came with the kit.
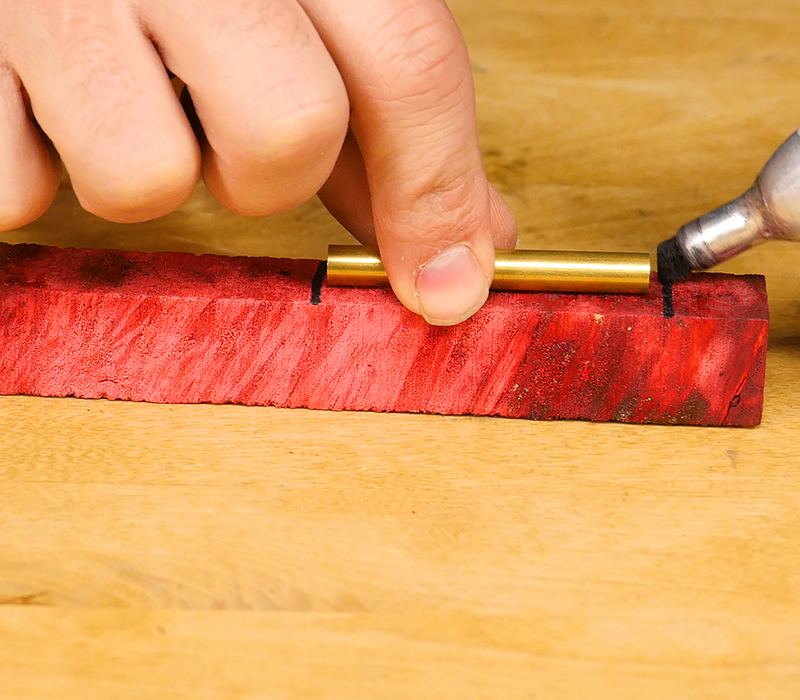
Take the brass tubes and place one on top of the blank, flush with one end. Make a mark about 1/4” longer than the tube, then repeat with the second tube.
Mark the blank with a perpendicular line to help keep track of grain alignment. This will come in handy later. Cut the blank on your marks.
Drilling and Gluing the Pen Blanks
Next, we need to drill a hole in the blanks for the brass tubes. I prefer to drill pen blanks on the lathe, it’s the easiest way to drill accurately.
Check the instructions that came with your pen kit for the size of drill needed. This kit calls for a 7mm drill bit.
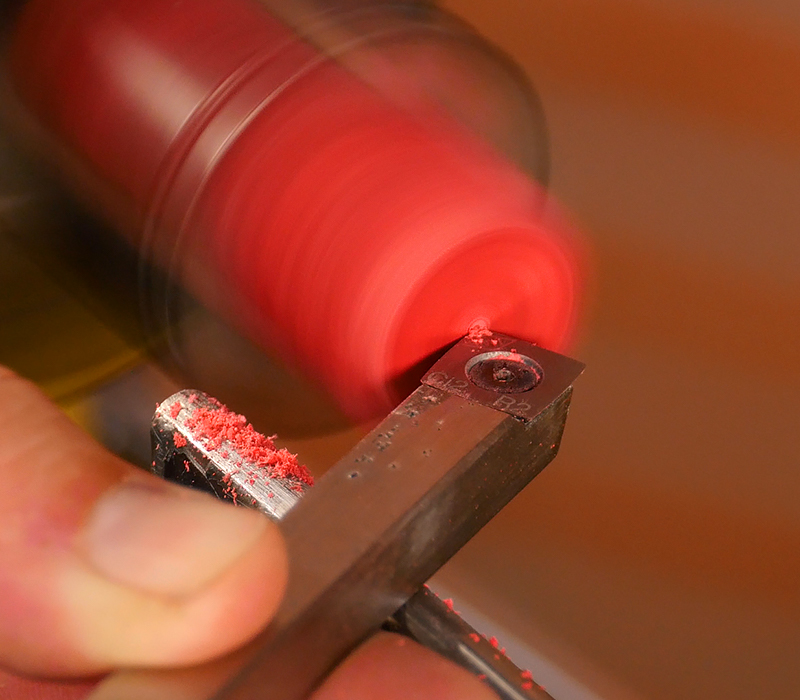
Mount one of the blanks in the pen drilling jaws on your chuck, then with the lathe running at about 2,000 rpms, use the edge of the cutter to square the end of the blank.
Then use the corner of the cutter to create a small dimple so the bit will start in the center.
Secure the bit in the tailstock using a drill chuck. Move the tailstock up until the bit is almost touching the blank then lock down the tailstock.
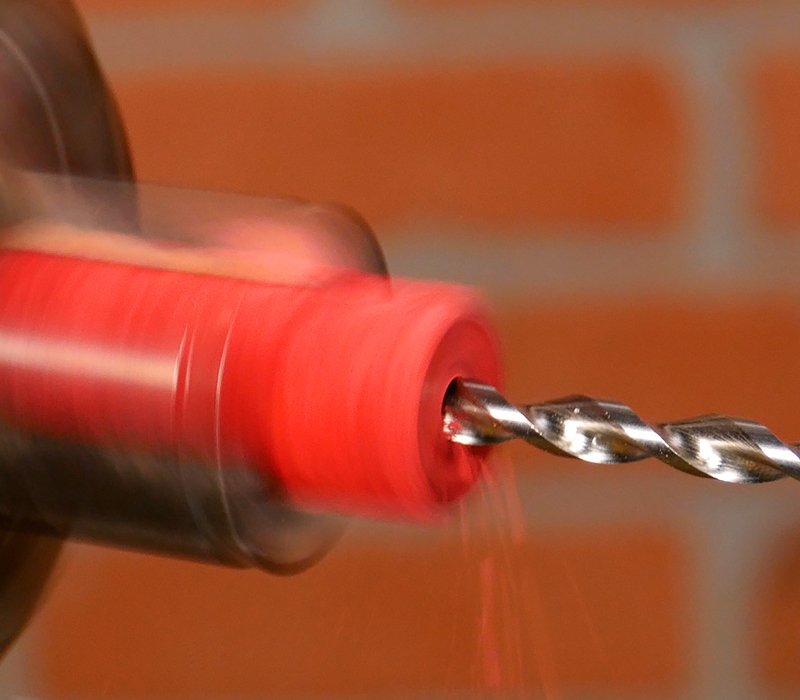
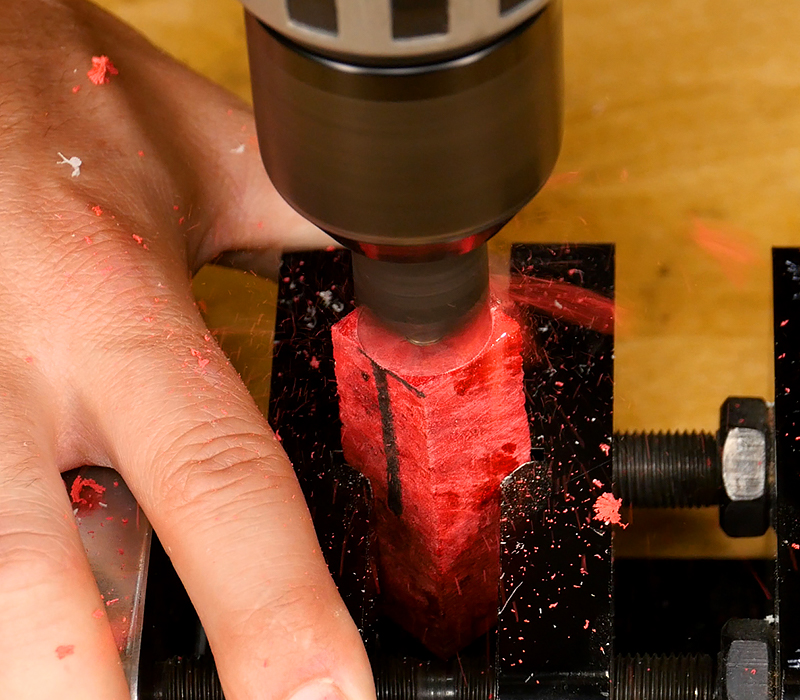
Set your lathe speed to around 500 rpms and advance the bit slowly by turning the handwheel on the tailstock.
Stop and back the blank out every 1/2” or so to clear the chips. This keeps the bit from overheating. Continue until the bit exits the back of the blank. Repeat with the second blank.
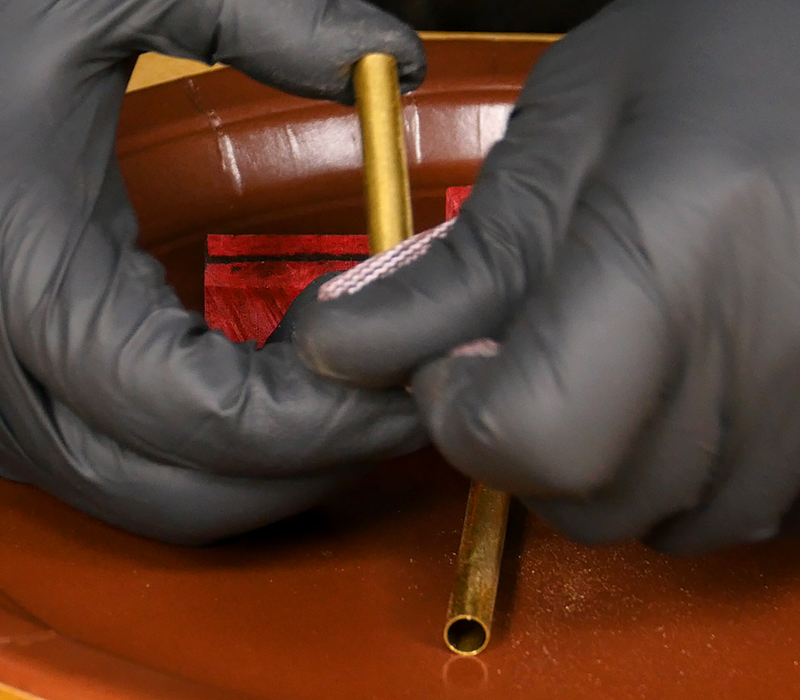
After drilling, it’s time to glue the brass tubes into the blanks. Start by lightly scuffing the brass tubes with 220 grit sandpaper to give the glue a better bond.
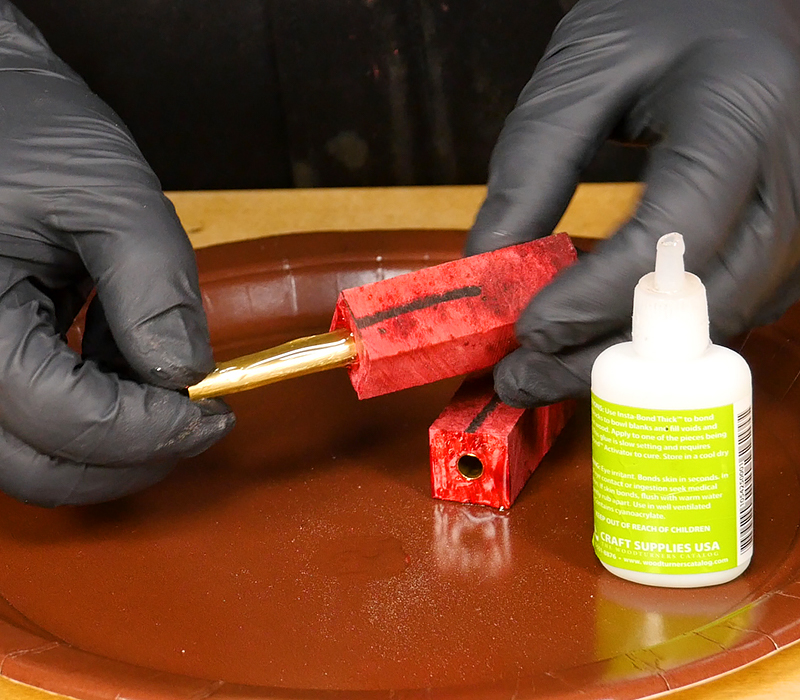
You can use epoxy or CA glue. I prefer a thick CA (cyanoacrylate) glue – it doesn’t require mixing and sets very fast.
Coat one of the tubes in thick CA glue. Twisting as you insert will spread the glue evenly. Insert until the tube is just below the surface of the blank, ensuring that the tube is not protruding from either end. Work quickly, CA glue goes sets very fast.
You can wait for a few minutes or spray with an activator to set the glue instantly. Glue the second blank.
After the glue sets, you’ll need to square the ends of the blank even with the brass tube. This step is critical for the pen components to fit together properly after turning.
To make this step easy we’ll use a barrel trimmer, which is a mill mounted on a precisely sized pilot shaft that fits into the brass tube.
Select the same size of barrel trimmer shaft as the drill bit used, in this case a 7mm shaft, and mount it in the mill head.
Hold the blank in a vise while lightly cutting just until the tube is revealed. Don’t cut too far or you’ll shorten the pen which will cause problems during assembly. Repeat with the second blank.
Now that the blanks are glued and trimmed we can mount them on the lathe.
Before mounting, check the instruction sheet for the correct placement of the bushings. Bushings hold the blank on the lathe and help you size your turning correctly.
Place a pen mandrel into your headstock, then slide on the first bushing, seat the first blank, slide on the second bushing, then seat the second blank, and finally slide on the third bushing and lock everything in place with the knurled nut.
This is where the line we made earlier comes into play. Place the blanks so the ends with the line meet in the middle so the grain stays aligned.
To support the pen mandrel, slide a 60° revolving center into place and lock down the tailstock. Carefully advance the revolving center with the handwheel until the tip rests inside the dimple in the end of the pen mandrel.
When it is just supporting the mandrel lock down the quill. Over-extending the center will bow the mandrel and produce oval-shaped pens.

Turning the Pen
Now we can start turning. Position the tool rest as close as you can to the blanks without touching, rotating the blank by hand to make sure the edges don’t contact the rest. Turn the lathe on and set the speed to around 3,200 rpms
To be successful with a carbide insert tool, simply make sure that the cutter contacts the blank at center, and that the tool is parallel to the ground. I’ll turn the entire pen with just this one tool.
With a firm grip on the tool place it on the toolrest and advance it until it contacts the wood. Move the tool from side to side, keeping it level, and remove all the edges until the blank is round. Repeat with the second blank.
Once the edges are knocked off and the blanks are round, move the tool rest closer.
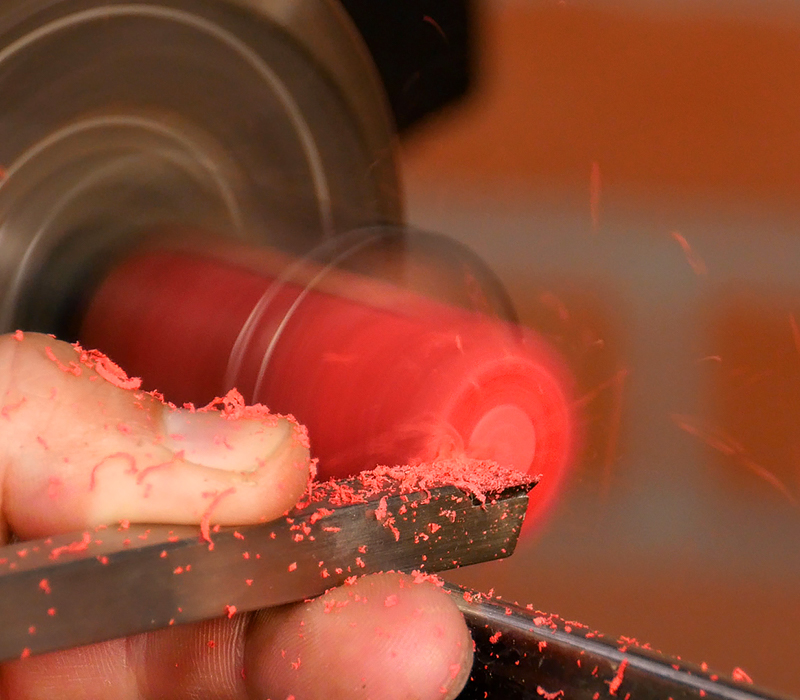
Now turn the blanks to shape. Again, keep a firm grip on the tool and move it back and forth, taking light cuts with each pass.
This is where the radiused cutter comes in handy, the corners don’t dig in which makes turning a breeze.
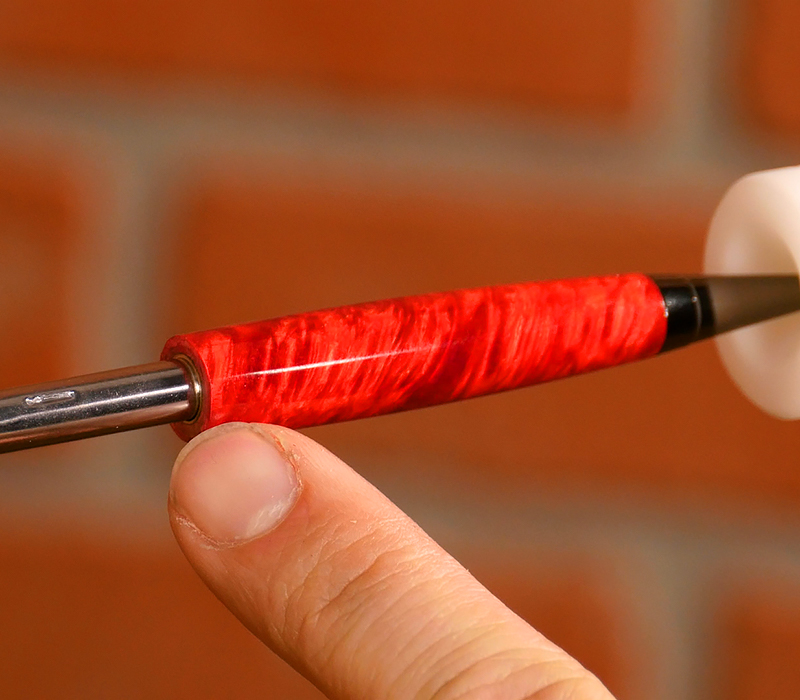
Keep an eye on the bushings as you turn, they not only hold the blank in place but are also a gauge for the finished diameter of the pen. Stop turning when the blanks are just proud of the bushings
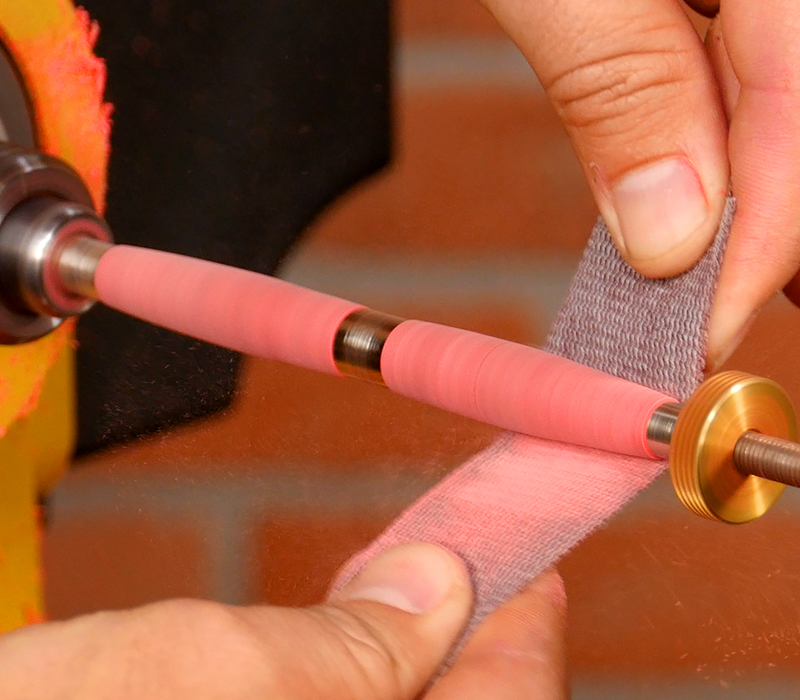
Sanding the blanks
Once the blanks are turned it is time to sand. We’ve found Abranet sanding screens to be perfect for pen turning, they cut well and don’t load like traditional paper.
Set the speed to around 2,000 rpms. With a carbide insert tool the final cut is very smooth so I’ll start with 320 grit. Sand with light pressure, moving the paper back and forth across the blanks. Spend more time on the coarser grits, they’ll even out the turning and the finer grits will polish the blanks
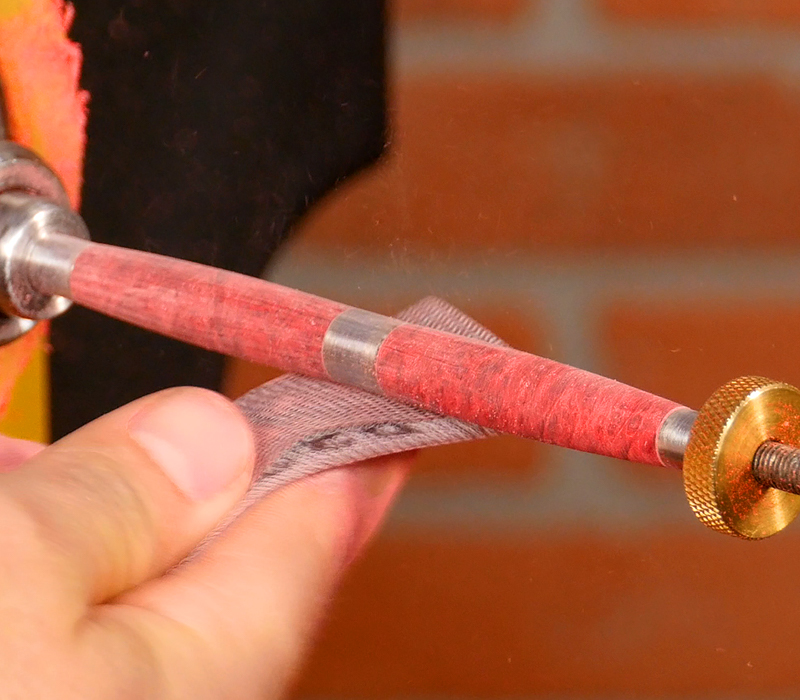
Work your way through the grits, stopping the lathe and sanding laterally between grits. This will get rid of radial scratches that form when sanding on the lathe. Sand through at least 600 grit.
Finishing the Pen
Once sanding is done, choose a finish for your pen. Select a finish that looks good but also holds up well to repeated handling.
My preferred finish, and the most durable, is a CA pen finish – applied by building up thin layers of CA (super) glue. We’ll cover the basics here, if you want a more in-depth video check out our article: Applying a CA Pen Finish
Start by swapping your bushings with Non-stick Pen Bushings to prevent the blanks from being glued to the bushings.
Cover each of the blanks in thin CA glue to seal and strengthen the wood, then lightly spray with activator.
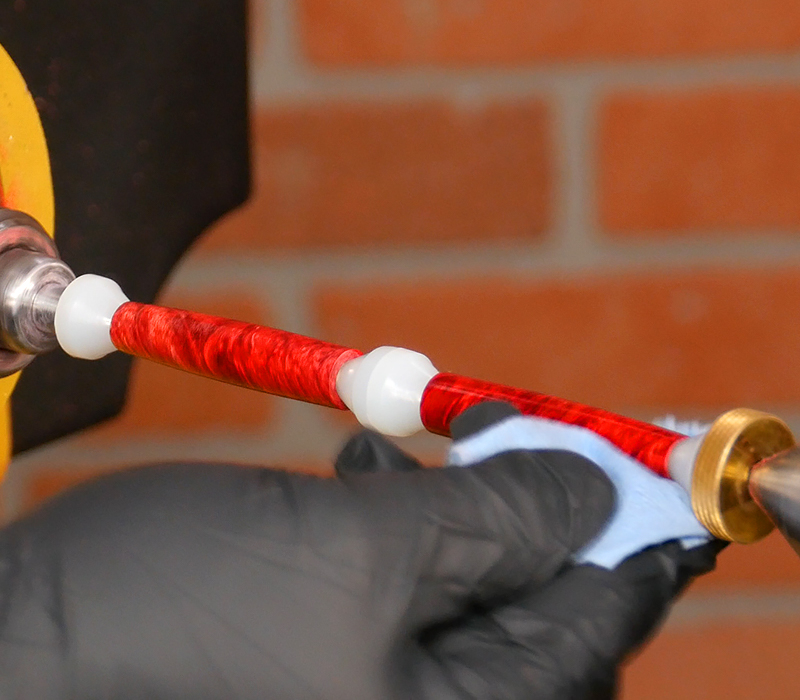
Now turn the lathe on to around 200 rpms. Going slow will help prevent the glue from curing too fast.
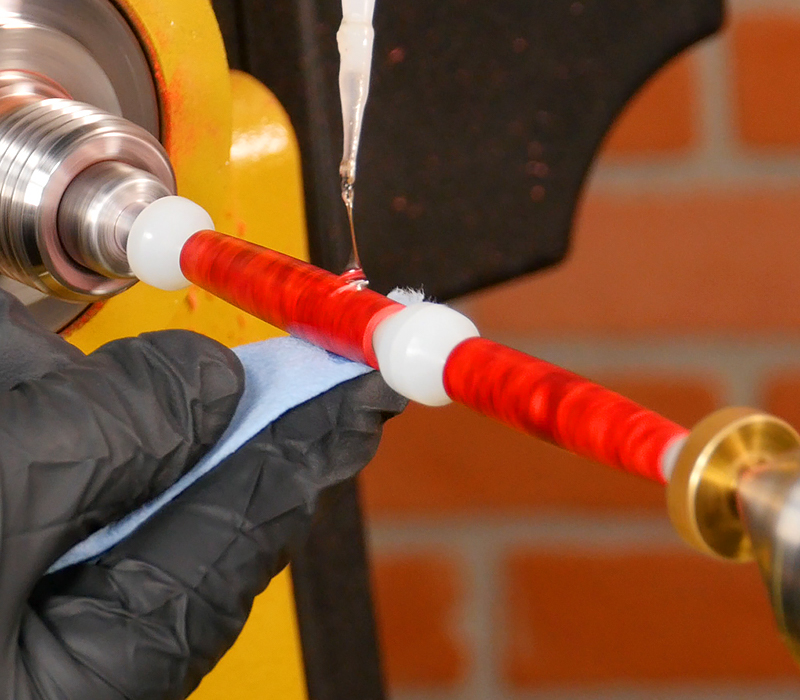
Choose a medium CA glue and begin applying very light coats. Drip a few drops on the top of each blank and again on a bit of paper towel, then smooth it out. Spray lightly with activator and then wait a few seconds before the next coat.
Repeat this process and apply 7-10 coats
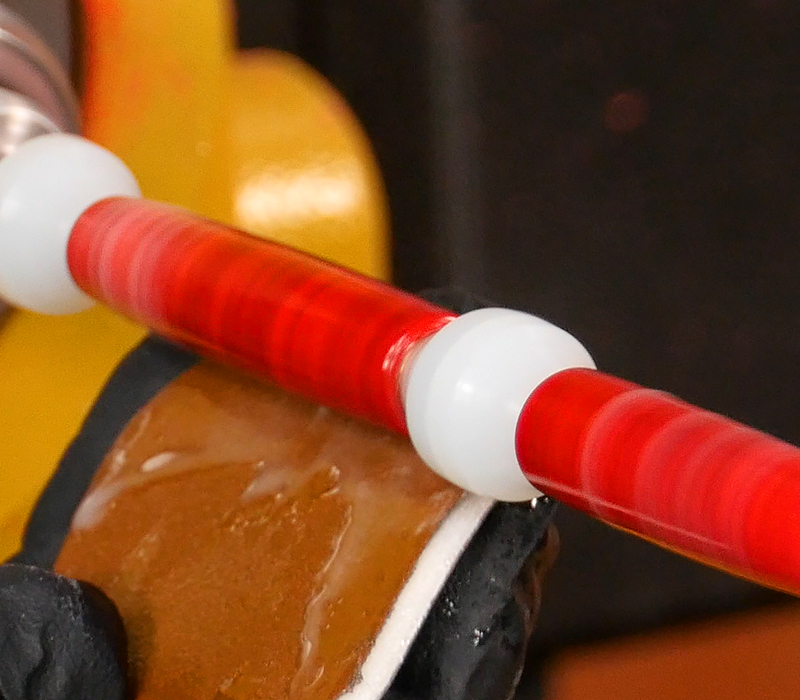
Once you’ve built up a good finish, it’s time to smooth it out with sandpaper. I recommend Micro-Surface Pen Finishing Pads, they are very easy to use and produce a glass-like finish
Wet each pad before using. Start sanding with the 1,500 grit pad, moving the pad back and forth with the lathe around 1,500 rpms.
The lowest grit is most important, so make sure the finish is nice and level before moving on. This might take some time, but it is worth it.
Stop the lathe and sand laterally between grits. Repeat this process with each pad through the 12,000 grit
Add a small amount of Hut Plastic polish to a soft cloth and gently apply it to the blanks for a beautiful shine.
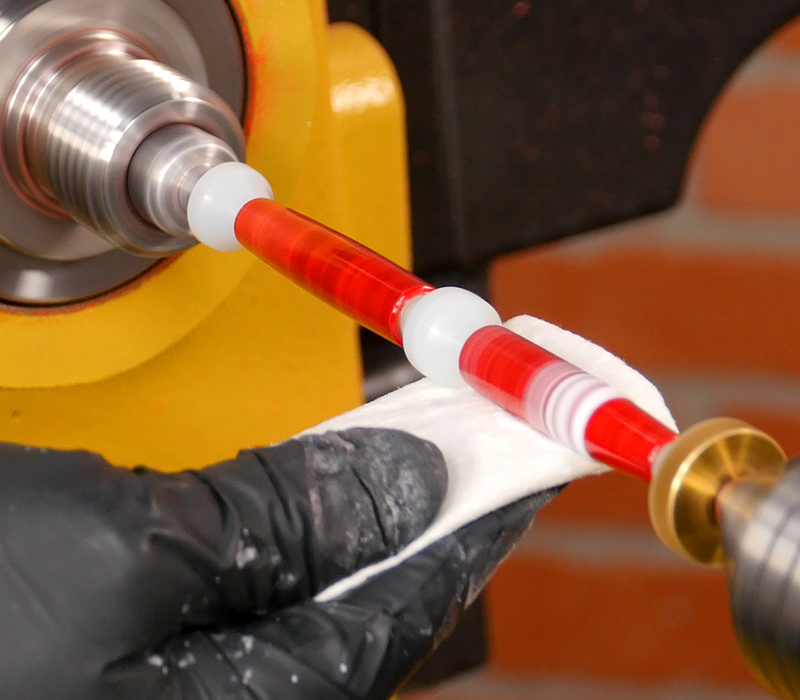
After polishing, remove the pen blanks from the mandrel and remember their order for proper grain alignment. The ends will likely have a small amount of extra CA glue that can easily be removed by hand, using some 1500 grit sandpaper
Assembling the pen
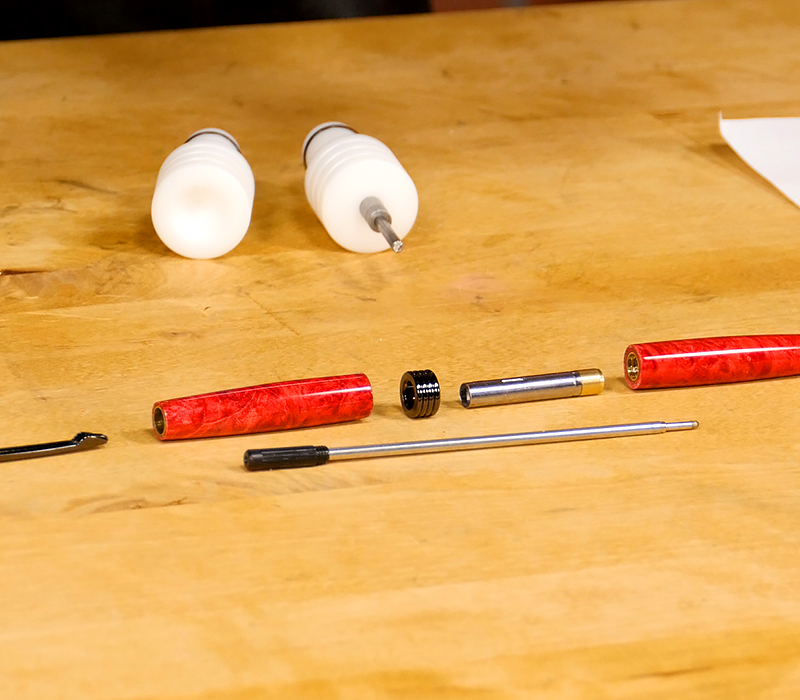
Now the blanks are finished and we are ready for assembly. Check the instructions for the correct assembly order. It helps to lay the parts out on the table before assembly.
The pen kits we sell are all held together by simply press-fitting the parts into the brass tube – gluing the parts together is not necessary
Parts can be pressed together with a simple shop vise, but I like using the Pen-Ultimate Assembly tool. It gives me more control and the plastic won’t scratch the pen parts.
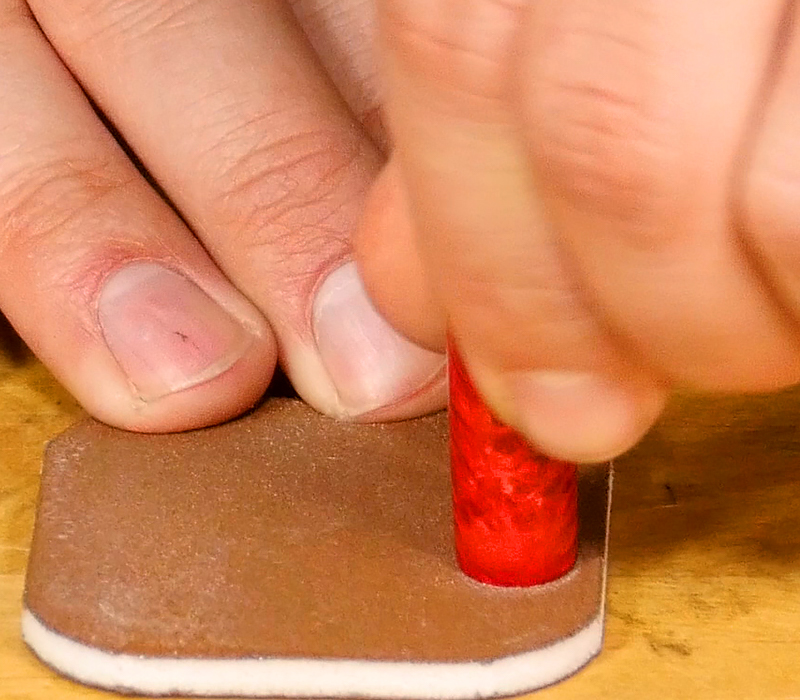
It’s a good idea to start the parts by hand to make sure they are square, then finish with the press. If a part gets pressed in at an angle it can split your turning or crack the CA finish.
Take special care when pressing in the twist mechanism. In order for the ink refill to extend the proper distance from the tip, the twist mechanism must not be pressed in too far. Press until the indent is just flush with the edge of the tube. This is where the Pen Ultimate comes in handy, giving you very fine control by simply rotating the hand wheel on the tailstock.
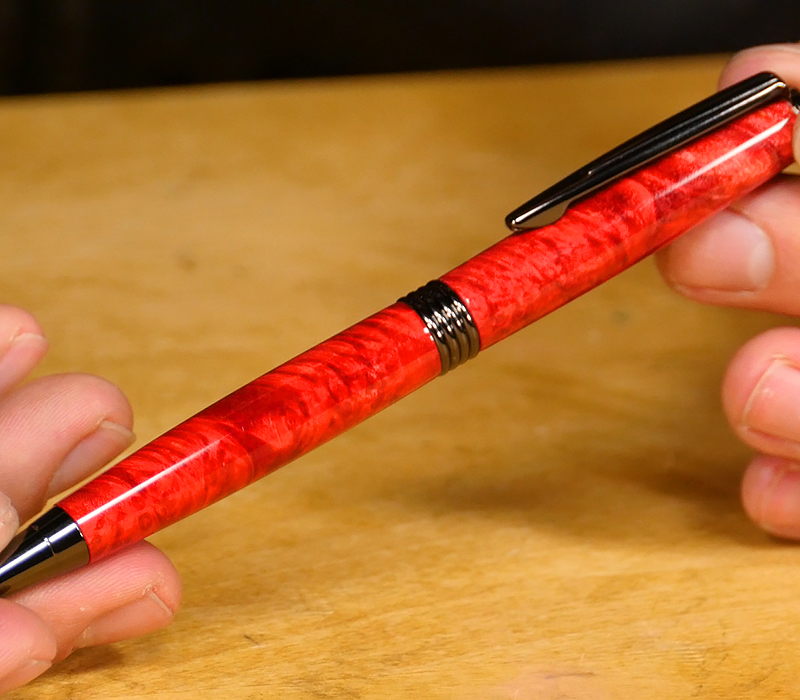
Once the parts are all pressed in, align the grain with a simple twist and you’re done!
Your Roadster Pen is now finished and ready to show off to your friends and family! Turning pens is a lot of fun. Be sure to visit us at woodturnerscatalog.com to learn more about this exciting hobby.
Wow! An awesome and thorough demonstration. Thank you.
Very well done and very helpful