
Spinning tops are a fun, quick project for beginners and experienced turners alike. They can be turned using scraps and are a great way to hone your turning techniques.
For this article I turned three different tops, each with a unique profile, and experimented with different coloring, texturing, and finishing techniques. Here are the steps taken for each of the tops.
What are your favorite design choices on tops? Be sure to let us know in the comments below!
Top #1 – Honduras Redheart
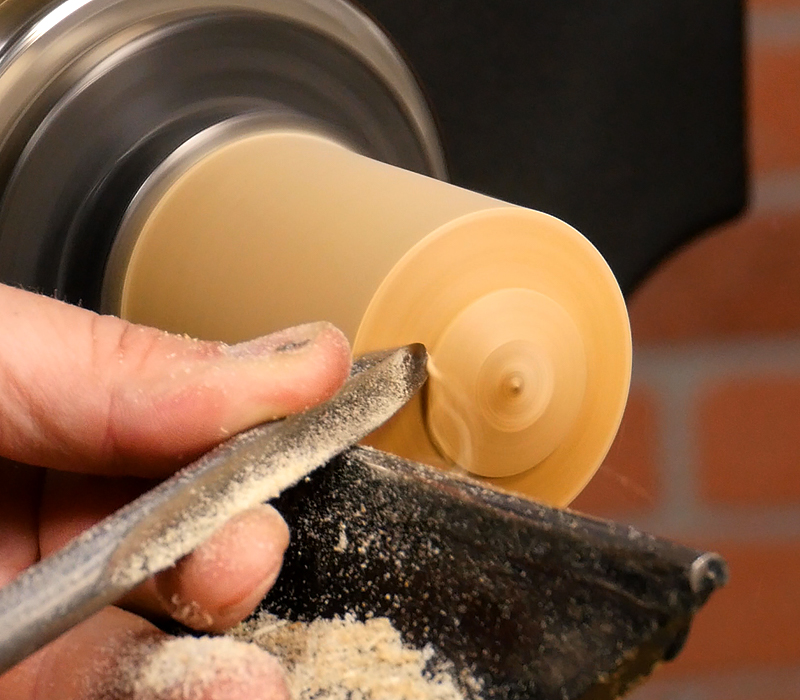
Mount a 2″x2″x3″ block in a chuck, then use a spindle gouge and turn the bottom profile of the top.
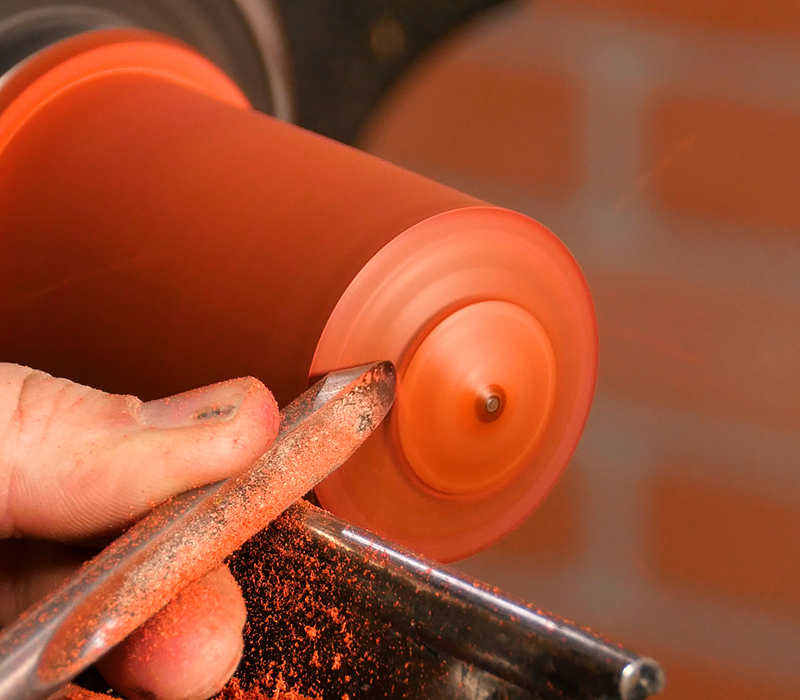
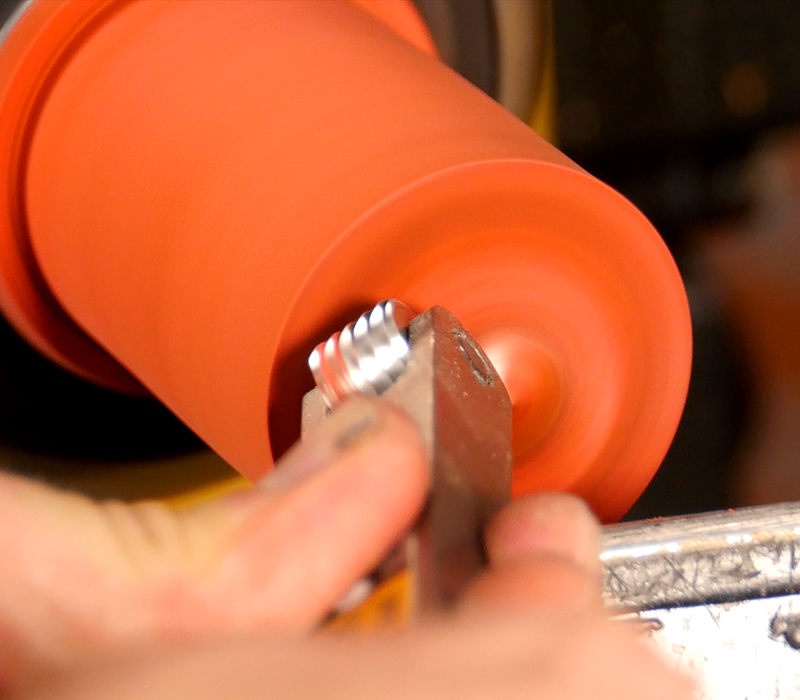
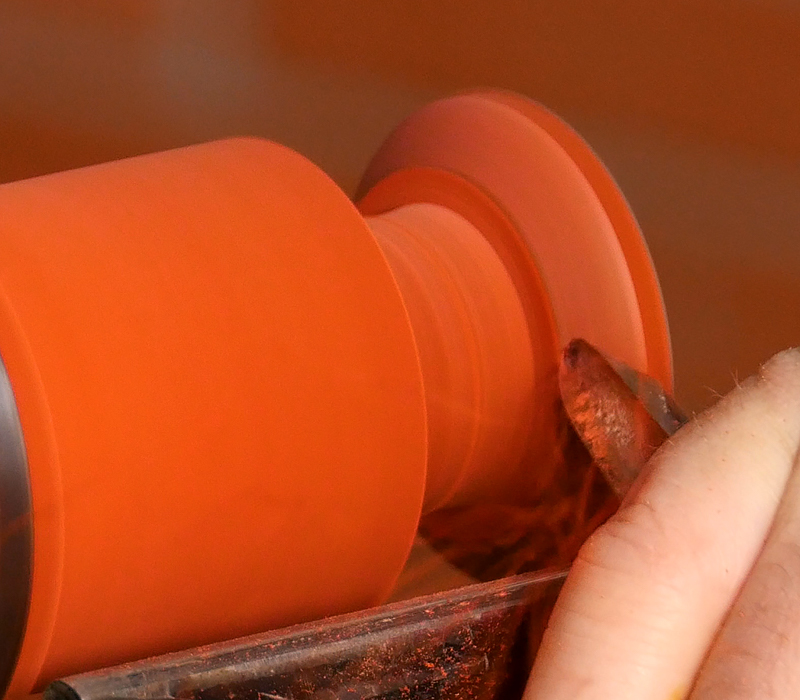
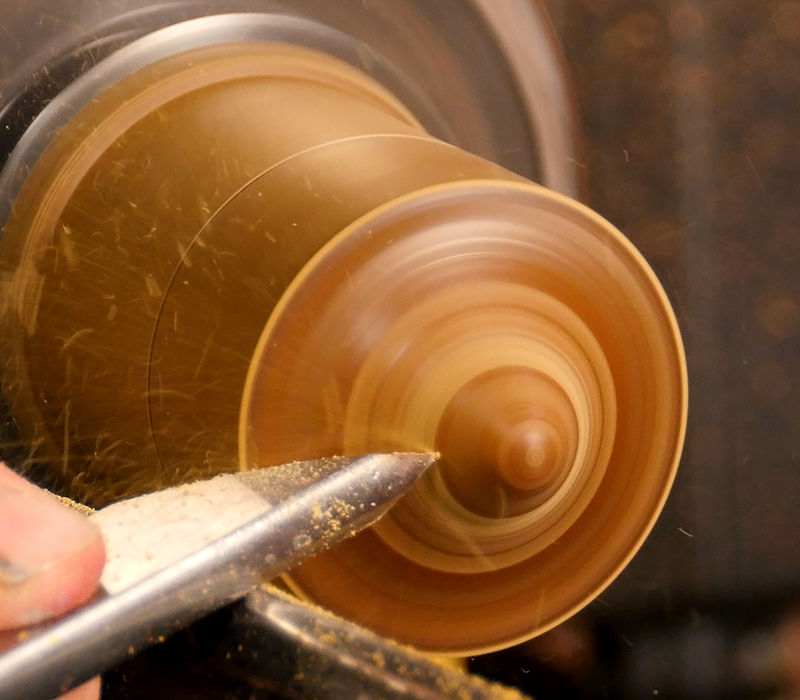
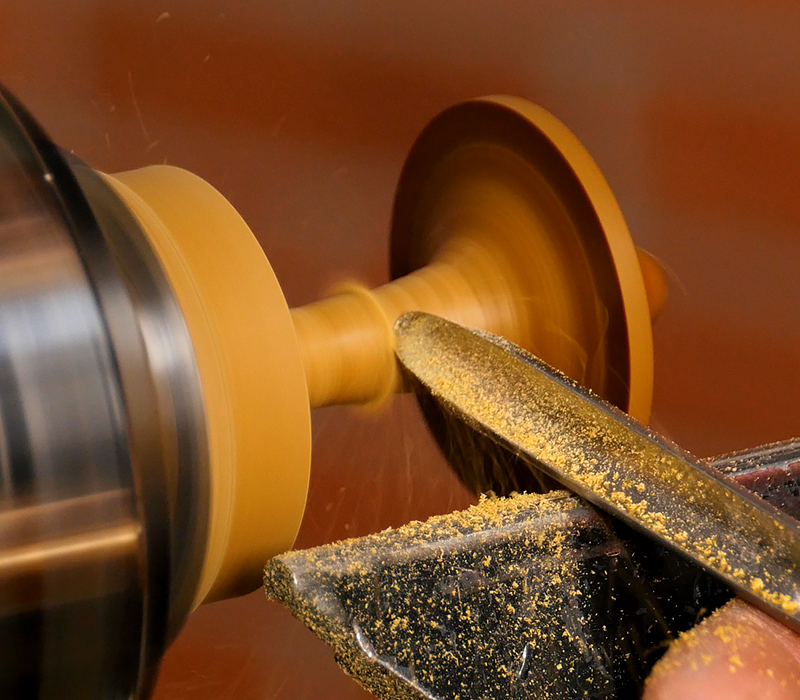
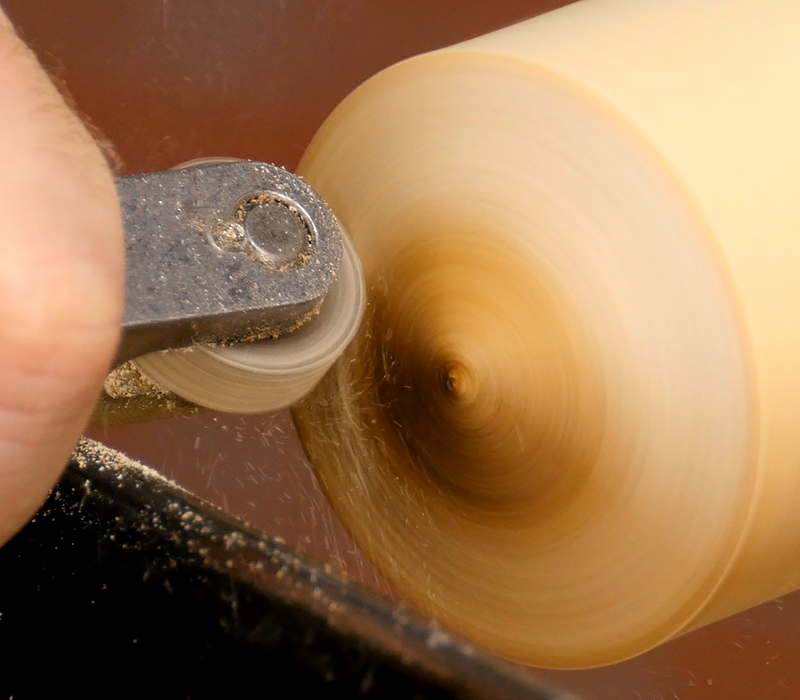
If desired use apply a decorative technique using a chatter tool, texture tool or just a skew for some decorative grooves. Here I am using a Wagner Texturing Tool held at a 45 degree angle.
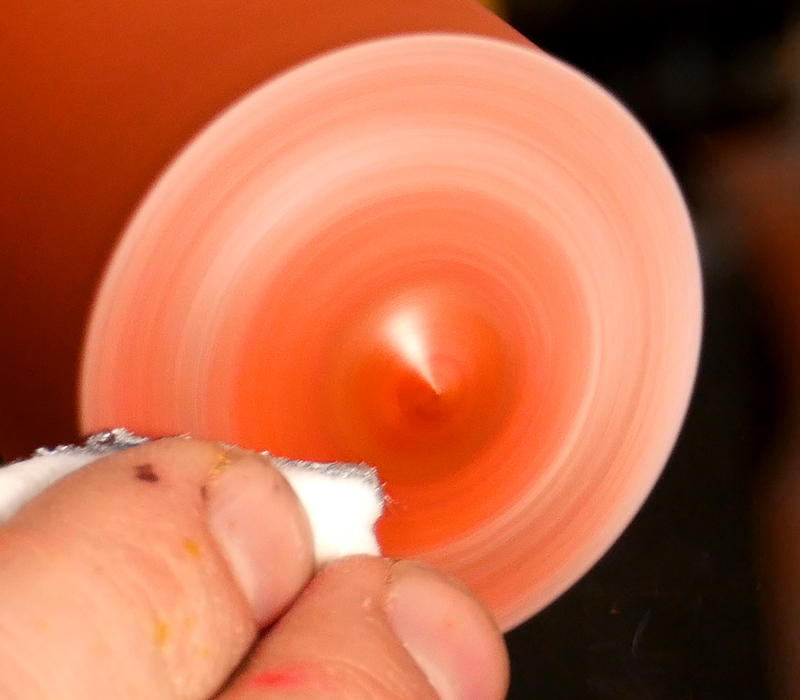
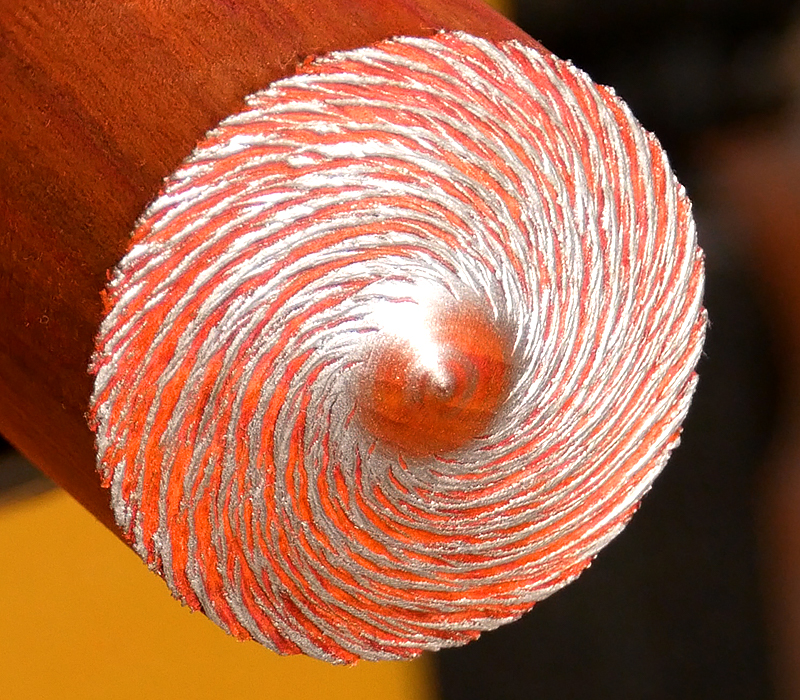
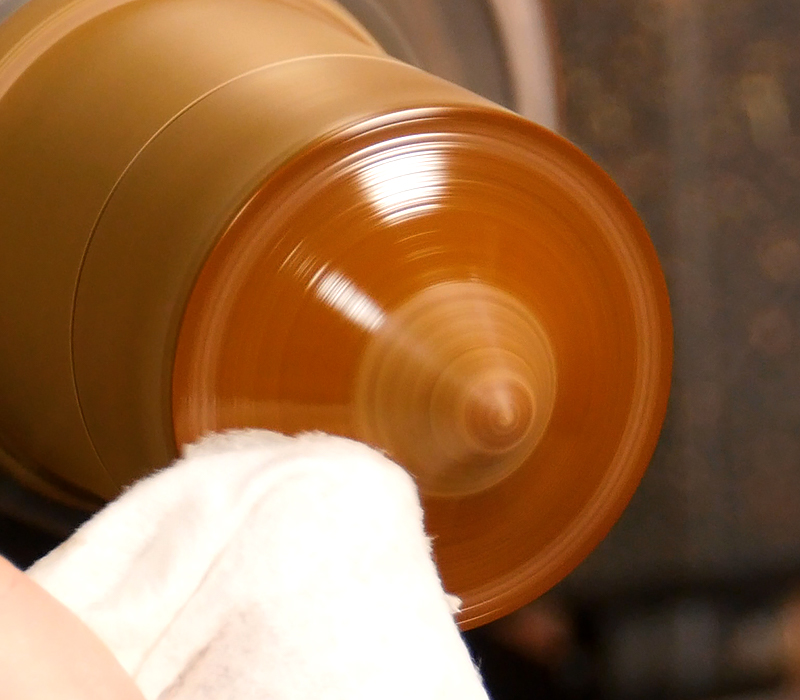
Once the pattern is set you can color it with a gilding paste applied with a cotton rag.
Start shaping the handle and upper section of the top
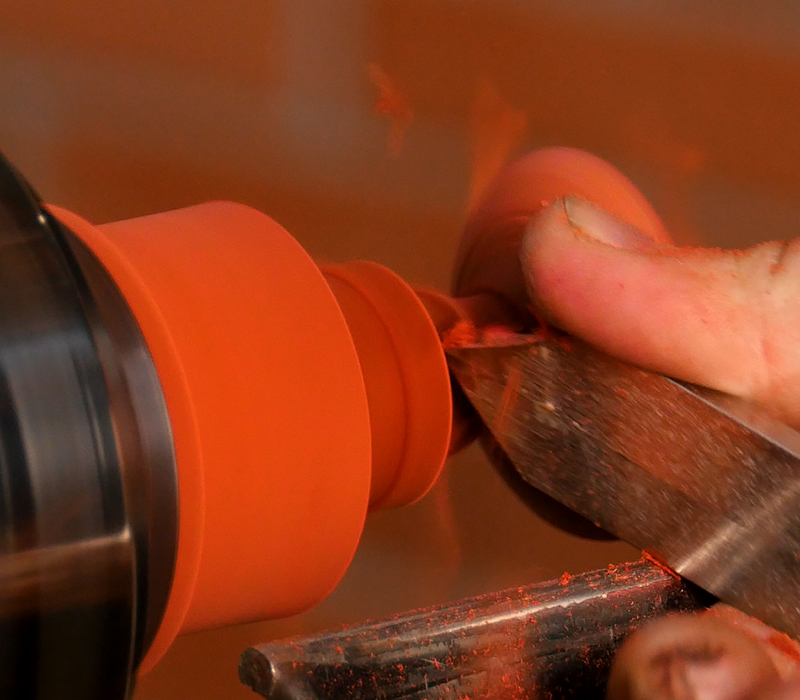
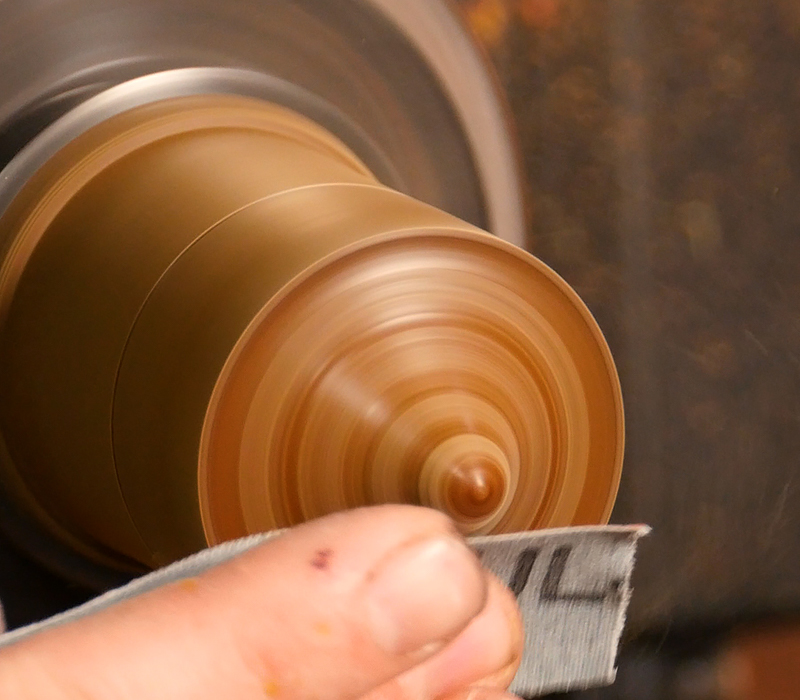
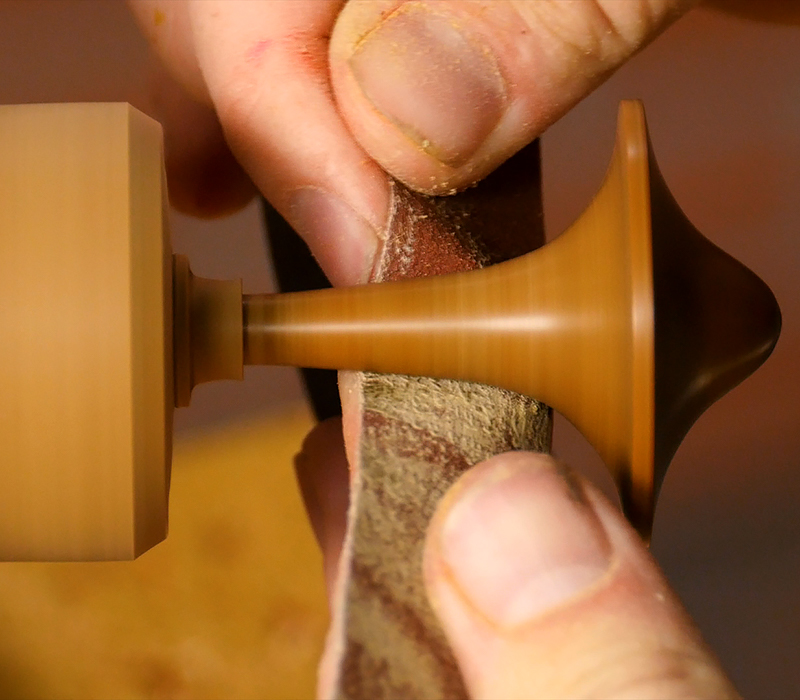
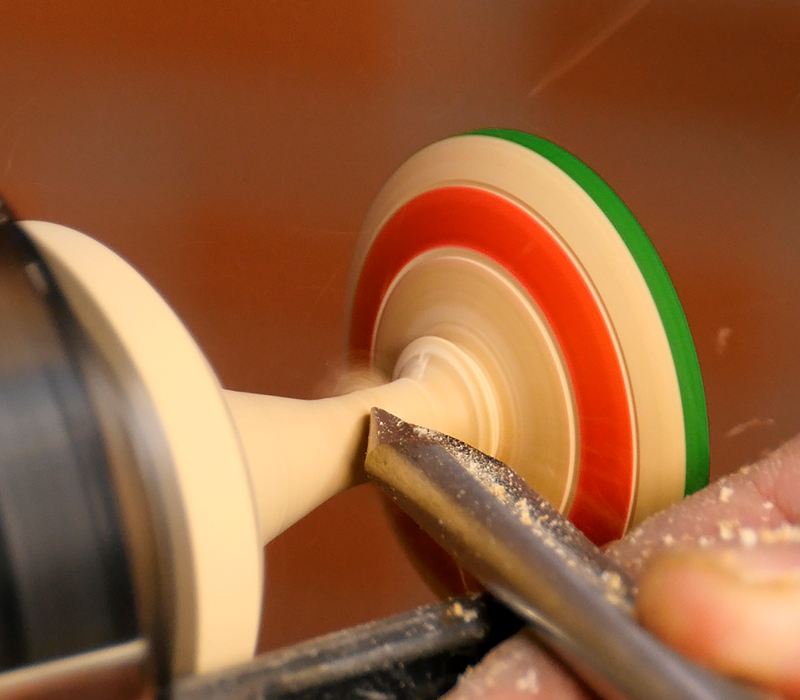
Turn the handle to the final diameter. When the handle gets thin it will flex, use your finger and support the backside of the top.
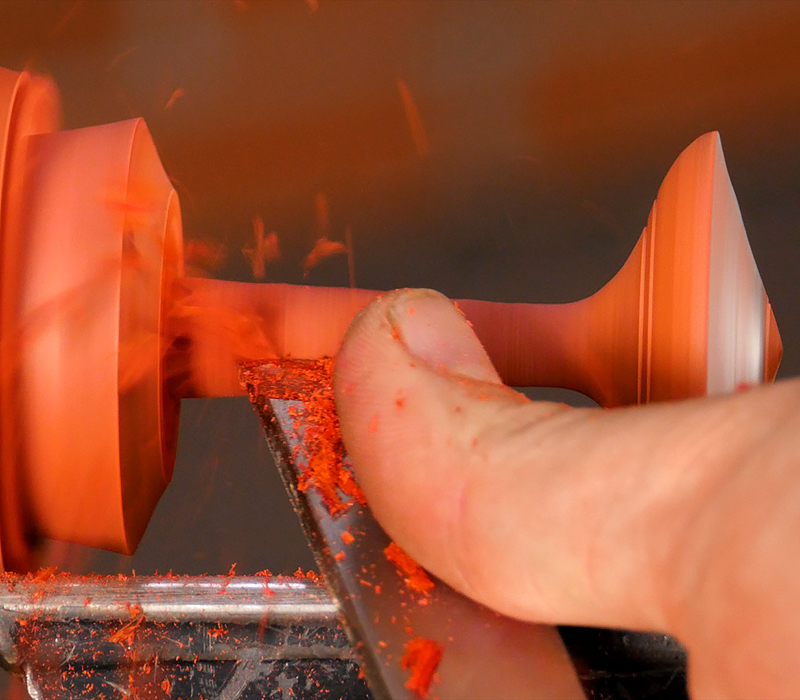

Part off the top with your hand close to catch it when it releases.
Sand the nub if necessary. No finish is necessary but you can use a spray lacquer if desired.
Top #2 – Lignum Vitae
Mount a 2″ x 2″ x 3″ block in a chuck. Use a spindle gouge and turn the bottom profile of the top.


It isn’t necessary, but if desired sand the end of the top and apply a finish. I’ll sand up to 400 grit and then apply Scratch Freee.
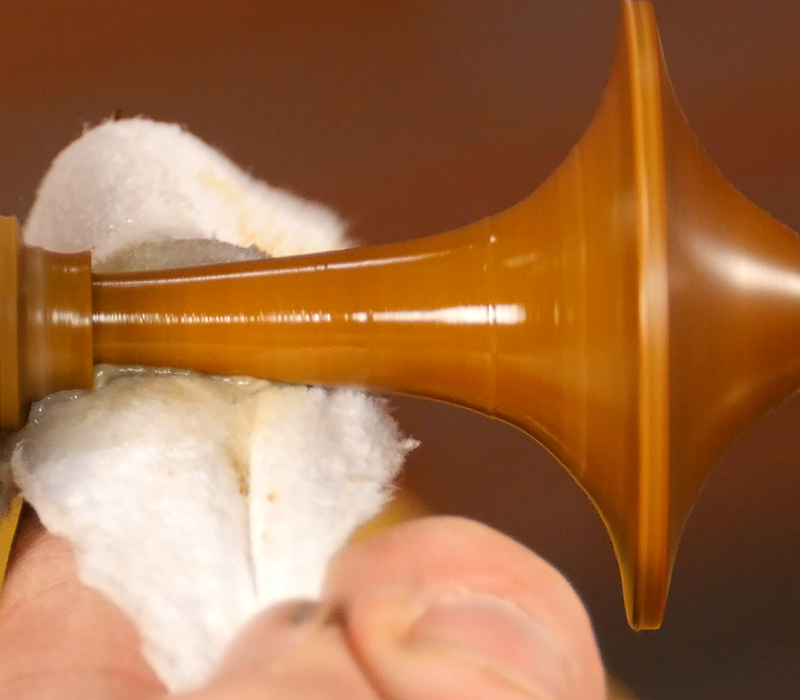
Once the bottom of the top is finished, turn the handle of the top. Sand through 400 grit and apply a finish, if desired.
Part off the top, careful to catch it as it comes free.
Sand the nub if necessary, then apply a finish.
Top #3 – Shagbark Hickory
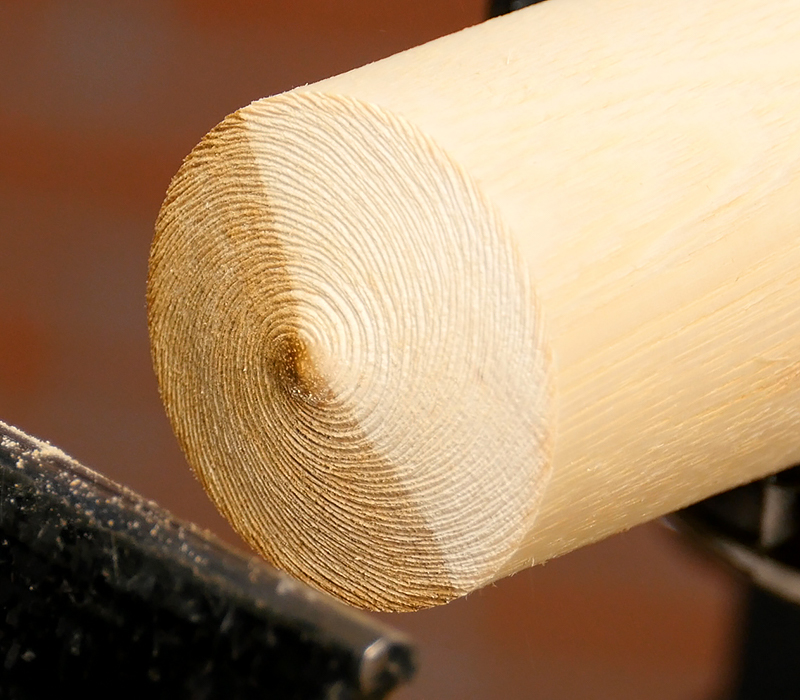
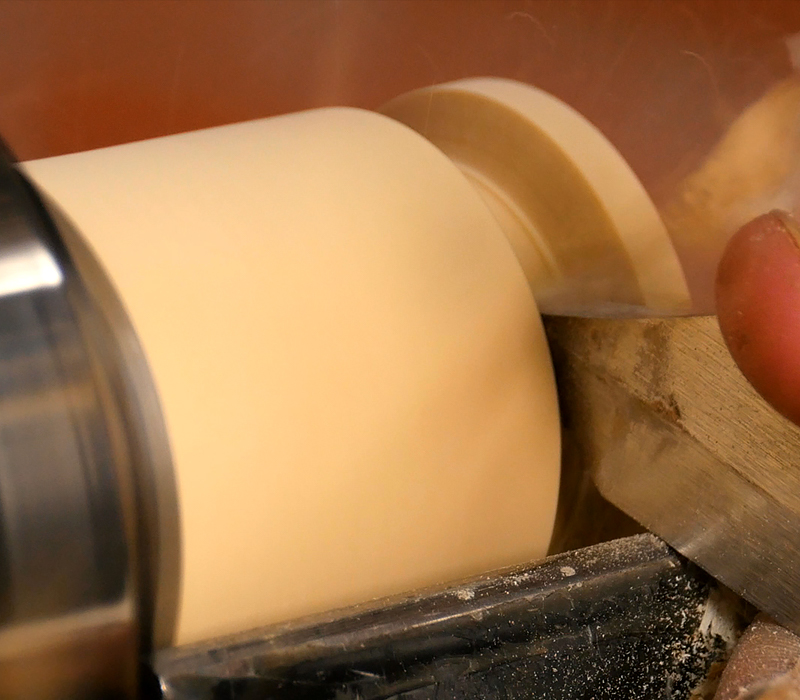
The first step is to mount a 2″x2″x3″ block in a chuck. Then, use a spindle gouge to turn the bottom profile of the top.
Here I’m going to apply a decorative technique using a Wagner Texturing Tool held at an angle with moderate pressure. This will produce a fun spiral texture on the bottom of the top.
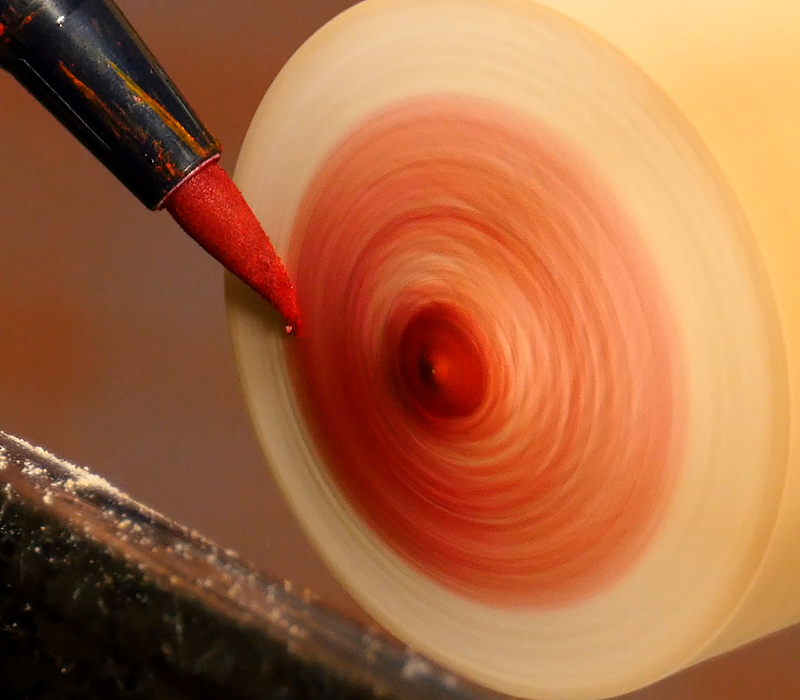
With the lathe running at 500 rpm carefully apply some color with markers.
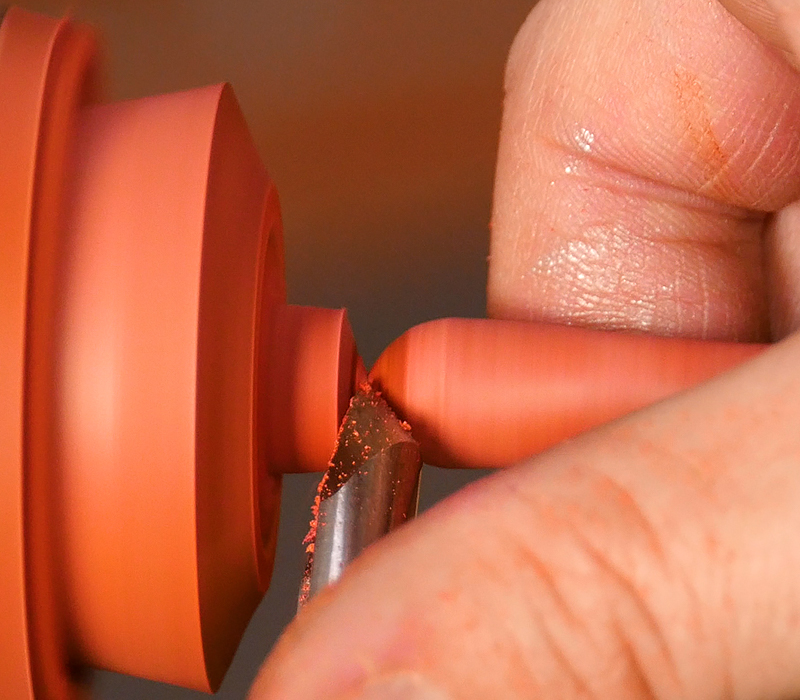
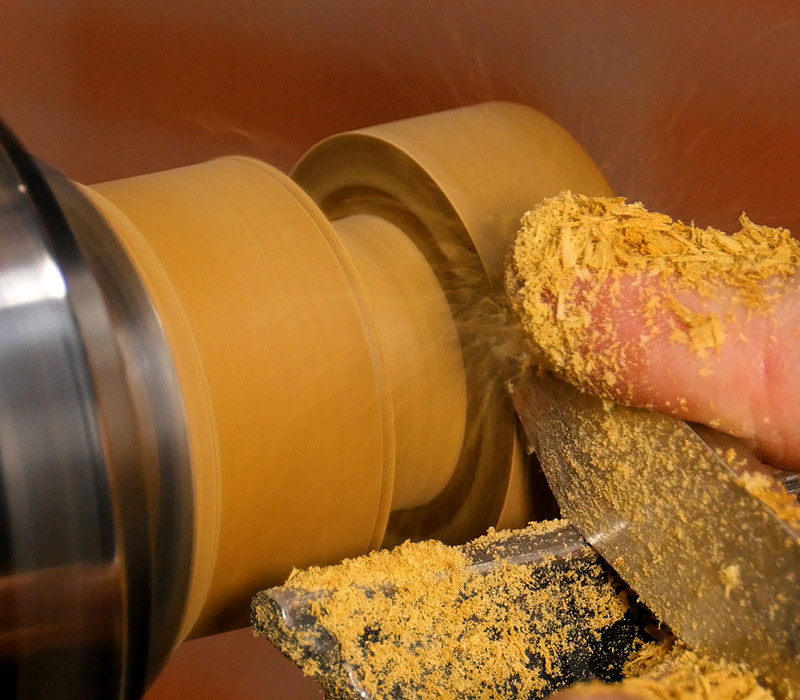
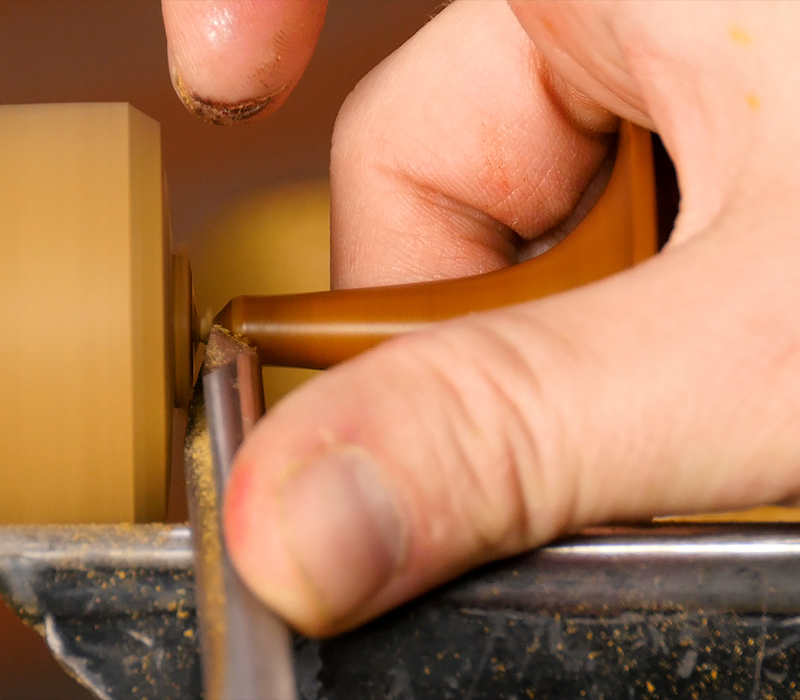
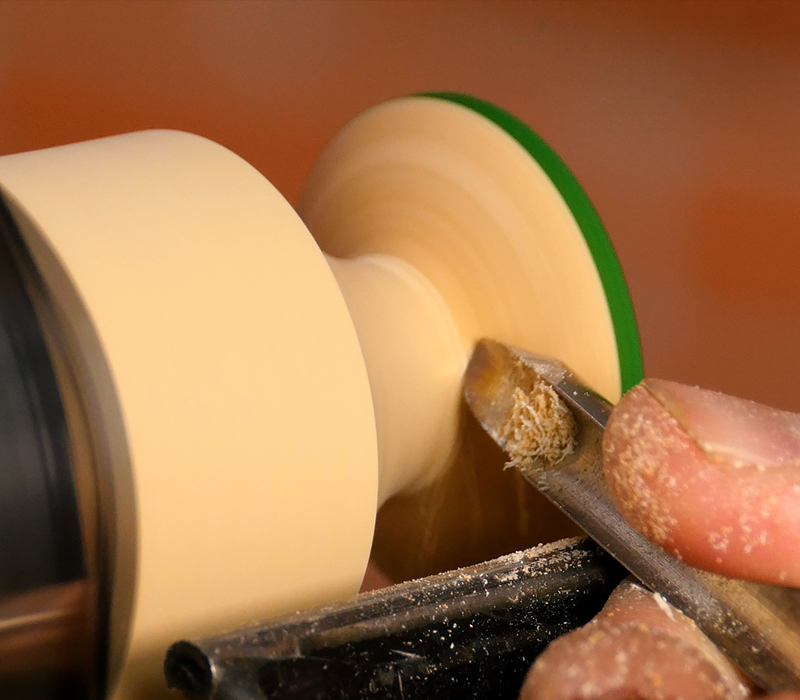
Start shaping the handle and upper section of the top. Use a parting tool to rapidly remove stock, then switch to a spindle or detail gouge to continue shaping the top.
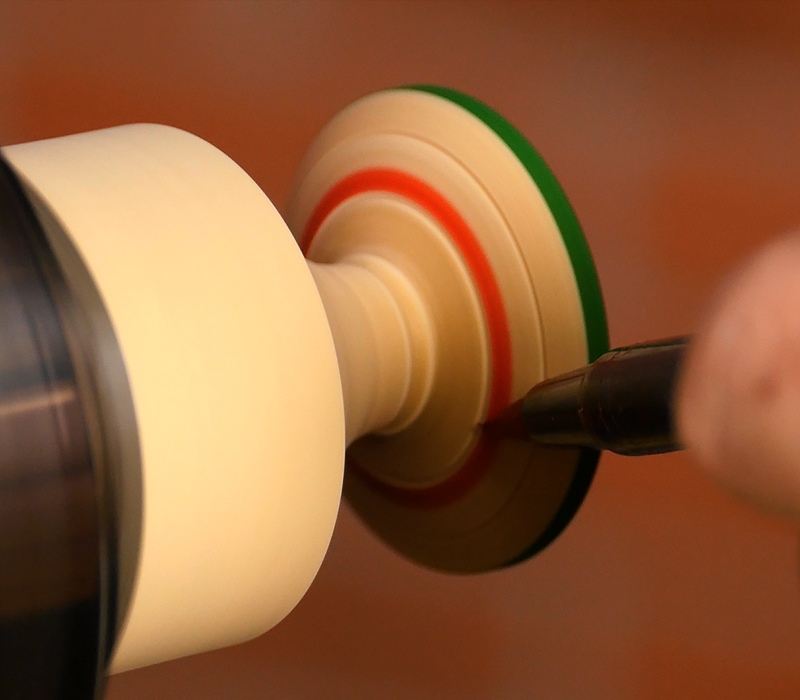
If you are going to texture the top do so now while there is enough material to support the texturing. I’m going to create some lines with the edge of a skew and then add color with the markers. Finish texturing and coloring before final shaping the handle.
Turn the handle to the final diameter. When the handle gets thin it will flex, use your finger and support the backside of the top.
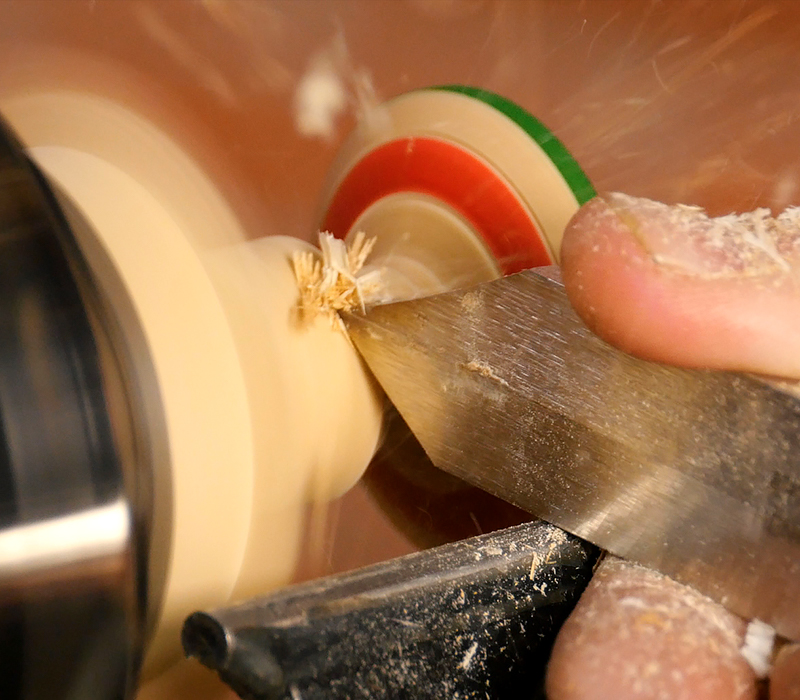
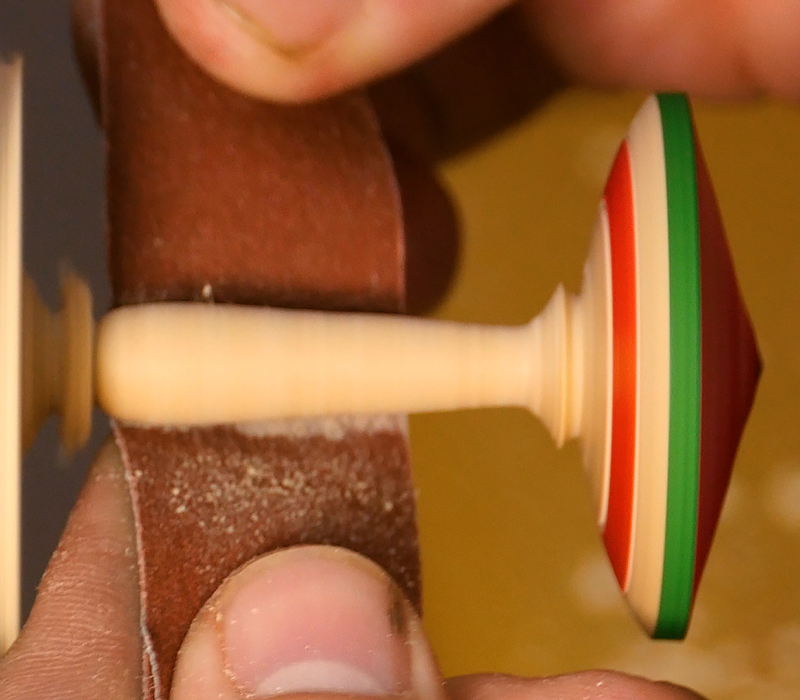
Sand the handle through at least 400 grit, then part off the top wit the spindle gouge and sand the nub if necessary.

No finish is necessary but you can use a spray lacquer if desired.

Supplies Used
Spindle Gouge
Parting Tool
Wagner Texturing Tool
Sandpaper
Dr. Kirk’s Scratch Freee
Tombow Markers
Gilder’s Paste Wax
Great demo!