
A nut cracker bowl is a great way to conveniently serve all kinds of nuts, plus it’s fun to turn and a great way to show off a piece of wood.
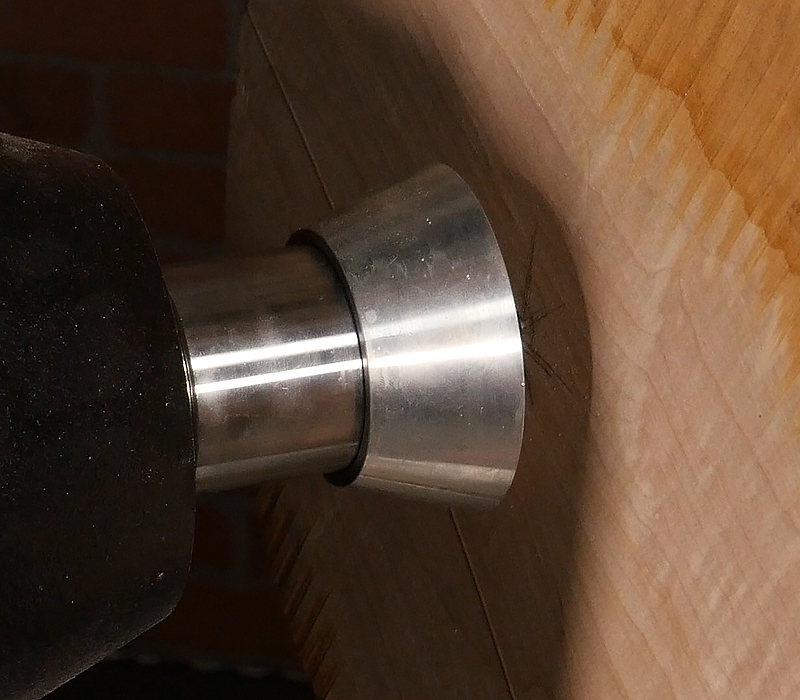
Select a blank 10” to 14″ in diameter and around 3-4″ thick. Since we’ll be mounting this blank on a screw chuck, drill a 1/4″ diameter hole about 7/8″ deep for the screw. The hole should be centered on the top of the blank. Now, mount the screw center chuck onto the lathe and screw the blank onto the chuck. The blank should seat firmly against the chuck. For increased safety, use the tailstock and revolving center to support the nut cracker bowl while rough turning and shaping.
Turning the Outside of the Bowl
Using a bowl gouge, true up the outside rim of the nut cracker bowl. This will tell you how much thickness you have to work with before you turn the back to the final shape and thickness.
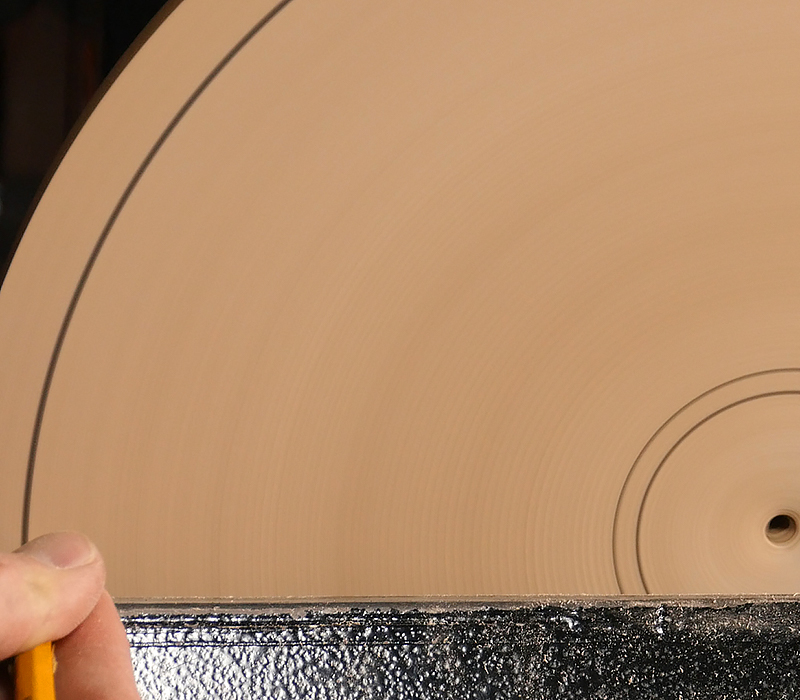
Use a pencil to mark the area of the foot and another for the chuck recess. Then turn the bottom of the bowl with a bowl gouge.
Next, turn a 1/4″ deep dovetail recess to fit your chuck jaws when used in the expansion mode. Hint: Use a skew chisel flat on the tool rest, like a scraper, with the long point cutting and forming the dovetail recess.
Finish turning the outside profile to your desired shape. I’ll leave a wide-based foot on mine for stability. Once you’re happy with the shape, sand the outside through 320 grit with a power drill or inertia sander.

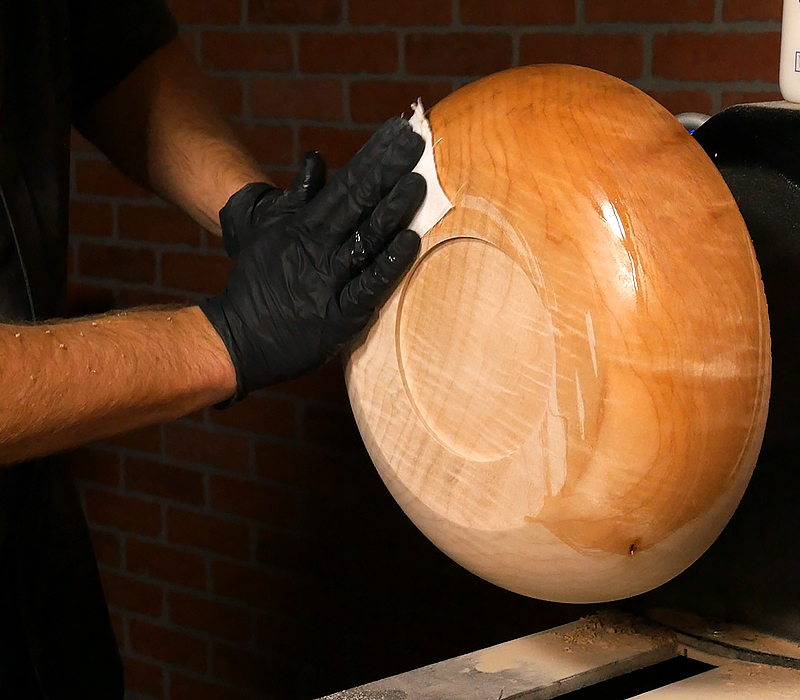
Finish the exterior of the nut cracker with your choice of finish. Because this is nut cracker is used for displaying and serving nuts, we’ll use Deft Clear Wood Finish thinned 50% with lacquer thinner. Simply wipe on a heavy coat with the lathe turned off. Apply a second coat on any areas that look dull, these areas (usually end grain) normally absorb more finish than face grain. Wipe away excess and then buff with a soft cloth with the lathe running.
Once the exterior of the nut cracker is finished, remove the blank from the screw chuck, turn it around and mount it in a four-jaw chuck using the dovetail recess.
Turning the Inside of the Nut Cracker Bowl
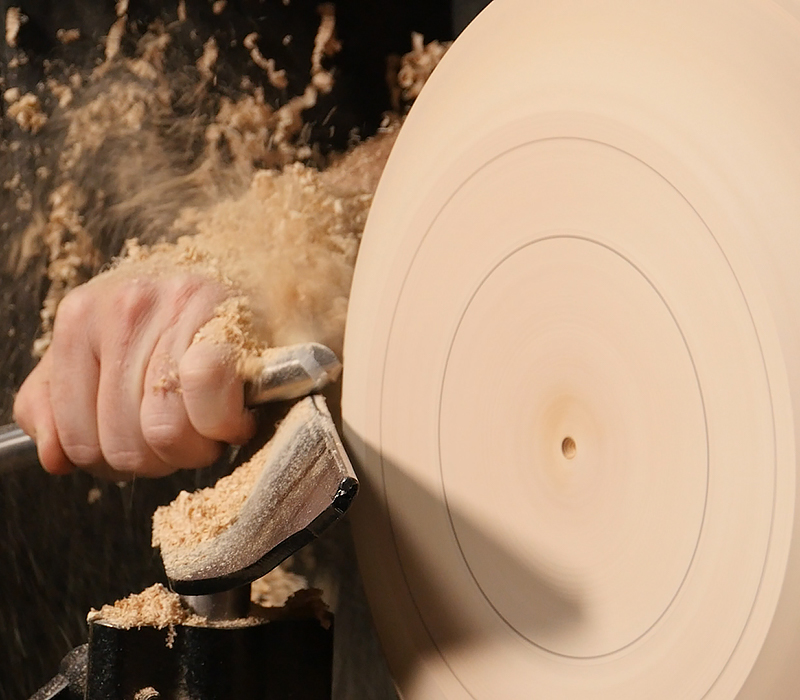
True the face of the blank with a bowl gouge, then mark the diameter of the rim and the island that’ll hold the nut cracker.
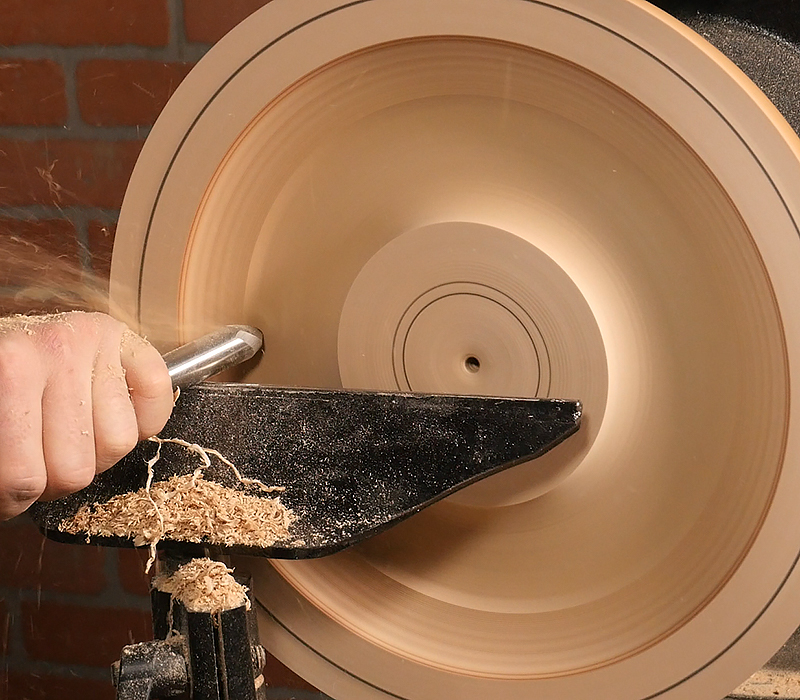
Next, turn the inside of the nut cracker with a bowl gouge. Check your depth often to prevent making the sidewall too thin or worse, turning through the side. Leave about 1/4″ of thickness between the bottom and dovetail recess.
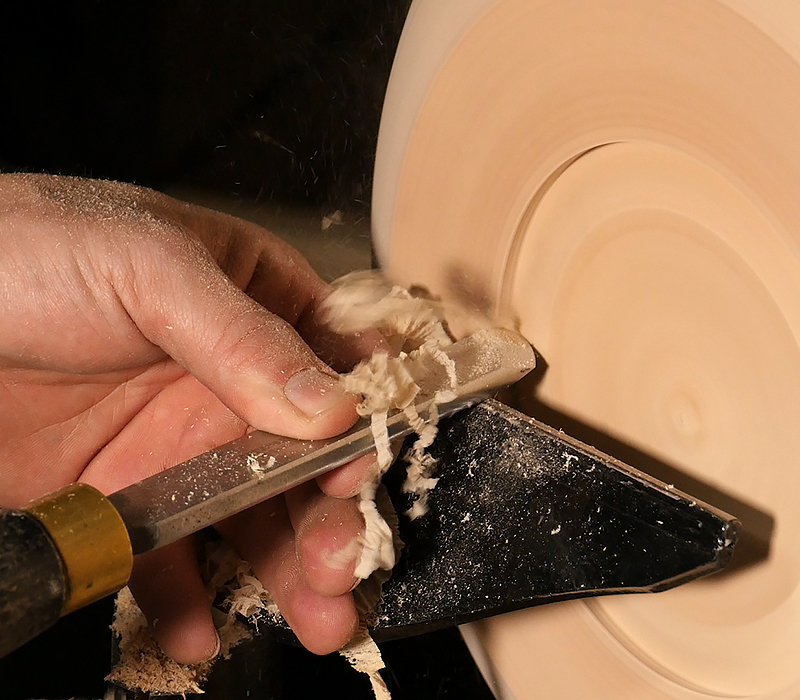
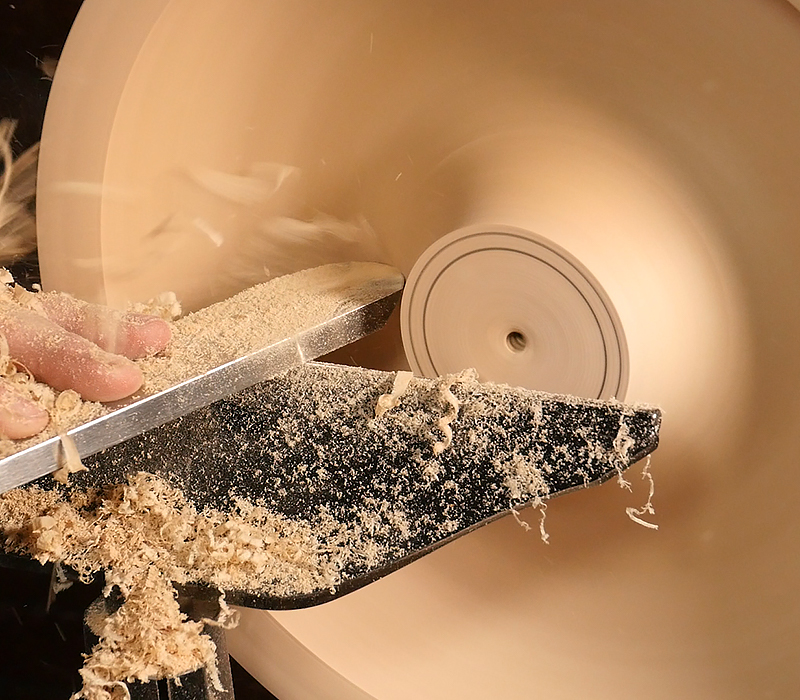
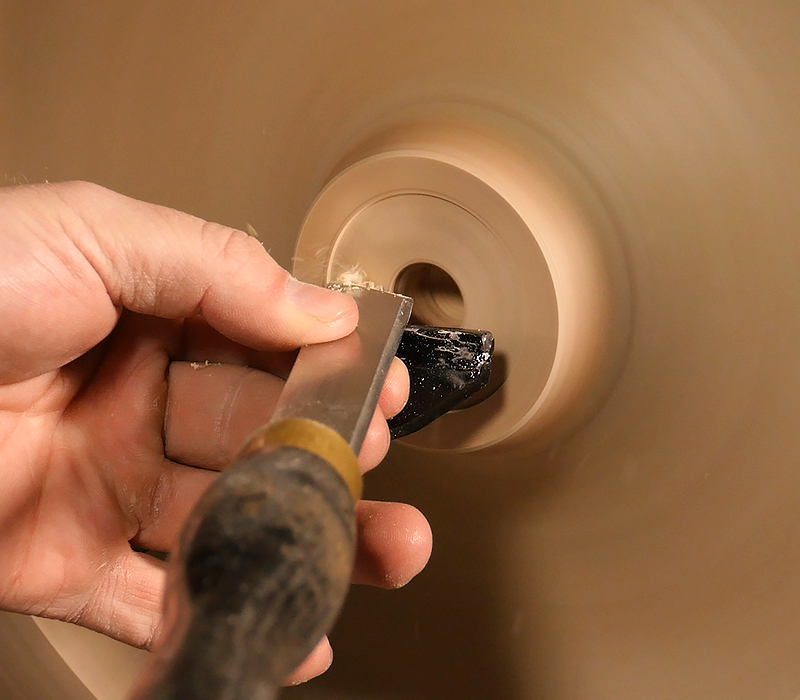
If you have trouble getting a clean cut, use a bowl scraper, taking light cuts, to achieve a clean surface. Cut a small recess for the shoulder of the nut cracker with a skew. Make sure it is evenly cut so that the nut cracker sits level when finished.
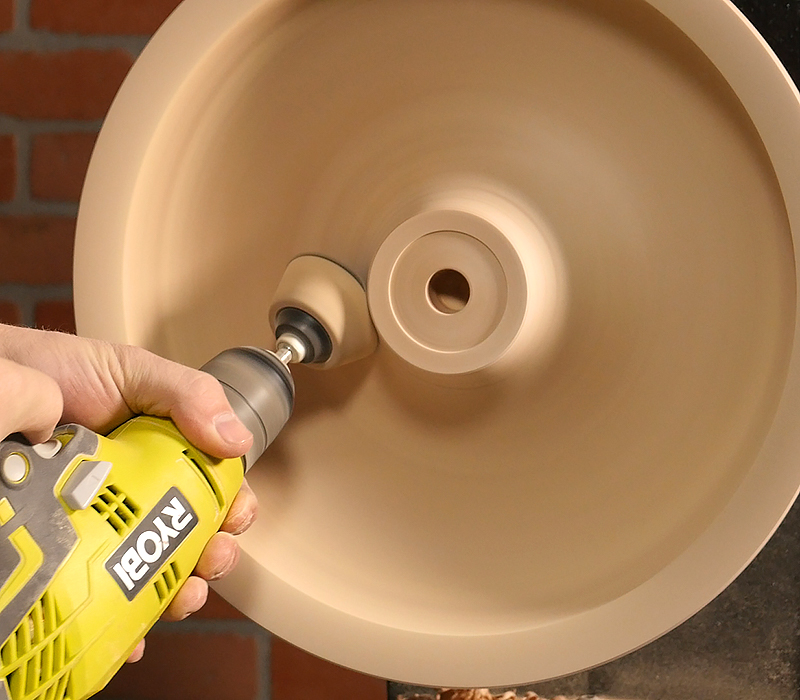
Sand through 320 grit, making sure to remove any torn grain. A 2″ sanding pad and disc is perfect for this type of work.
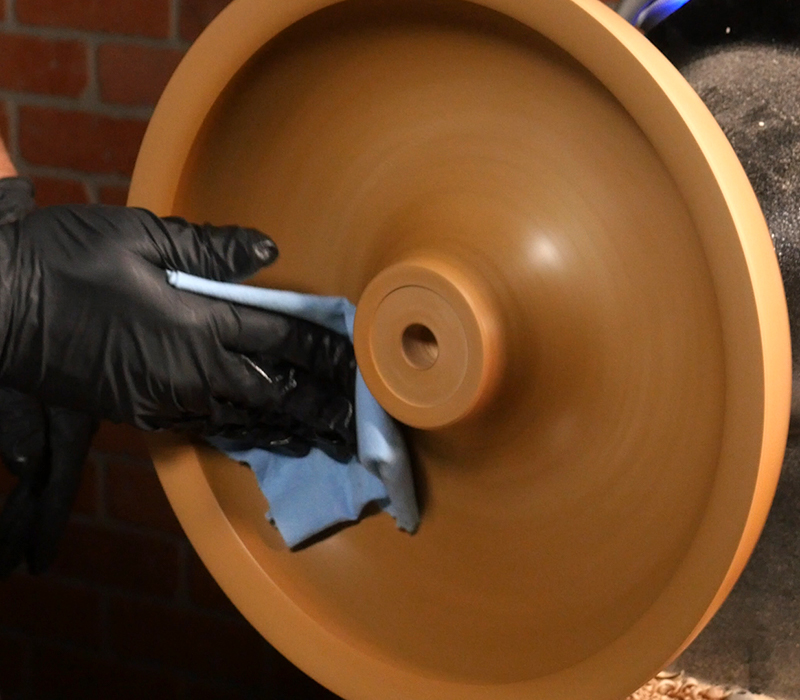
Finally, finish the inside of the nut cracker using Deft/lacquer thinner.
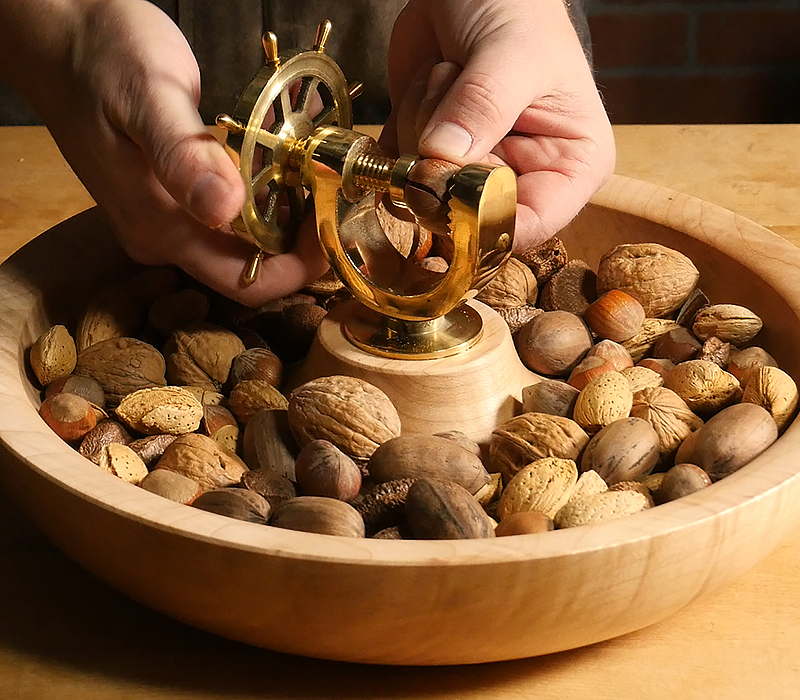
Assemble the Nut Cracker Bowl
Apply epoxy to the drilled hole. Insert the brass piece and wipe away any extra epoxy.
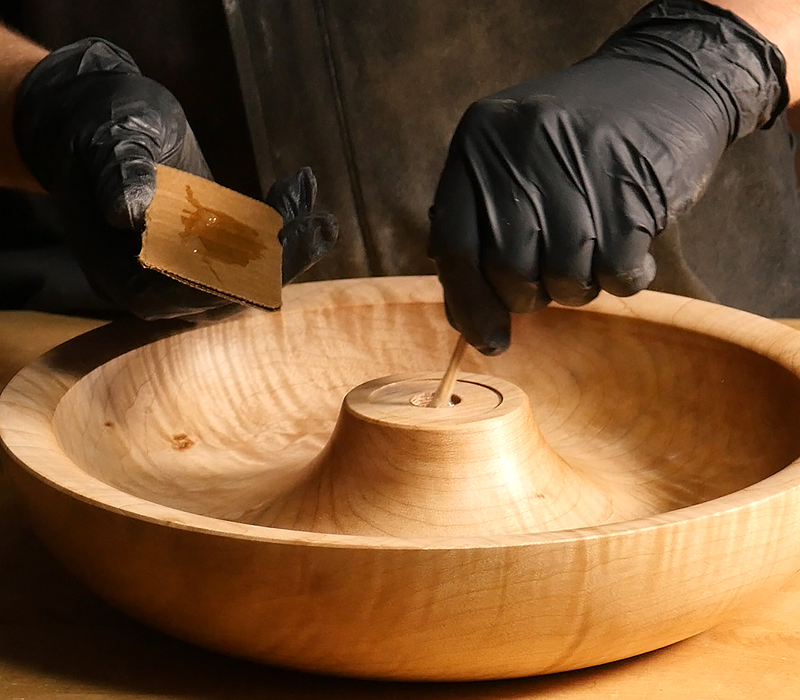
Let the epoxy cure – now you have a custom turned nut cracker bowl!
Supplies Used:
Ship’s Wheel Nutcracker Kit
3-in-1 Screw Center Chuck
Bowl Gouge
Skew
Bowl Scraper
Sanding Discs
Deft Finish
Epoxy
I need a bowl cracker nut only as shown
I need a bowl cracker nut
My nutcracker kit came with a bolt in the pkg and your video doesn’t show it could you explain?
That extra piece is only used if you drill a hole completely through the blank and secure the nut cracker with nut and bolt instead of epoxy. In our example we chose to simply use epoxy to hold the nut cracker in place and not drill through the bottom of the bowl. In most cases epoxy is sufficient and most turners do not use the bolt, but it is included in case you need it.