
These projects are a lot of fun to turn and make practical gifts that almost everyone will use. And the great thing about turning these handles is that there are a number of projects all turned in the exact same way, so if you learn to turn one you can turn them all. That’s because each of these handles includes an exclusive feature – a threaded insert that allows you to easily remove the handle and wash the metal without ruining the wood. You can also refinish the handle if needed.
Preparation
For this project you’ll need a blank, a kitchenware project kit, a mandrel, a 3/8” spindle tap, 11/32” drill bit along with standard turning tools and supplies. Because we’ll be cutting threads blank selection is really important for this project. Dense materials take threads much better than softer woods. We recommend using a hardwood, acrylic, or stabilized blank for this project. I’m going to turn this handle out of Padauk.
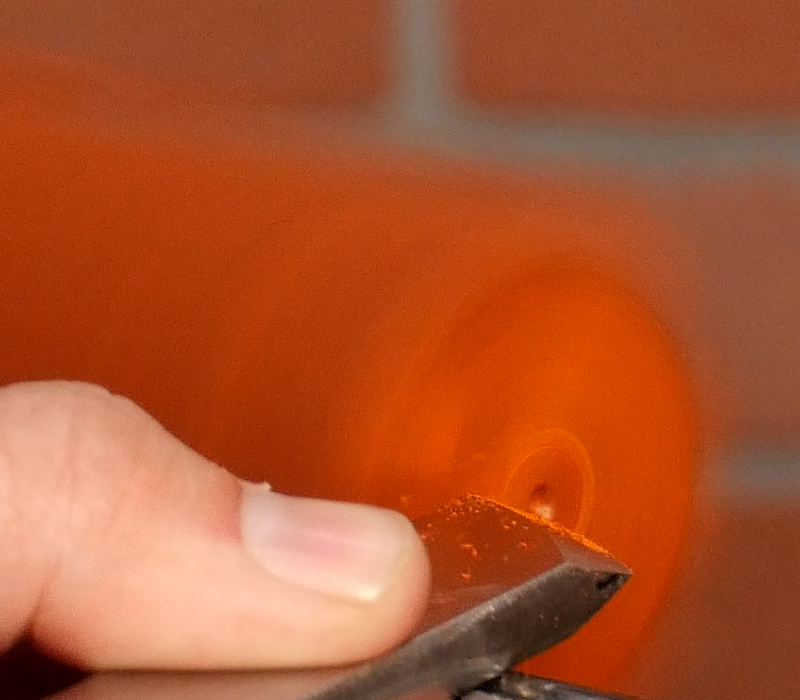
Let’s prepare the blank for drilling. Mount it in a chuck and set your lathe speed appropriately. For this blank I’ll keep it to around 2,500 rpms. True the end of the blank and use a skew to create a dimple for the drill bit.
With the blank prepped we can tap it for the threaded insert. Let’s talk about choosing the proper size drill bit for the 3/8” tap. For most hardwoods and acrylics an 11/32” drill bit is perfect, but if the wood is on the soft side, use a smaller 5/16” bit.
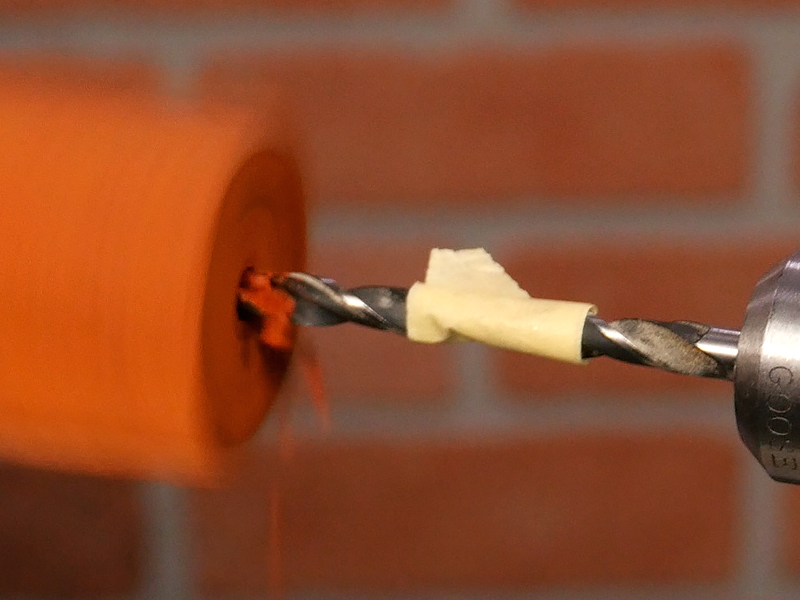
Measure the length of the threaded stud and add an eighth of an inch, then mark the depth with tape. Now place the bit in a drill chuck in the tailstock and advance the drill by rotating the wheel. Stop when you reach your tape marker. I’ll keep my rpms to about 750.
Thread Tapping
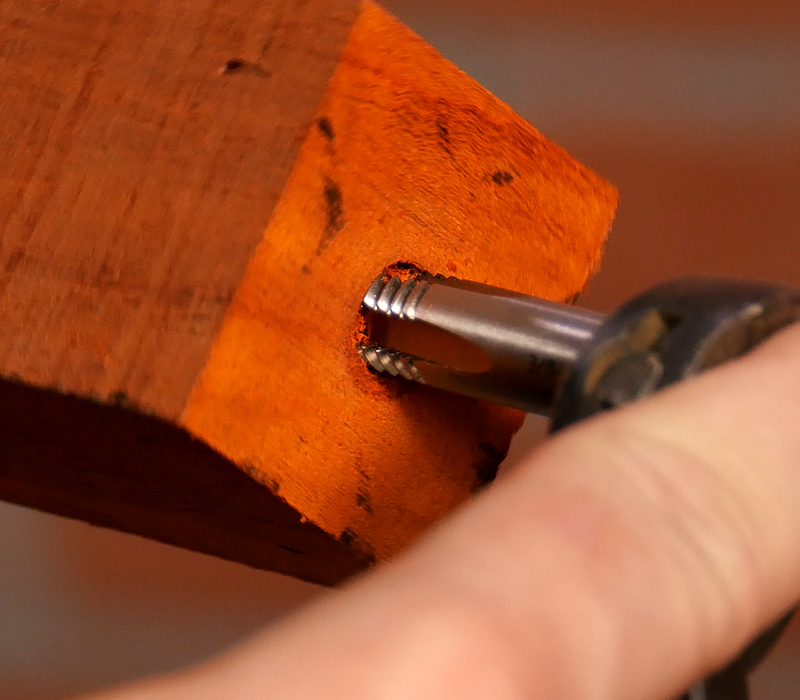
Next we’ll tap the threads. I find it easiest to leave the blank in the chuck for this. Lock the spindle, then align the tap by eye and start threading it in by hand. Use a wrench or tap handle and advance the tap one turn, then back out a quarter turn. This should be a slow and steady process. Keep going until the tap bottoms out.
For more detailed instruction, including tips on tapping acrylics, watch our video “Threading Wood and Acrylics”. We’ll link to that in the description.
Turning the Handle
To turn the handle we’ll be using the threaded mandrel and bushing. It makes things much simpler and is designed to be mounted in a drill chuck. Thread the blank onto the mandrel, the fit should be snug, then advance the tailstock for support.
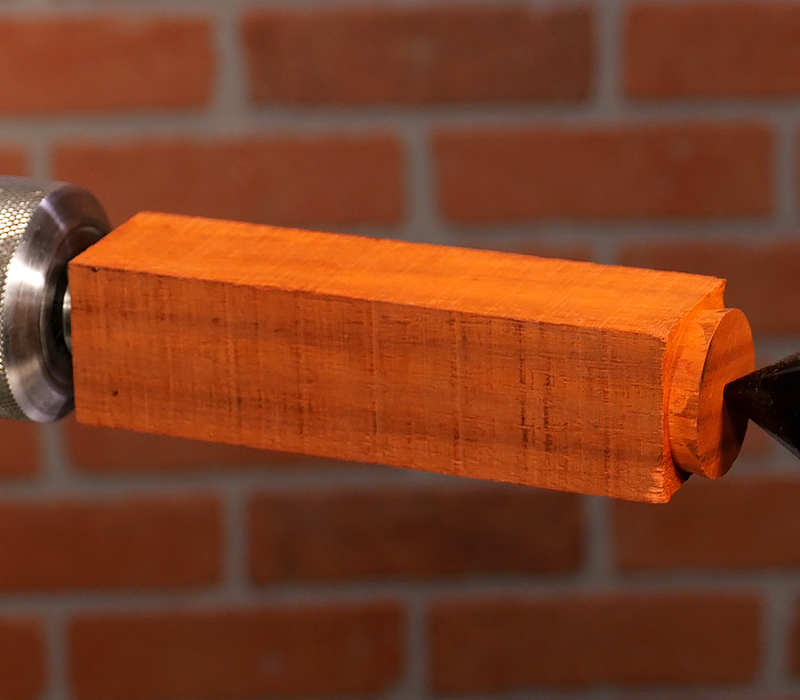
Set your lathe speed. I’ll set mine to about 2,500 rpm. Turn the blank round with a spindle gouge or spindle roughing gouge. Take light cuts, you don’t want a catch that could damage your threads.
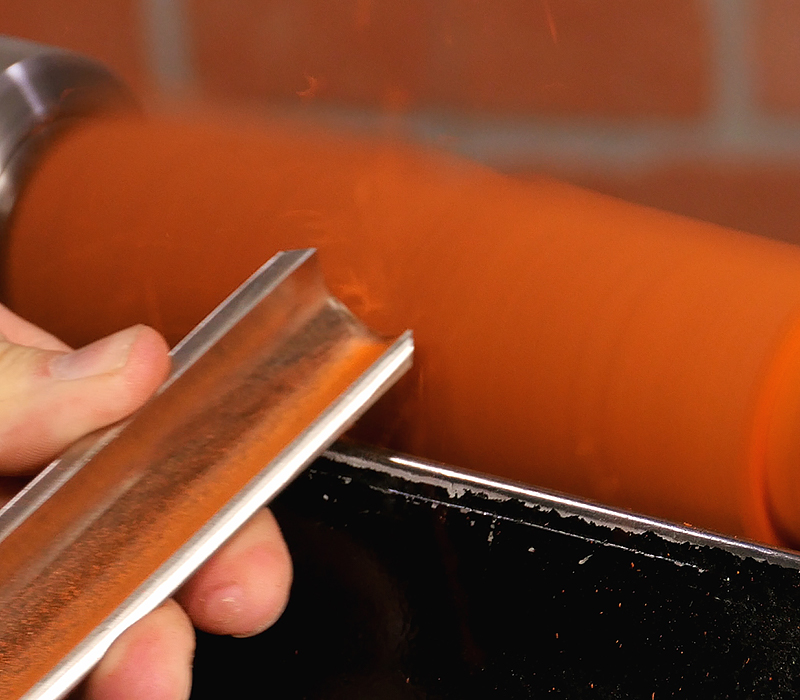
To eliminate the possibility of stripping the threads you can turn the blank round between centers before tapping, or cut off the edges on a bandsaw before mounting on the lathe.
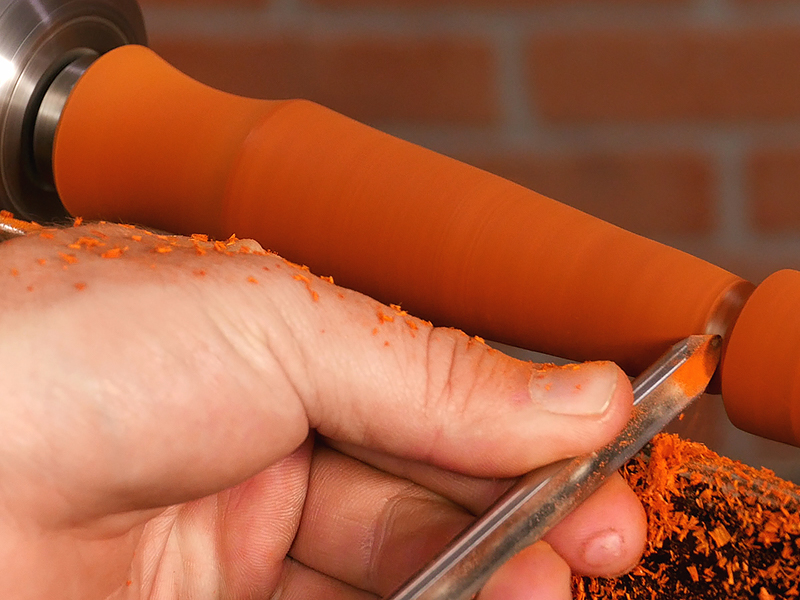
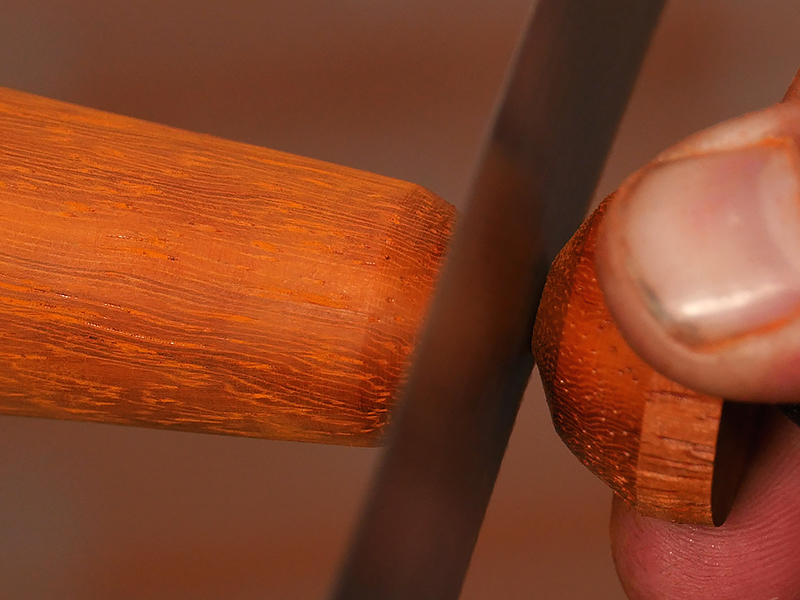
Turn the handle to your desired shape leaving about a half inch of waste on the tailstock end that we’ll trim off later. The bushing on the mandrel serves as a sizing gauge, if you turn right down to it the parts will fit nice and flush. When turning a handle I prefer a simple, ergonomic shape – but with these handled projects there is a lot of room to personalize your project to make it just the way you want it.
Sanding and Finishing the Handle
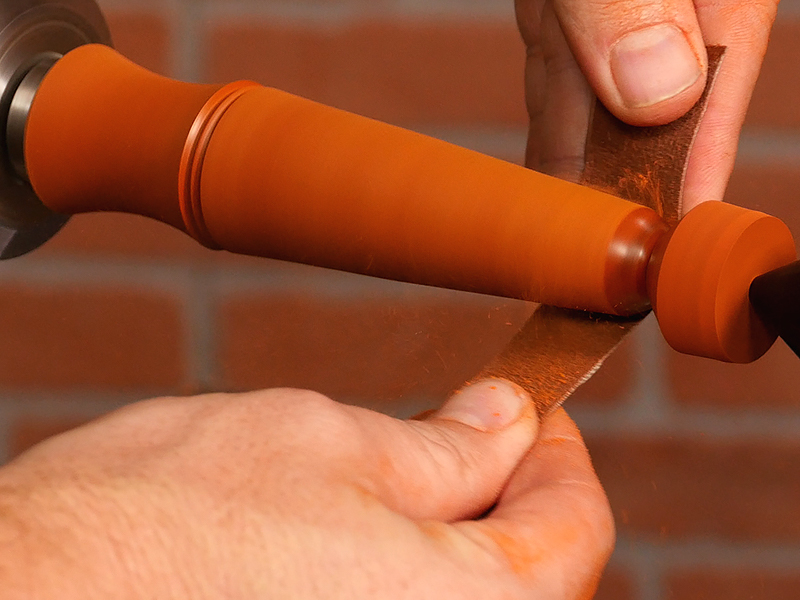
Now that I’ve got the shape it is time to sand. Sand through at least 320 grit. My lathe is running at about 750 rpms.
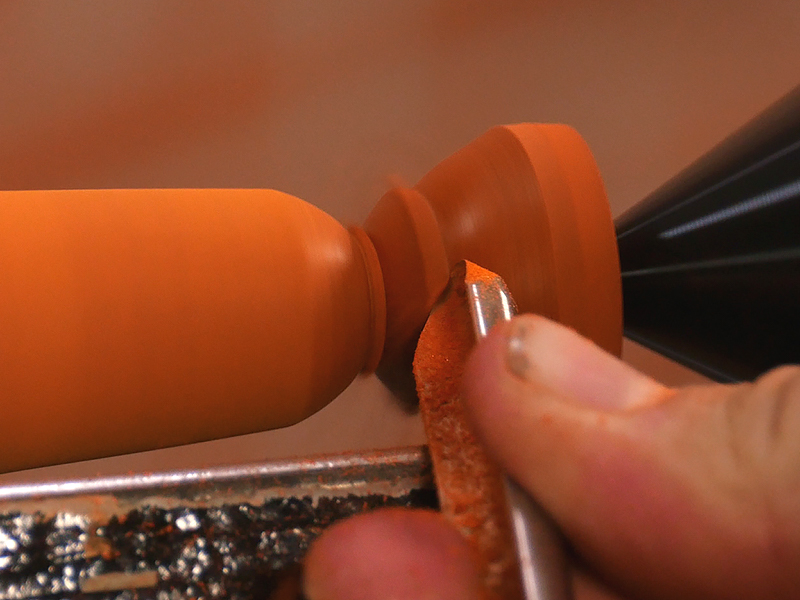
Next we need to cut off the waste end. Turn the waste area down as far as possible, it’ll make finishing the end that much easier. Cut off the remaining with a handsaw. Now we need to sand the end of the blank.
Put the project back on the lathe to make finishing easier. Wipe off any dust or debris. When selecting a finish, keep in mind that this project will likely see a lot of use so we recommend a durable finish. I’m going to use Waterlox, it is easy to apply and extremely durable.
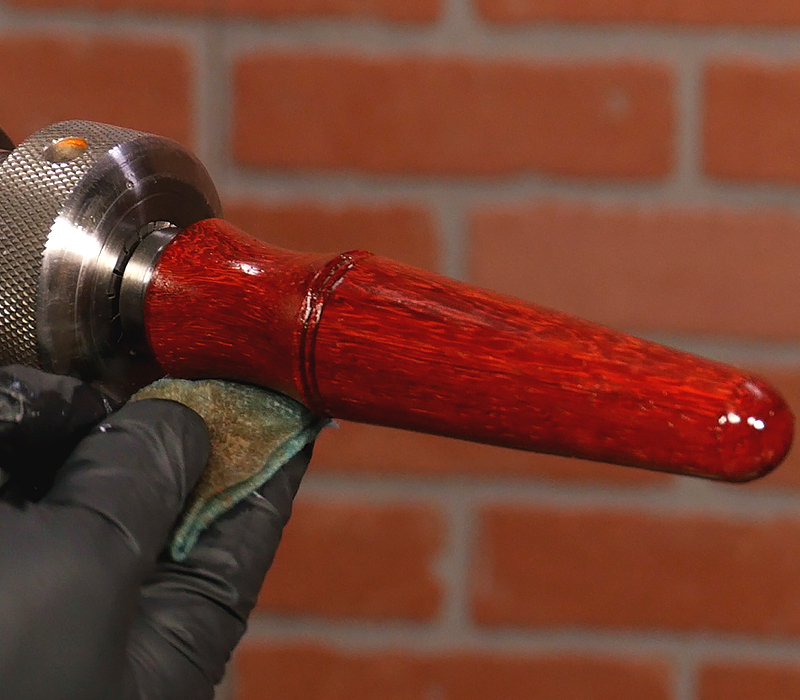
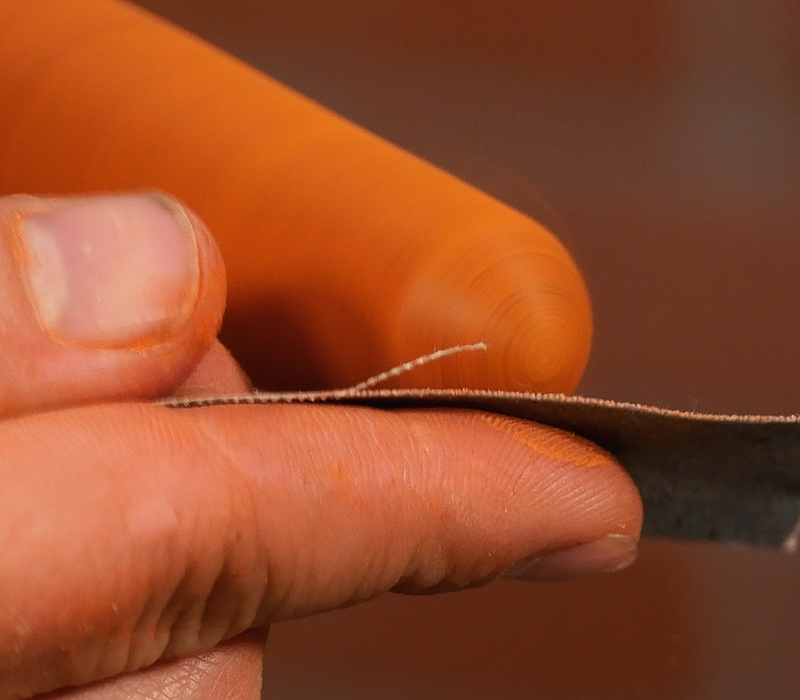
Using a paper towel apply one coat of waterlox and then wipe off any excess. Allow one hour to dry, then repeat the process and allow 2 hours to completely cure. After it has cured use steel wool and clear paste wax for a smooth, close-to-the-grain finish.

I always use a little bit of epoxy to glue the threaded rod into the handle. It’s an extra step but it’ll guarantee your finished project lasts. Just be careful to clean up any excess.
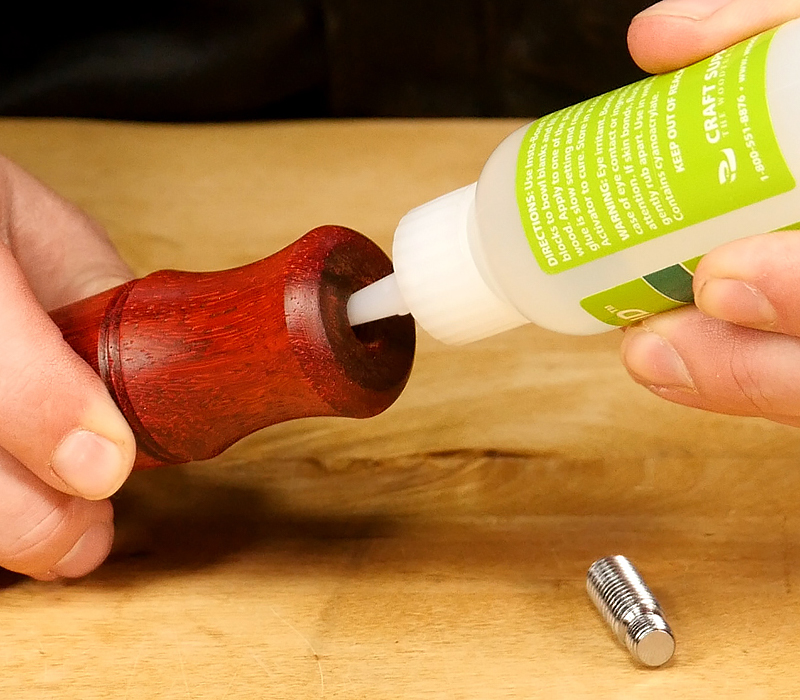

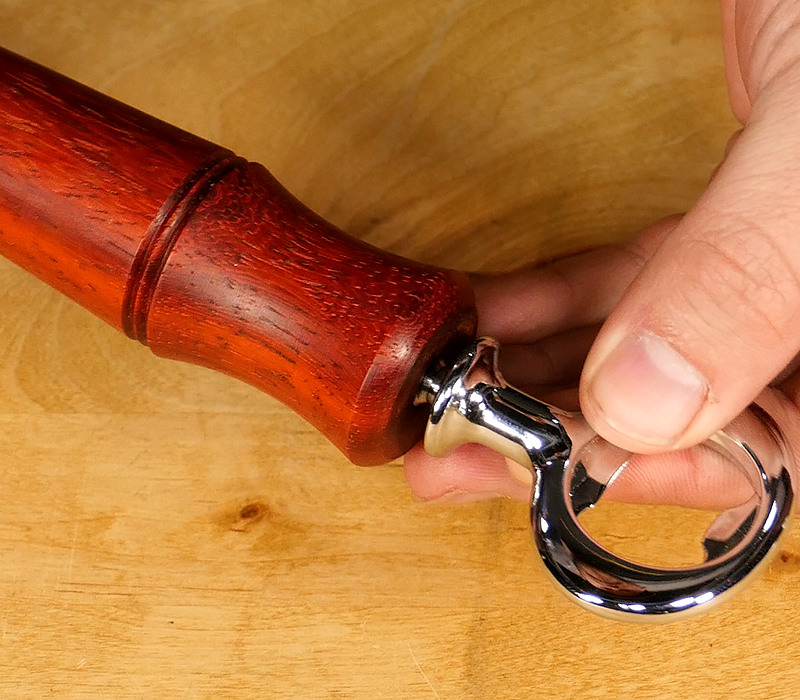
Once the glue is dry simply attach the handle to complete the project. Now you’ve got custom kitchenware that looks great and is a joy to use.
Supplies Used
Kitchenware project kit
Bottle stopper mandrel
3/8″ Spindle tap
Revolving center
Spindle roughing gouge
Spindle gouge
Drill bit
Sandpaper
Waterlox
0000 Steel wool
Clear paste wax
CA Glue
Accelerator
I love the video and that wood is fantastic that’s what I was looking for is a nice wood to make handles out of great video.