Utility platters are one of our favorite turning projects. You can store fruit in them on your kitchen table as a decorative touch, or use it as a serving platter for your next dinner party. Let’s get started!
Select a blank 10” to 14” in diameter and around 2-3” thick, preferably with some pretty figure. Since we’ll be mounting this blank on a screw chuck, drill a 1/4″ diameter hole about 7/8″ deep for the screw. The hole should be centered on the top of the blank. If the blank is less than 2″ thick, drill the hole 3/4″ deep and make a 1/8” thick spacer (the same diameter as the screw chuck) to shim the blank. Now, mount the screw center chuck onto the lathe and screw the platter onto the chuck. The blank should seat firmly against the chuck. For increased safety, use the tailstock and revolving center to support the platter while rough turning and shaping.
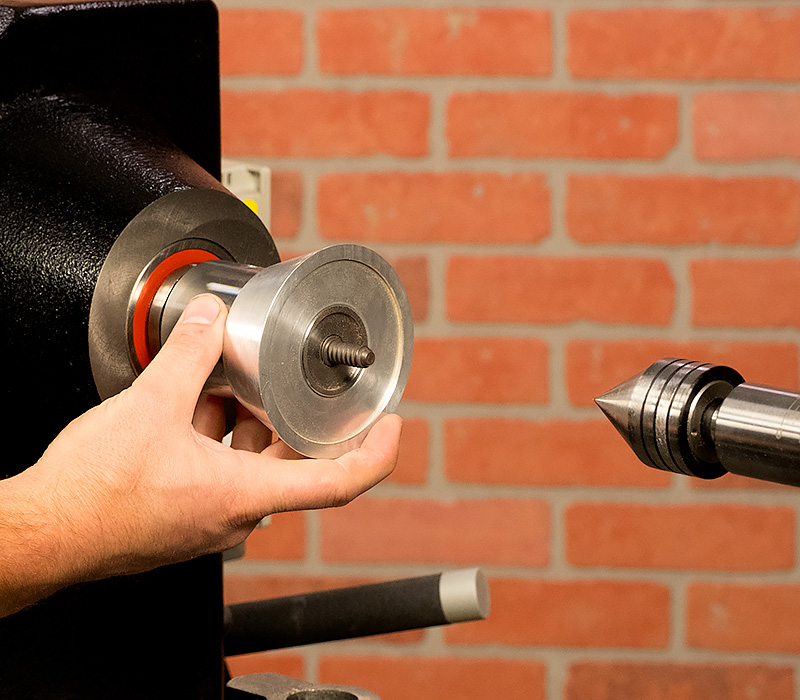
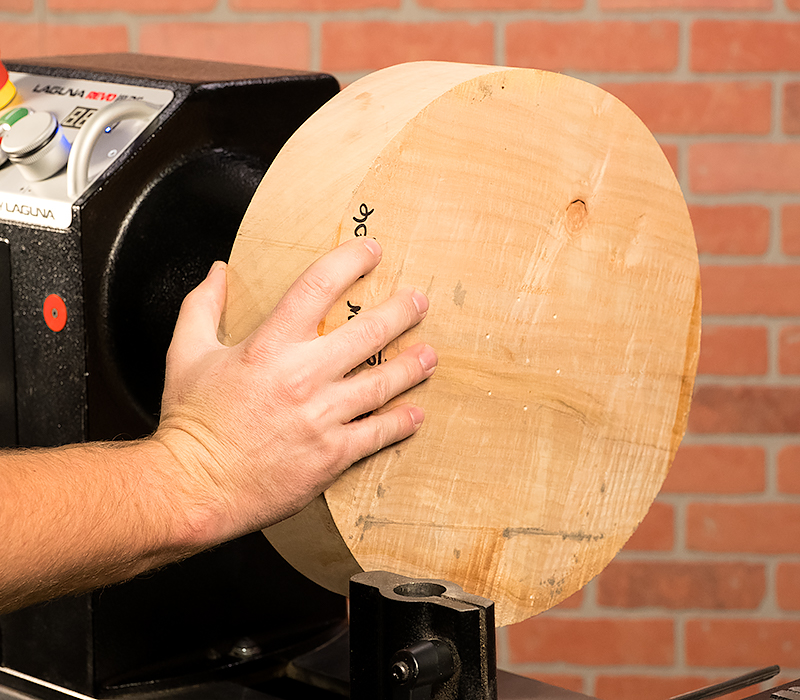
Turning the Platter
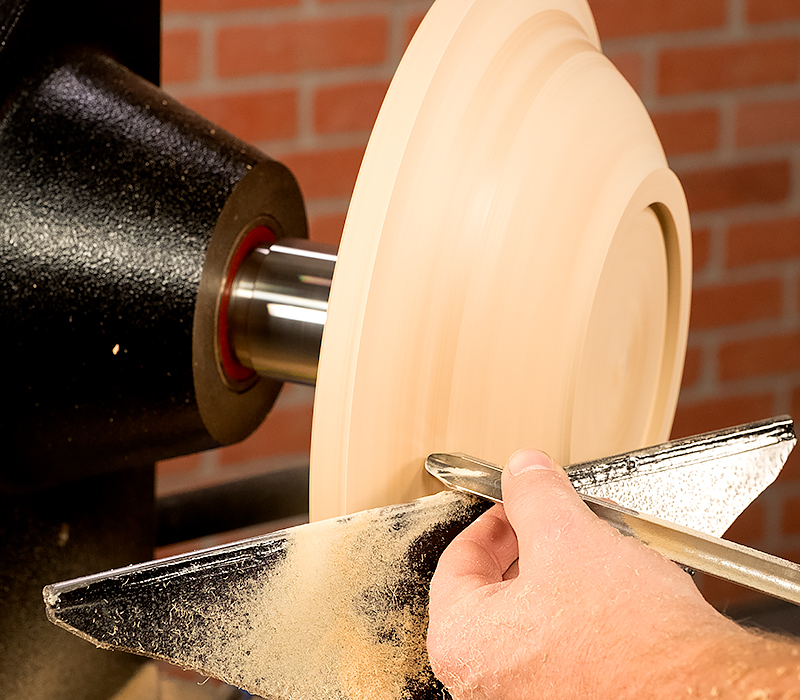
True up the edge of the platter with a bowl gouge to balance the piece, then true up the face of the bottom.
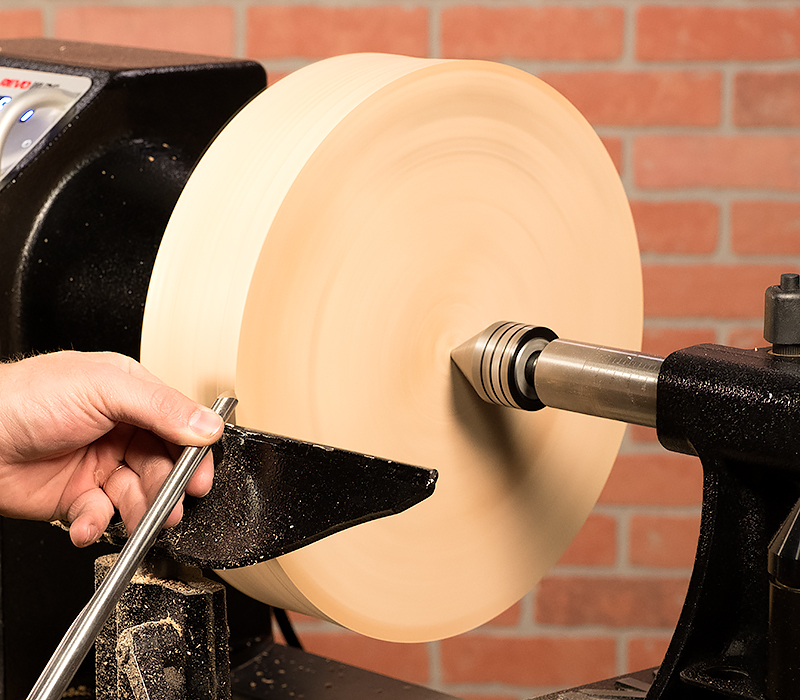
Face off the bottom of the platter.
Using a bowl gouge true up the outside rim of the platter. This will tell you how much thickness you have to work with before you turn the back to the final shape and thickness.
Turn a 1/4″ deep dovetail recess to fit your chuck jaws, which will receive the chuck jaws in the expansion mode.
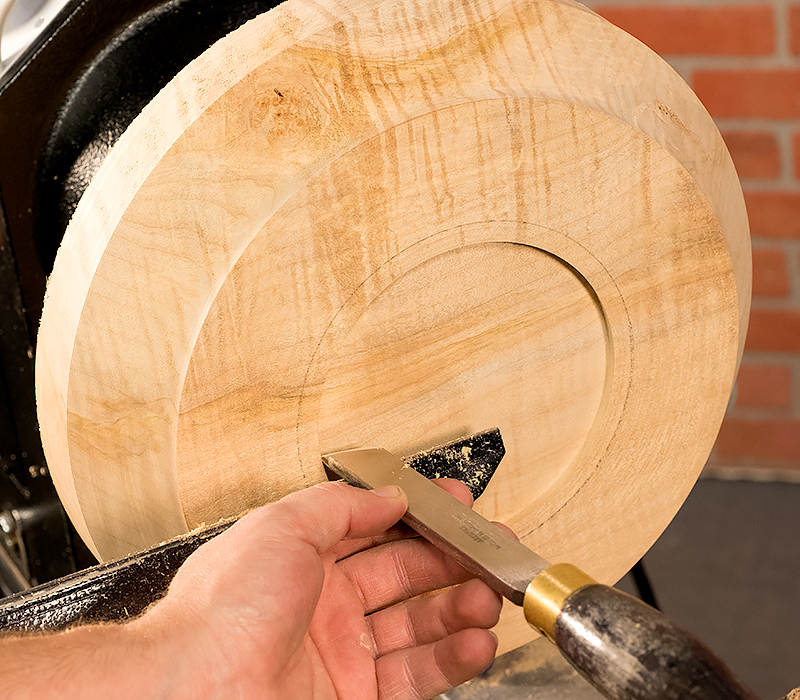
Next, turn a 1/4″ deep dovetail recess to fit your chuck jaws when used in the expansion mode. Hint: Use a skew chisel flat on the tool rest, like a scraper, with the long point cutting and forming the dovetail recess. Turn a foot ring around the recess area. On a utility piece like this, make the foot roughly 1/2 or 1/3 the finished diameter of the platter.
Finish turning the outside profile to your desired shape. A simple ogee is a classic design.
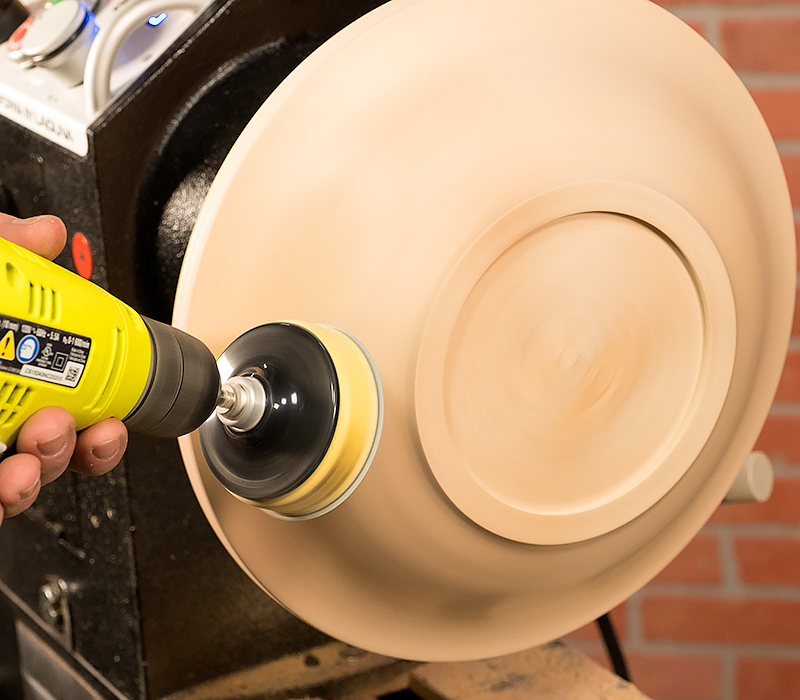
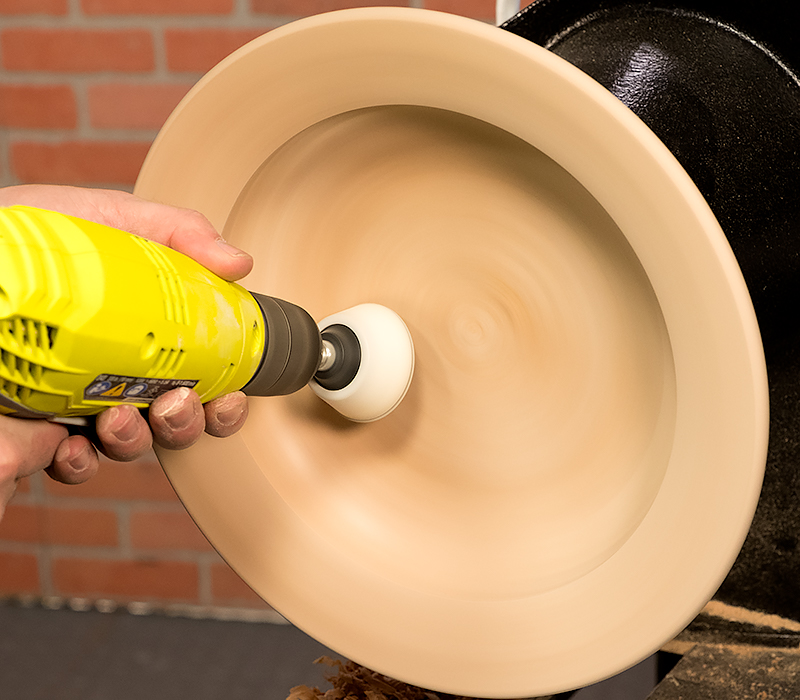
Once you’re happy with the shape, sand the platter through 320 grit with a power drill or inertia sander.
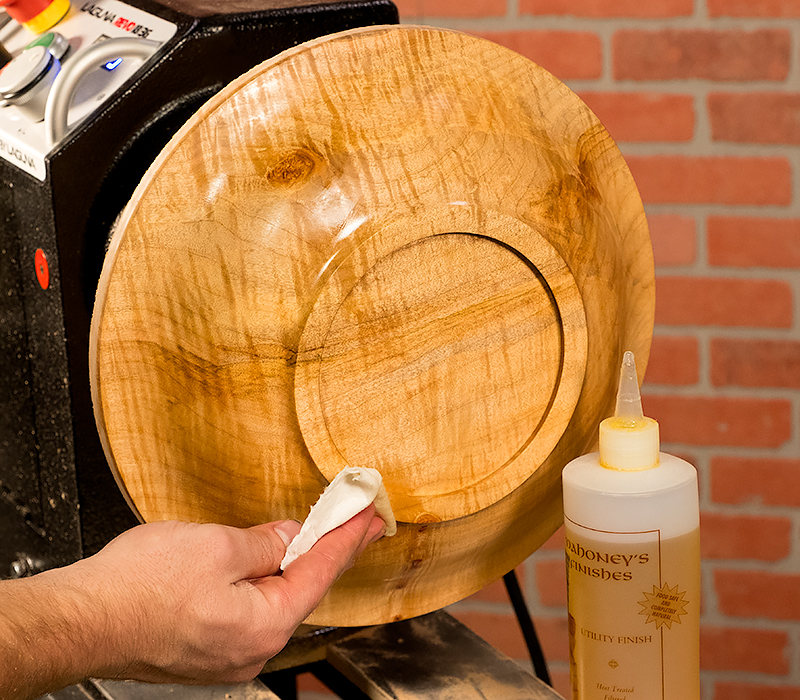
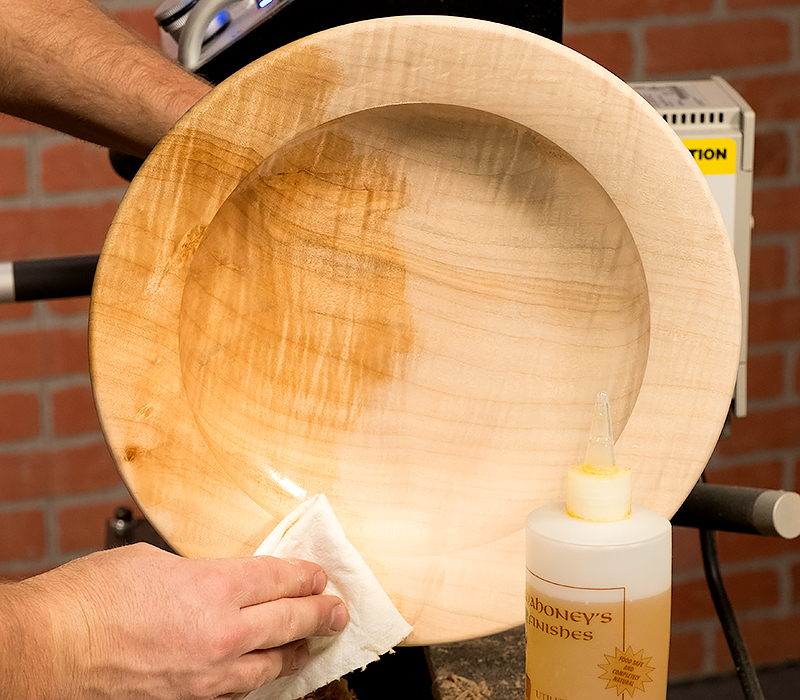
Finish the exterior of the platter with your choice of finish. Because this is a utility platter used for displaying and serving food, we like to use Mahoney’s Utility Finish. It’s a Walnut oil that protects the wood and gives it a beautiful luster.
Once the exterior of the platter is finished, remove the blank from the screw chuck and mount it in a four-jaw chuck using the turned dovetail recess.
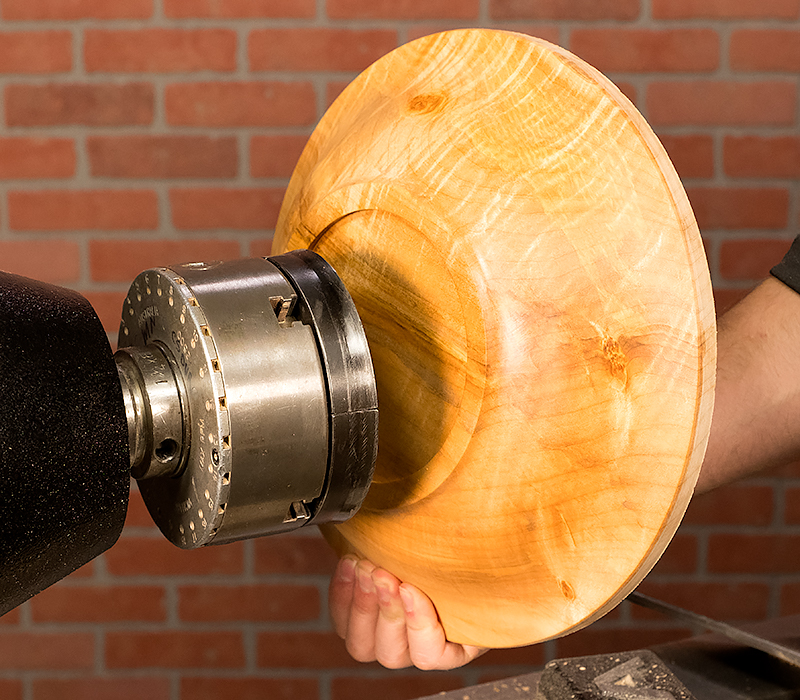
Turning the Inside of the Platter
True the face of the blank with a bowl gouge, then mark the diameter of the rim. The rim of a utility platter is typically 1/3 the radius of the blank. Next, turn the inside of the platter with a 1/2″ bowl gouge forming a gentle, pleasing curve from the rim to the bottom of the platter. The bottom should be flat or have a shallow concave. If you have trouble getting a clean cut, use a negative rake scraper taking light cuts to achieve a clean surface. Check your depth often to prevent making the sidewall too thin or worse, turning through the side. Leave about 1/4″ of thickness between the bottom and dovetail recess.
Hint: Turning the bottom too thin is the most common error made when turning a platter.
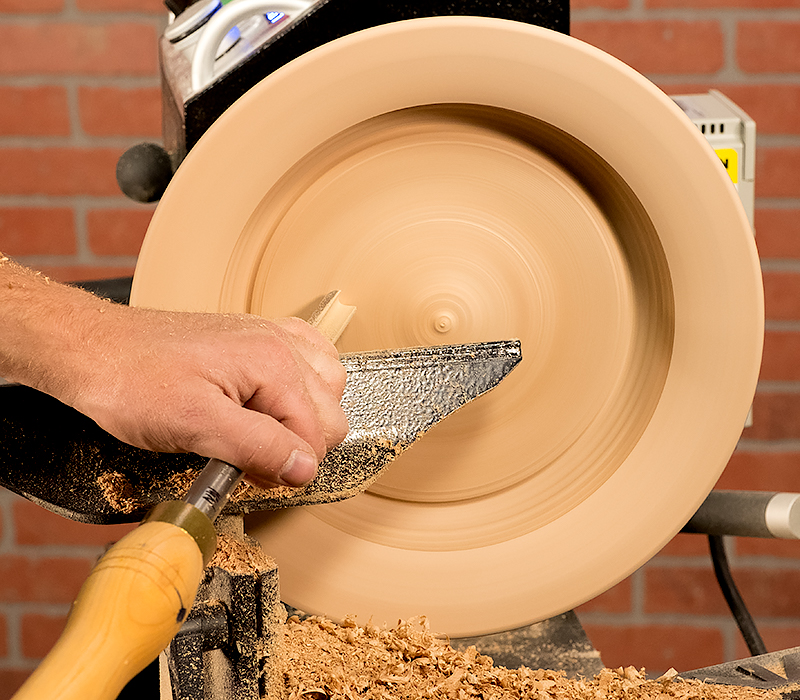
Sand the platter through 320 grit, making sure to remove any torn grain.
Finally, finish the inside of the platter using Mahoney’s Utility Finish.
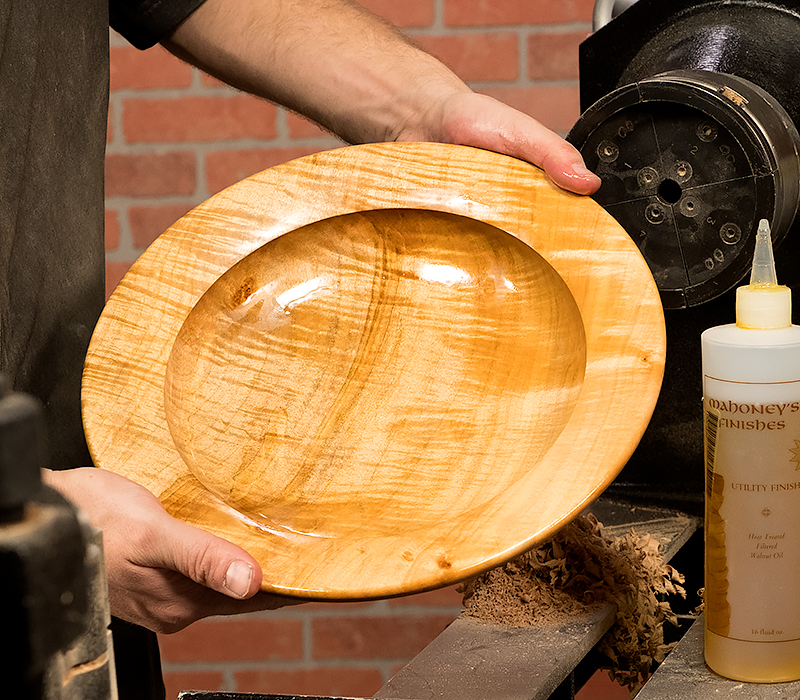
Now you have a custom turned Utility Platter that you can store and serve food on or show off as a center piece at your next dinner party!
If you have any questions please feel free to call us at 1-800-551-8876 and be sure to visit us at woodturnerscatalog.com for the largest selection of woodturning supplies in the industry.
Supplies Used:
3-in-1 Screw Center Chuck
Chuck and jaws
Revolving cone center
Bowl gouge
Skew
Negative rake scraper
Hook-and-loop discs
Mahoney Utility Finish

Great video Mike and Jason! I set my laptop next to my lathe, played the video and followed along. Before I knew it, I had a beautiful platter finished up and ready to gift. It helped me immensely! Thank you and keep them coming!
Nice platter. Beautiful piece of wood. I don’t understand why the turner uses the upper edge of the sanding disc when sanding the platter. Most of the disc would be wasted because it would never touch the wood.
Thanks! Attempting to contact the wood with the entire surface of the disc while the lathe is running is far too aggressive causing the drill to dig in and throw the disc. By using only the top half (or bottom half – depending on the location being sanded and personal preference) allows for greater control and, since the disc is spinning, uses all but the very center of the disc.
Very interesting e-mail. Thank you for sharing all the good info.Jim