

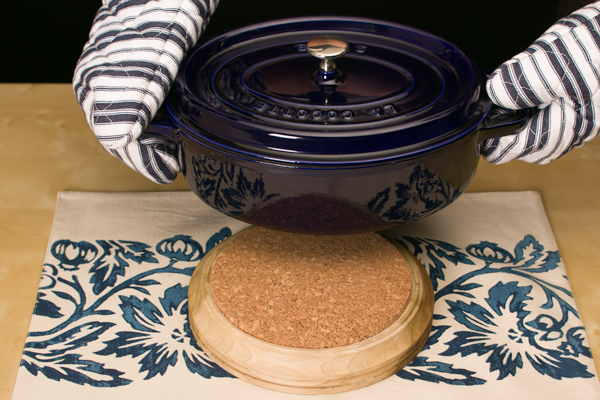
Woodturned projects are always a welcome addition to my kitchen, and a cork trivet is no exception. A turned cork trivet protects dining tables and counter tops from hot pans and kitchenware. Combine a cork trivet with a nice wooden salad bowl and turned pepper/salt mills at your next dinner party to show off your woodturning skill!
In this article you’ll learn how to make a great looking cork trivet using a wide variety of turning techniques. This is simple project that can be completed fairly quickly. Get your tools and let’s get started!
Preparing the Blank
Select a 12” diameter blank approximately 1-1/2″ thick. We recommend using a low figured piece of wood because the cork will obscure most of the wood. Using a scribe, mark an 11-3/4″ diameter circle on the blank and cut the blank to round using a bandsaw. Do not attempt to turn the square blank to round on the lathe. Leaving a blank square this large can be very dangerous, even on smaller blanks I will try to cut off the corners. Mark the center of the blank. Drill a 7mm hole for mounting on a screw chuck. Thread the blank onto the screw chuck. Now we’re ready to turn!
Turning the Underside of the Trivet
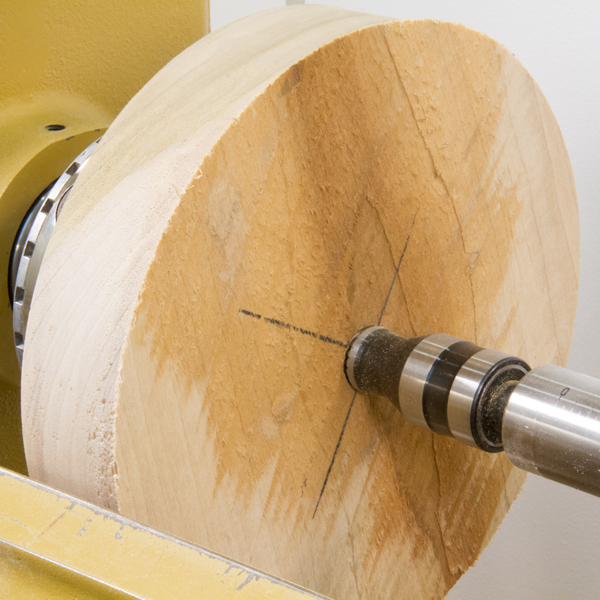
Before you start, set your lathe speed between 500-600 RPM. True the blank using a bowl gouge. Be especially careful and always use a face shield when turning a blank this size. Turn the blank down to 11″ dia. making sure that both sides of the blank along with the edge run true and are not out of round.
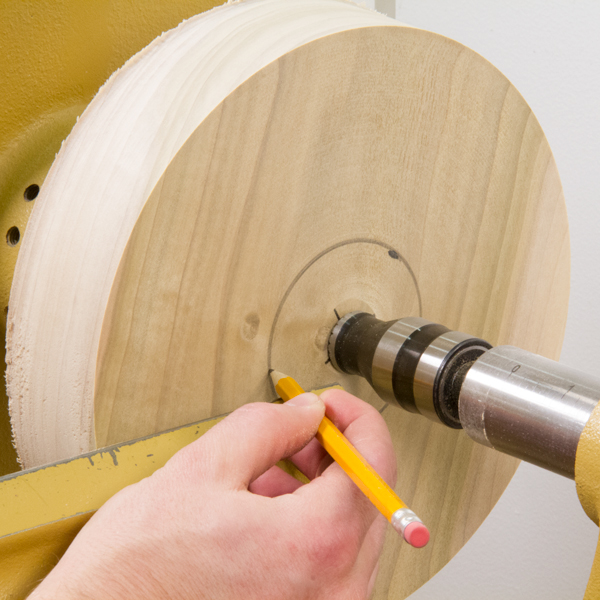
With the lathe stopped, mark the bottom of the blank (the side facing the tailstock center) with the correct recess size to fit the chuck jaws that will be used to grip the blank. The diameter of the recess should be approximately 1/4″ larger than the diameter of your scroll chuck jaws when they are completely closed. Use a spindle gouge and turn the jaw recess to the appropriate depth and diameter to fit your chuck jaws. Leave a small amount of material for the revolving center to register against. Once the recess is turned, add a little decorative flair by cutting a couple of fine lines in the recess using the point of a skew chisel laying flat on its side.
Sand the bottom side of the blank including the recess starting with 120 and working through 320 and finish with steel wool. Note: The quality of the surface on the trivet is one of the first things people notice when they pick it up so make sure it is smooth and free of torn grain. Remove the workpiece from the lathe and remove the small stub left by the revolving center using a small chisel. Hand sand as needed.
Turning the Topside of the Trivet
Mount the blank on your chuck using the turned recess. Before final jaw tightening, make sure the blank runs true. This is done by rotating the piece by using the handwheel on the lathe with the lathe turned off. Lightly tap the workpiece along the outside edge as needed until it runs true. Tighten the chuck jaws and you’re ready to go.
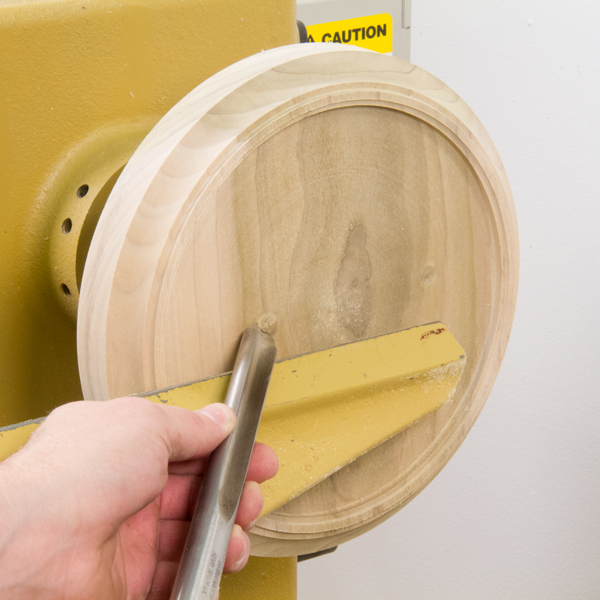
Re-true the face of the blank as needed using a bowl gouge. Mark a 9″ diameter circle on the face of the blank (the side facing the tailstock). Use a parting tool to make a cut on the line that’s 5/16″ deep. Turn away the wood inside the marked area to accept the cork trivet insert. Stop and check for fit frequently to avoid sizing problems. Keep the surface of the recess area as flat as possible for an ideal fit. The turned recess should be 1/16″ larger than the cork diameter to allow for wood movement. Ideally, the cork should protrude about 1/16″ or so above the wood surface.
Once the cork recess is complete, decorate the rim with your choice of beads and coves. Sand the blank starting with 120 and working through 320 and steel wool.
Finishing the Trivet
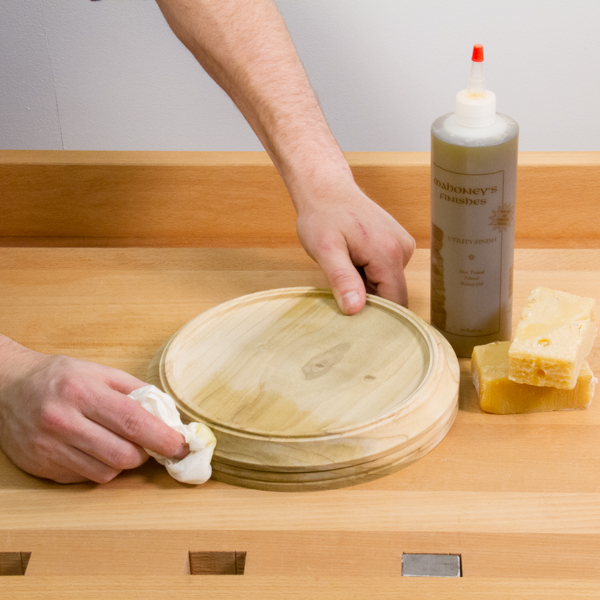
Because the trivet will be used in the kitchen, we recommend using a food-safe finish followed by a food-safe wax such as beeswax or lemon oil wax. Finish the outer rim area of the trivet making sure not to get finish in the turned recess as it will prevent a proper bond when the cork is glued in place. Once finishing is complete, remove the trivet from the lathe.
Glue the cork trivet in the place using a flexible adhesive such as RTV silicone sealer. Let the adhesive dry and you’re done!
In this article you learned how to turn a functional piece of kitchenware. Now that your cork trivet is complete invite some friends over for a dinner party and put your trivet to use! Leave any comments or suggestions you might have in the comment section below, we’d love to hear them!
Good idea!