Rings are fun to make, and they are a great way to use small bits of highly figured wood too small for other projects, however, there is one part of ring turning that everyone seems to struggle with – sizing the ring blank to fit the ring core.
It can be difficult to get a straight, properly sized hole. If it is too big the ring core won’t fit. If it isn’t straight then you’ll end up with glue gaps. The boring head makes sizing the ring blank easy and incredibly precise and it ensures that you always bore a straight hole while allowing you to sneak up on the correct size without oversizing the hole.
I’ll turn the ring from start to finish, but we’ll take extra time to show how this tool works.
Prepare the Blank
Let’s get started by choosing a blank that is a 1/16 wider than our ring core. Blank selection on a ring is very important, once turned there is very little material left and any wood movement will result in a crack. Select a very dry, or better yet stabilized wood, a dense exotic, or acrylic blank.
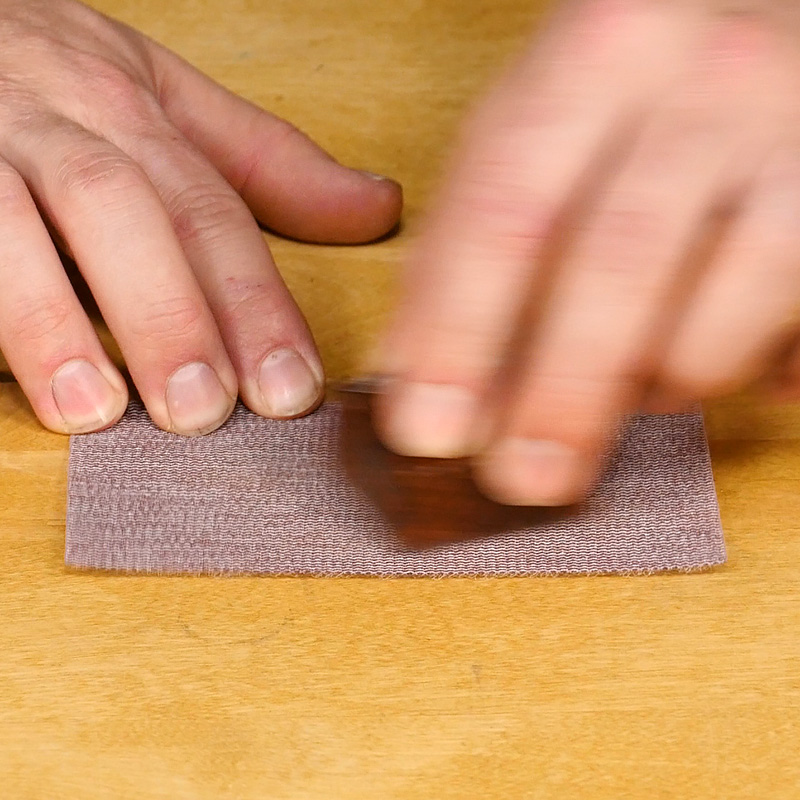
Before turning our ring, we need a flat reference face on the blank. Lay some 120 grit sandpaper on a flat surface and sand one side flat. Once flat, wipe away any dust and apply double-sided tape to the reference face, then flip the blank over and mark the center and set the blank aside.
Now remove the backing from the tape and line up the point of a revolving center with your center mark on the ring blank. Advance the tailstock until the blank is mounted between the center and the waste block, then rough turn the blank to round with the tailstock in place. I’ll do this with a Spindle Gouge and the lathe running around 2,500 RPMs.
Drill the blank
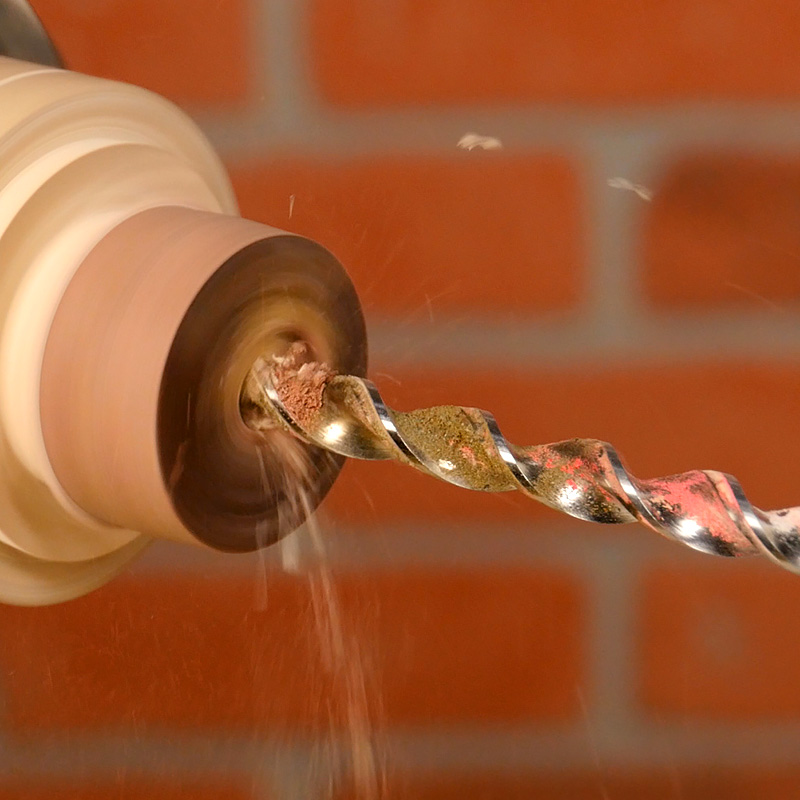
Once the blank is round, select a drill that is approximately half the diameter of your ring core and mount it in a drill chuck in the tailstock. Turn the lathe on to about 750 RPMS and drill a pilot hole completely through the ring blank. You’ll know you’re through when the shavings turn to the color of your waste block.
Now it’s time to use the Boring Head to open up the hole for the core to fit snugly.
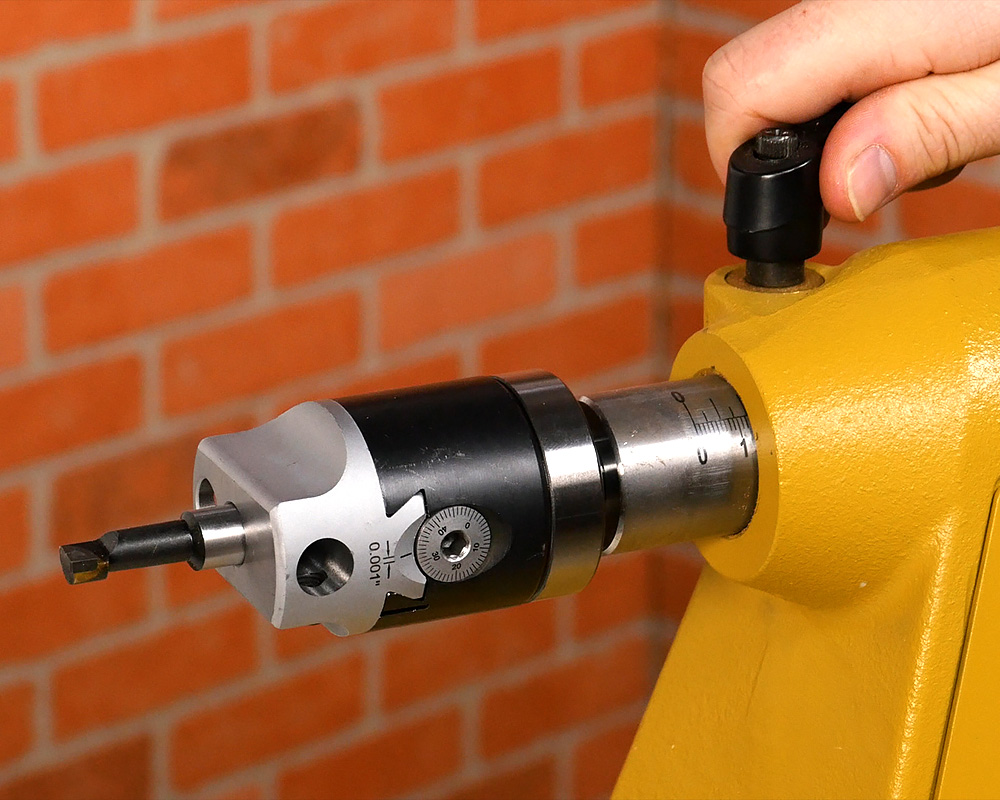
Remove the drill chuck from the tailstock and insert the boring head with the dial facing you.
The boring head comes with a variety of cutters used in the machining industry. For our purposes, any of the cutters will do. Select one and insert it into the center hole of the head. Position the cutter so the flat is level with the bed of the lathe and tighten the set screw.
Move the tailstock up until the cutter is close to the blank and lock down the tailstock.
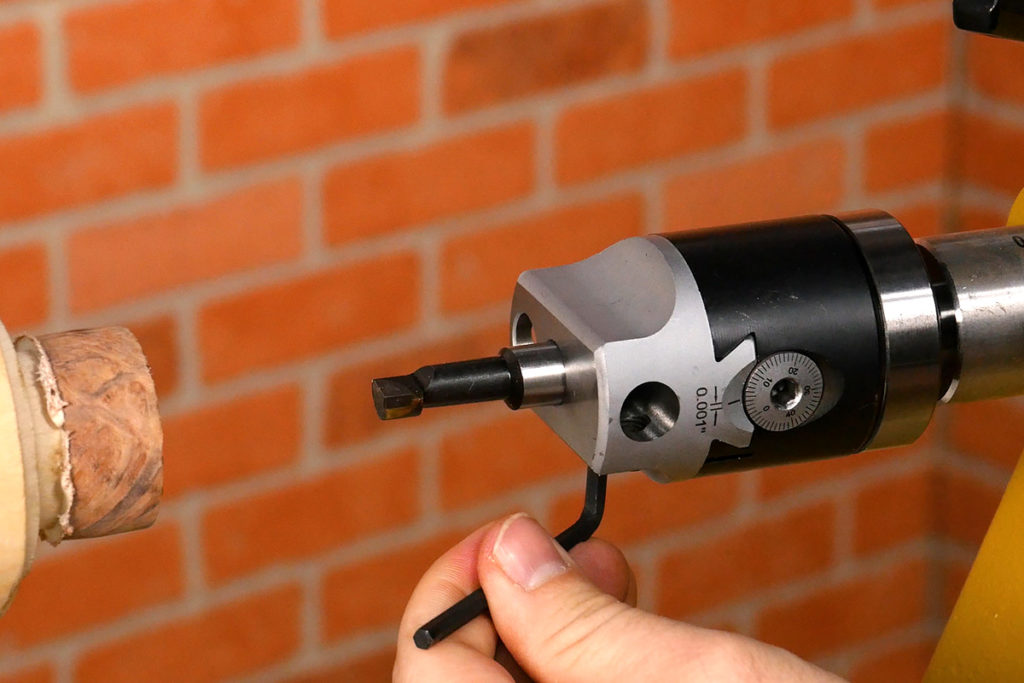
The dial on the side is used for moving the cutter head side to side
Turn the dial and position the head until it will take about a 1/8″ cut. Don’t take a heavier cut or you’ll introduce chatter and may split the blank.

To keep the boring head from wobbling, snug the quill locking handle just enough to remove any play. If you can’t advance the quill, loosen the lock until it moves
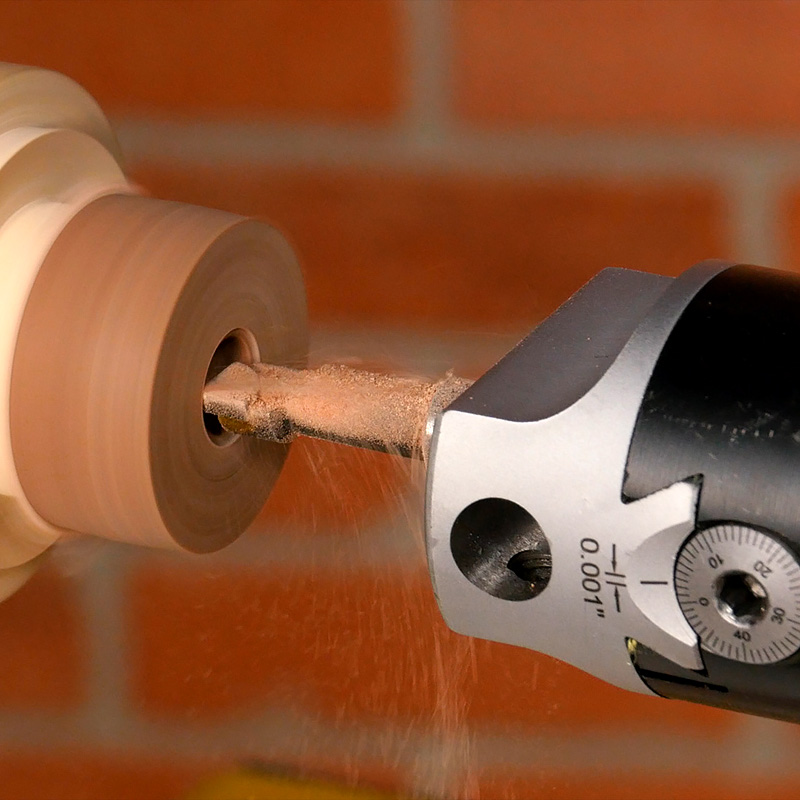
Now turn the lathe on to about __ rpm and bore through the blank by turning the handwheel on the tailstock to advance the cutter. Stop advancing when you feel the cutter hit the double-sided tape, and back out the cutter head.
Use the dial to move the cutter head another 1/8″ and repeat the process. If the head wobbles, tighten the quill locking handle a bit more and take a lighter cut.
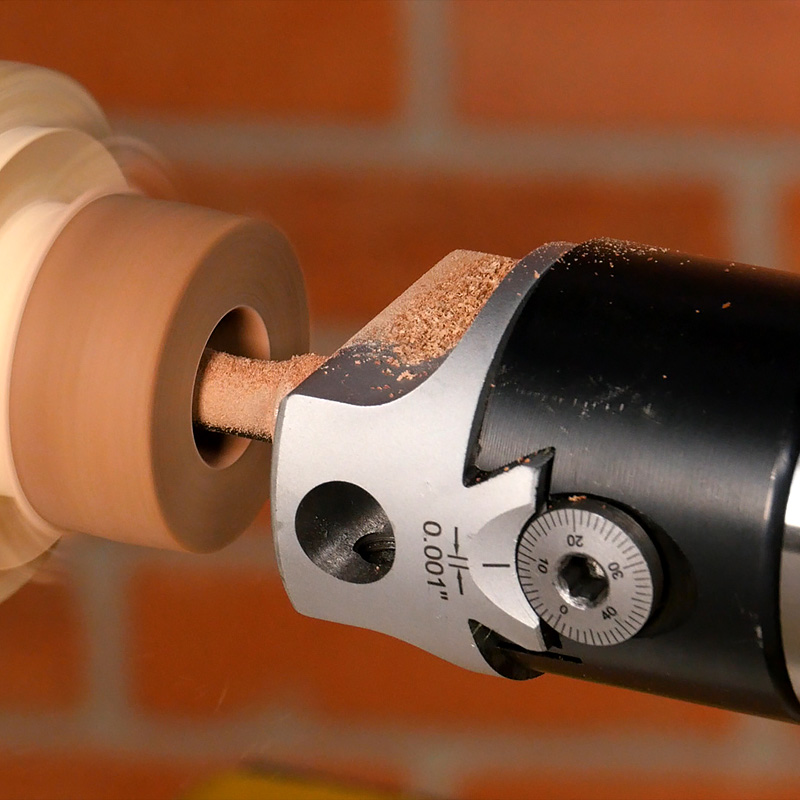
Stop the lathe and check your fit. This is where the Ring Boring Head really comes in handy. It guarantees a perfectly straight cut and the boring head allows you to sneak up on the fit with extreme precision. Keep removing small amounts of blank material, and test the fit frequently until the ring core fits.

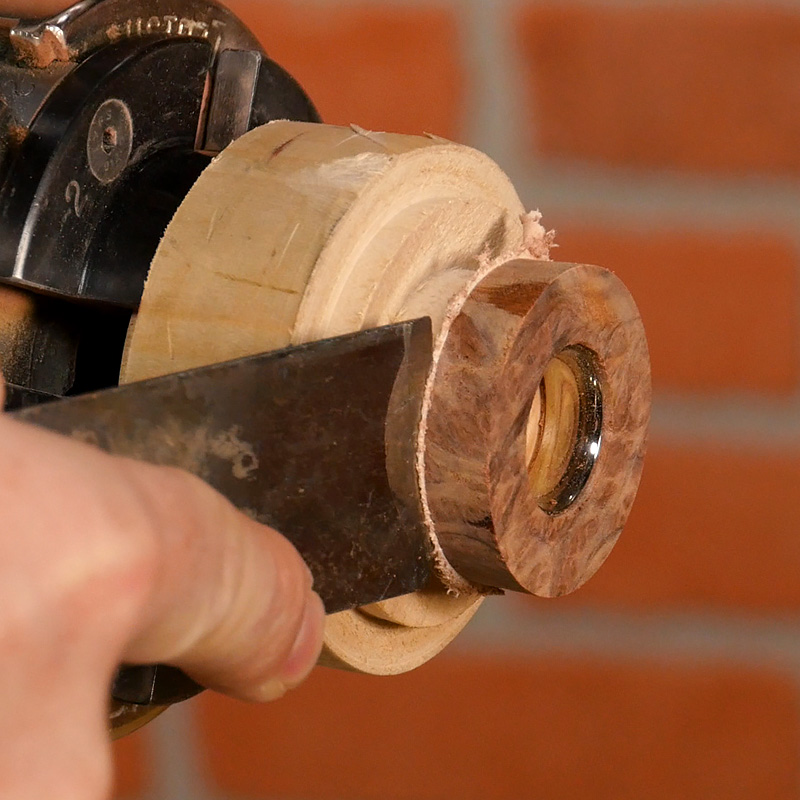
Press the ring core into the hole until it is flush with the waste block. Next, use a skew to turn down the side of the blank until it is just a hair wider than the ring core. If you accidentally scratch the side of the ring core you can usually buff it out with the white diamond compound on a buffing wheel.
After turning, carefully peel the blank from waste block with a putty knife. I keep the core in for support during this process. Use slow, steady pressure so the blank doesn’t break.
Now we are ready to glue the core into the blank. Start by scuffing the core on some 220 grit sandpaper for a better bond. Lightly apply CA glue or epoxy to the inside of the blank. Lay the blank flat and insert the core until it is flush. Use wax paper to prevent the blank from being glued to your table.

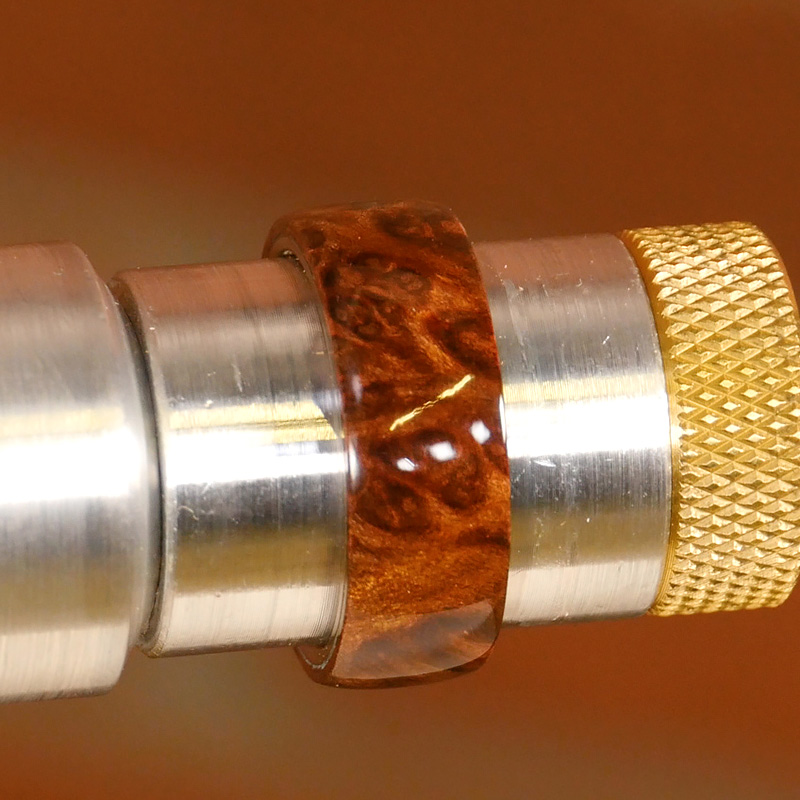
Wipe away excess glue and let it cure, then remove any dried glue. Then mount the blank on a ring turning chuck between the appropriate bushings and thread on the knurled nut.
Place a 60-degree cone center in the tailstock and bring it in until it fits in the dimple on the chuck
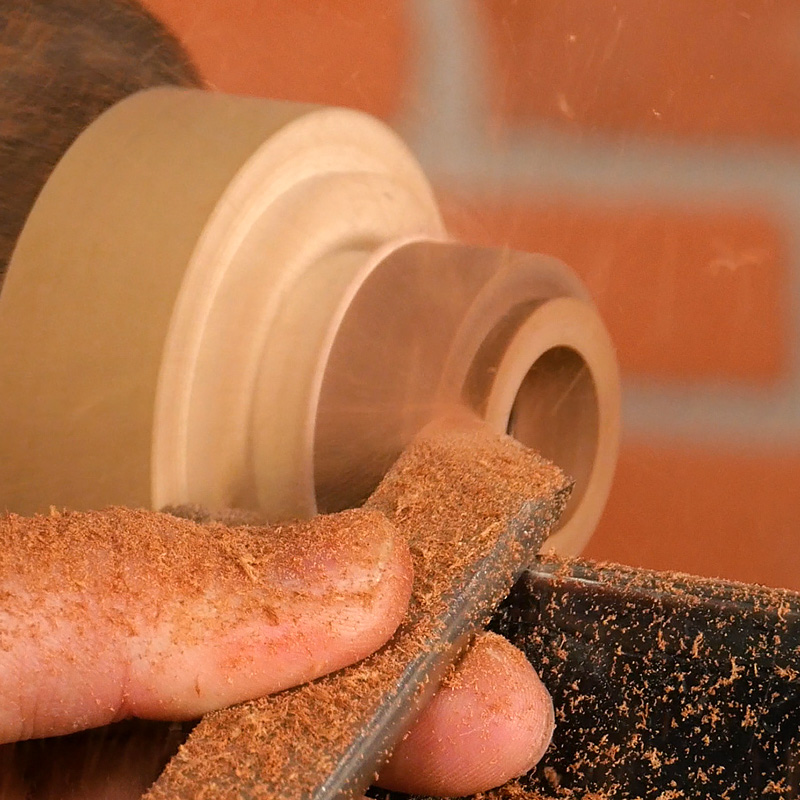
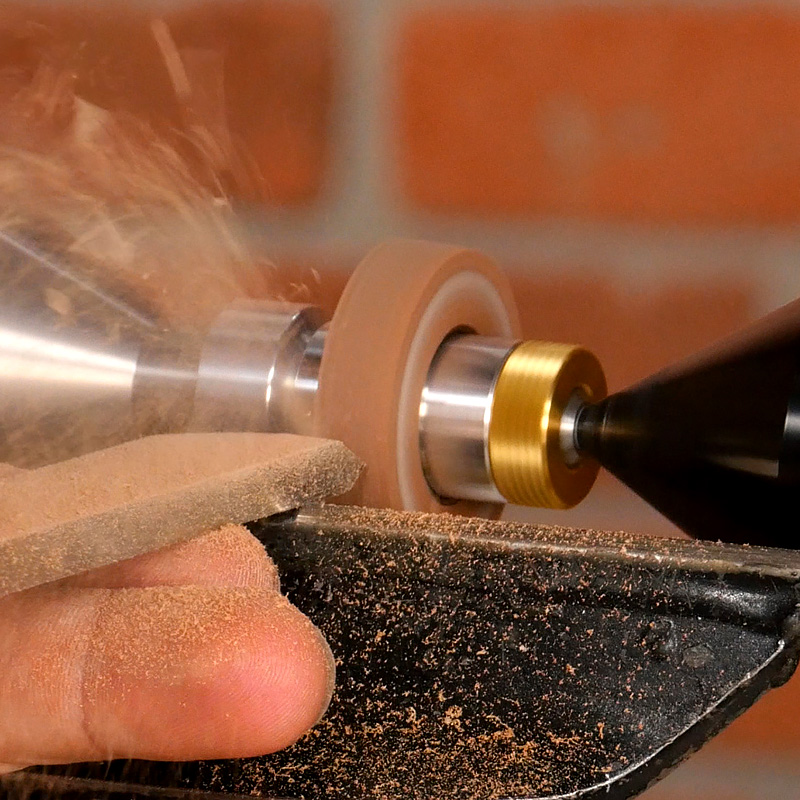
Now we can turn the ring to size. I prefer using a negative rake scraper because it is unaggressive and easy to control. Whatever tool you use, just remember that the blank is delicate so take light cuts.
Once it’s turned to shape, sand the blank through at least 400 grit. Now it’s time to finish the blank. I’m going to apply a CA finish. For detailed instructions on how to apply a CA finish, read our CA finish blog article.
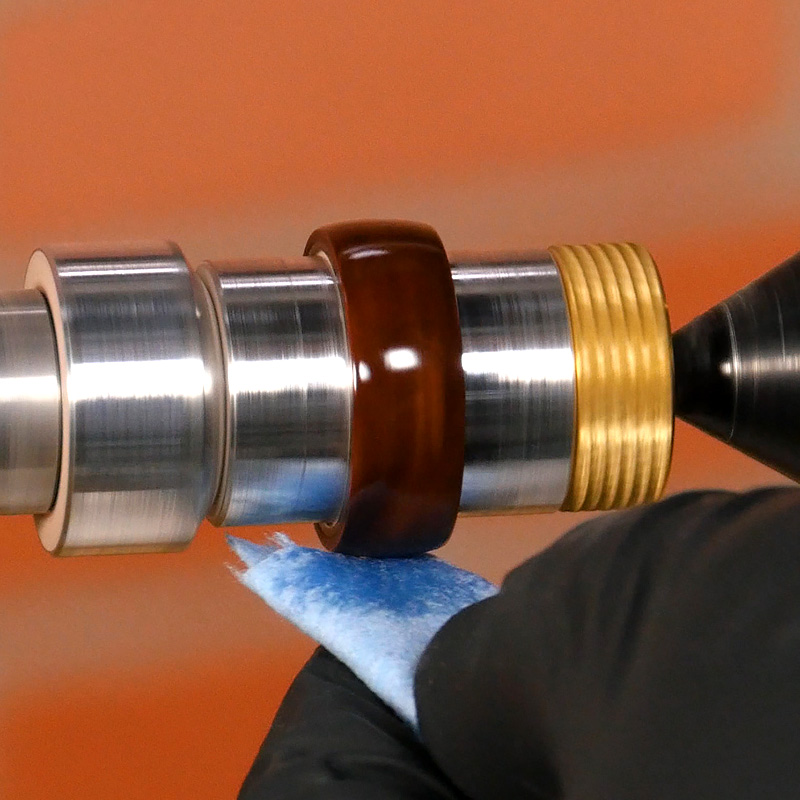
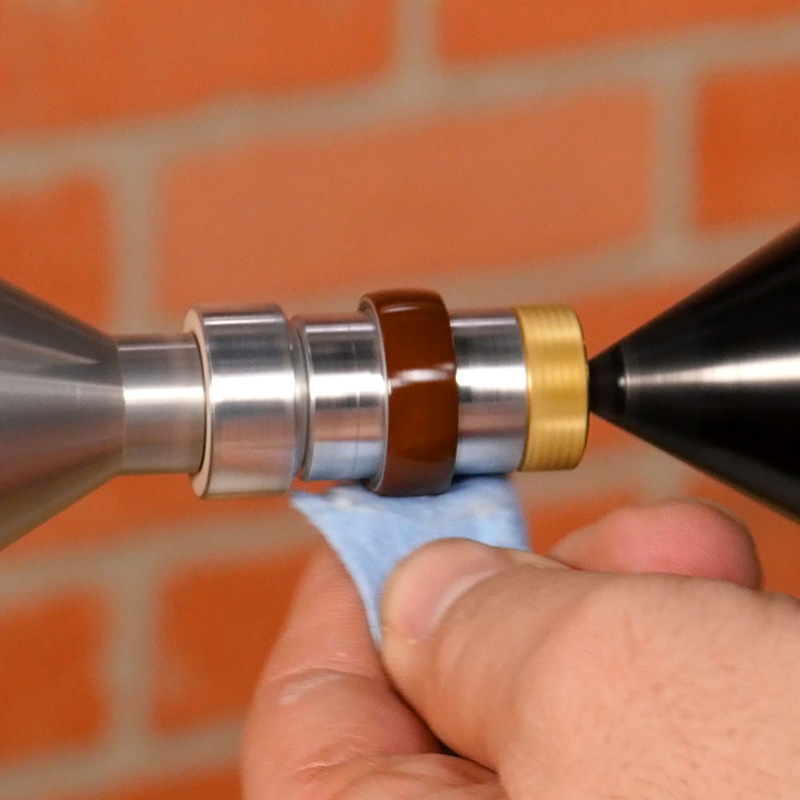
Apply one coat of thin CA for a base layer and spray with activator. With the lathe running at about 200 rpm, drip some thin CA on a piece of paper towel and on the blank. Smooth out the glue with the paper towel, then spray with activator.
Repeat the process and apply at least 10 coats
Smooth out the CA finish with steel wool and then polish the blank with Micro magic to finish the ring.
Remove your finished ring from the lathe.