
Crushgrind Mills are one of our most popular kitchenware projects. They allow you to grind pepper, salt and dry spices. You can adjust the coarseness of the grind by turning the wheel on the bottom of the mechanism, and with the adjustment knob on the bottom the shaft can be cut to any length. This creates all kinds of design possibilities making the Crushgrind one of our favorite mill kits!
In this article we’ll show you how to make a Crushgrind mill, and don’t worry, we’ll go over all the important steps and items necessary for this kit. Let’s get started…
Preparation
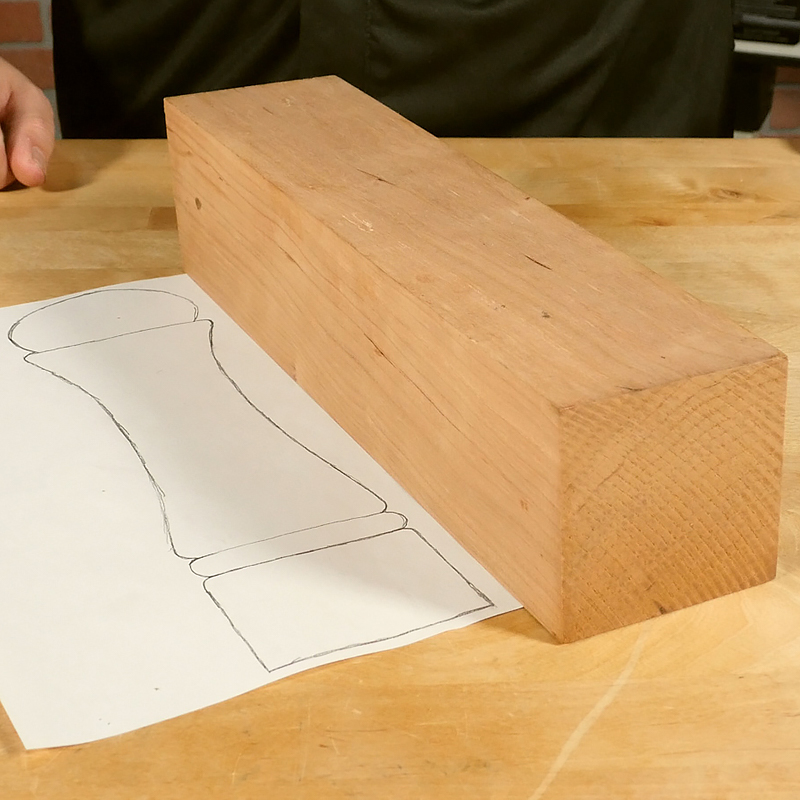
We’re going to turn a mill with a classic shape. It’s always best to sketch out the design and dimensions before we select our blank.
Click here to download the shape used in this article
Once your sketch is complete, start by selecting a blank that’s 1/2” larger in diameter and 1” longer than your design.
We’ll also need a chuck with 2” dovetail jaws, revolving cone center, jam chuck blank, drill chuck, and Forstner drill bits in 15/16”, 1 1-16”, 1-9/16”, 1-3/4” and you may need a drill bit extender if your mill is over 6” tall. Additionally, we’ll need spindle turning tools, sandpaper, and a finish.
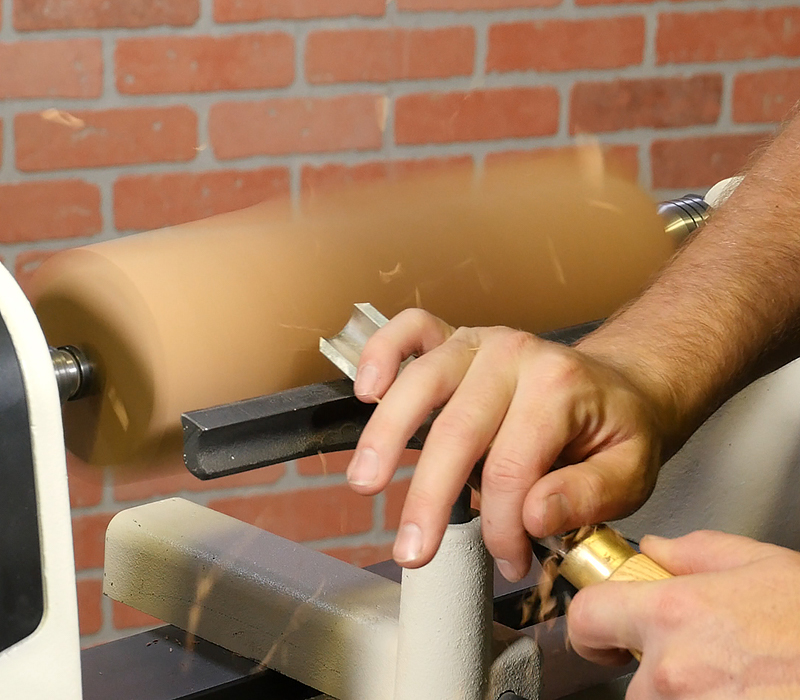
Roughing the Blank
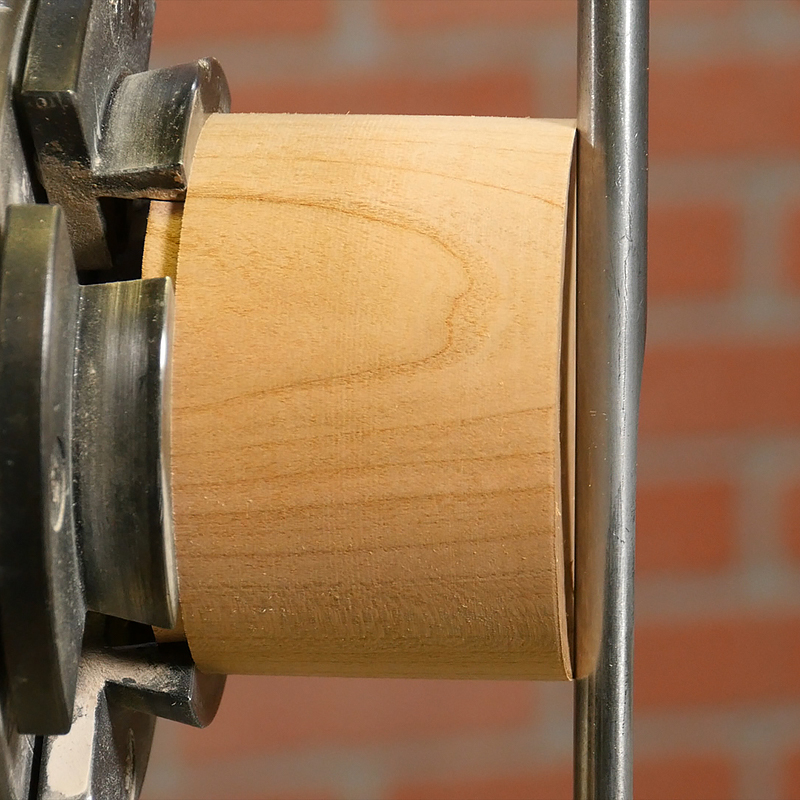
Let’s start by mounting the blank between centers and rough turn the blank until it’s round.
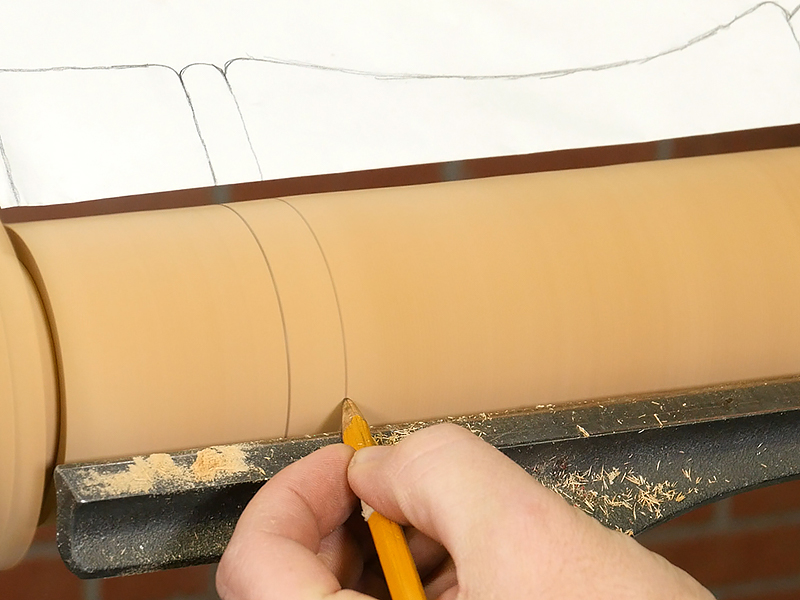
Once the blank is round, use your sketch and mark a line where the mill head and mill body meet.
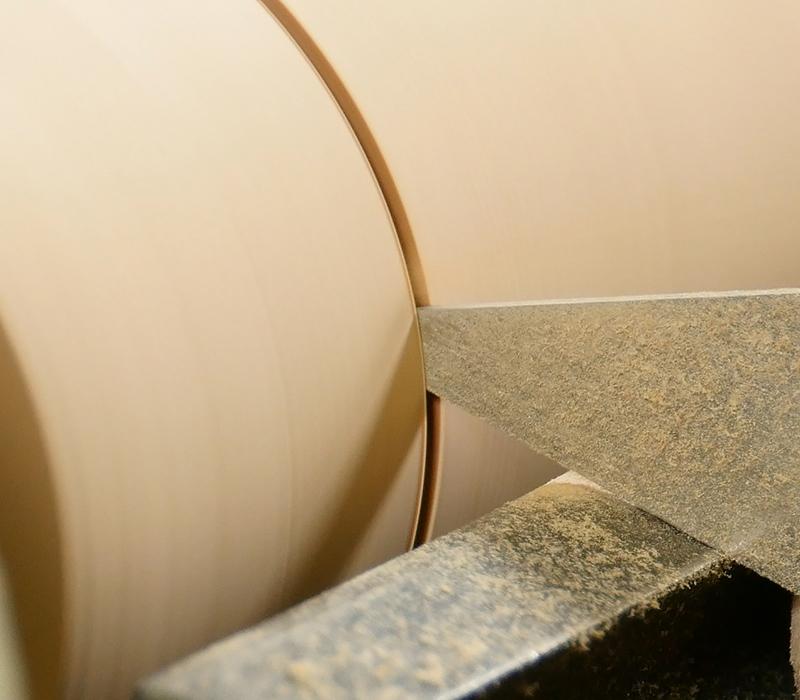
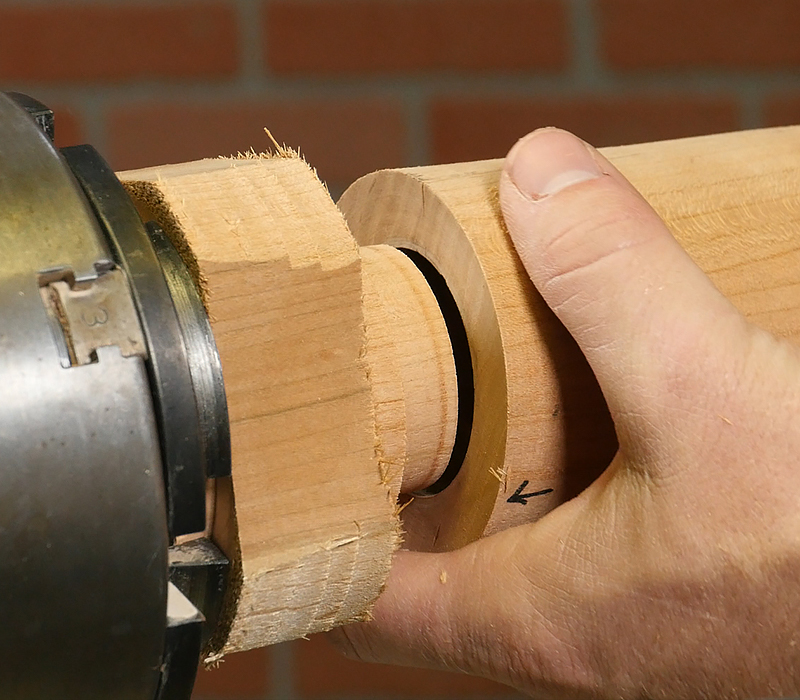
Use a narrow parting tool and part a 1/2” deep groove. I like the narrow parting tool because the narrow cut will help the grain line up nicely when the mill is complete.
Turn dovetail tenons on both ends of the mill body, and on the top of the mill head.
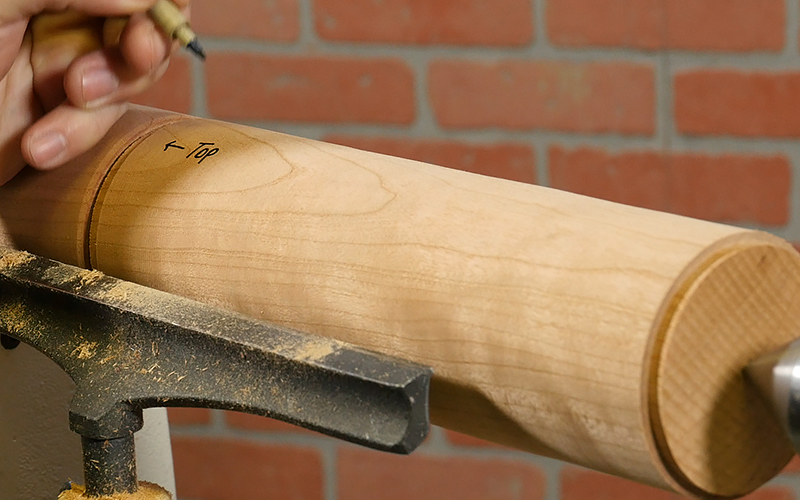
Size these tenons to fit properly in your chuck. Label the ends of the mill body so we don’t get mixed up. Now part the mill head from the body.
Drilling the Mill Body
Before drilling we’ll need to do some turning of the mill body. Mount the mill body bottom in the chuck, and clean up end grain, making it slightly under cut. I’d recommend a skew or spindle gouge for this. The undercut ends will make the parts line up without gaps when the mill is complete.
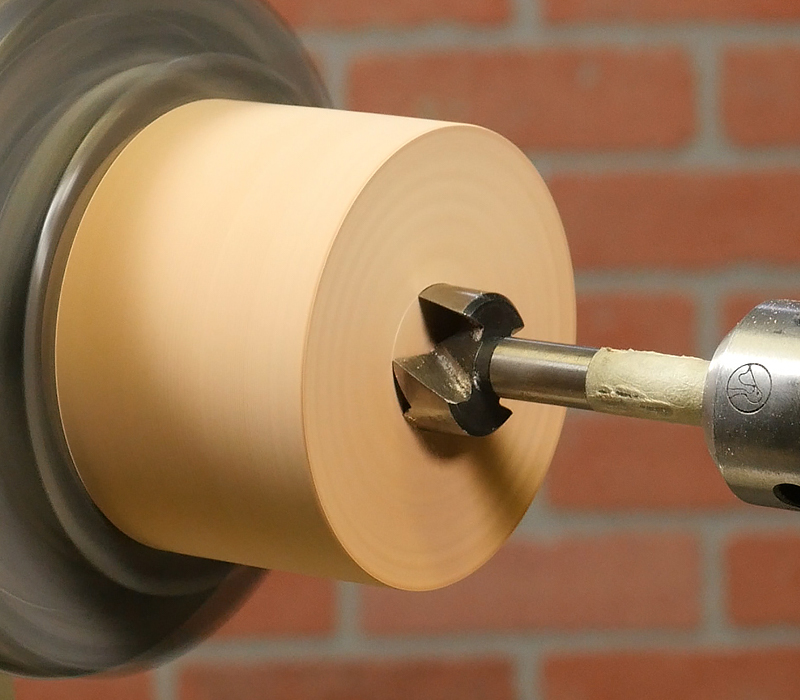
Mount the 1-1/16” forstner in a drill chuck and drill halfway through the blank. We find that drilling halfway from each side is the most accurate technique.
Next, flip the blank so the top of the mill body is in the chuck, and turn the tenon off the bottom making it slightly undercut.
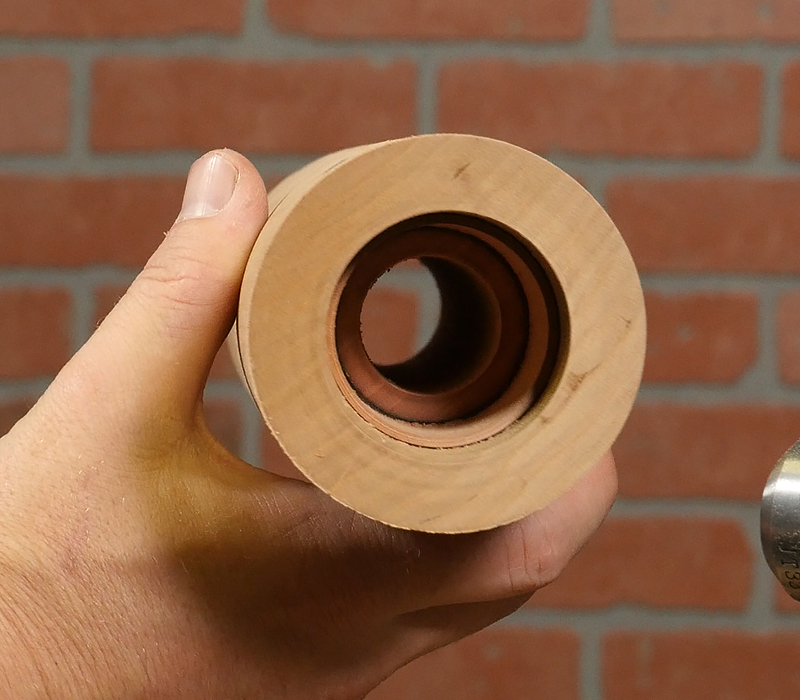
Starting with a 1-3/4” Forstner bit, drill a hole 5/8” deep. Use masking tape on your bit for as a visual depth stop. It’s a simple trick that will works really well.
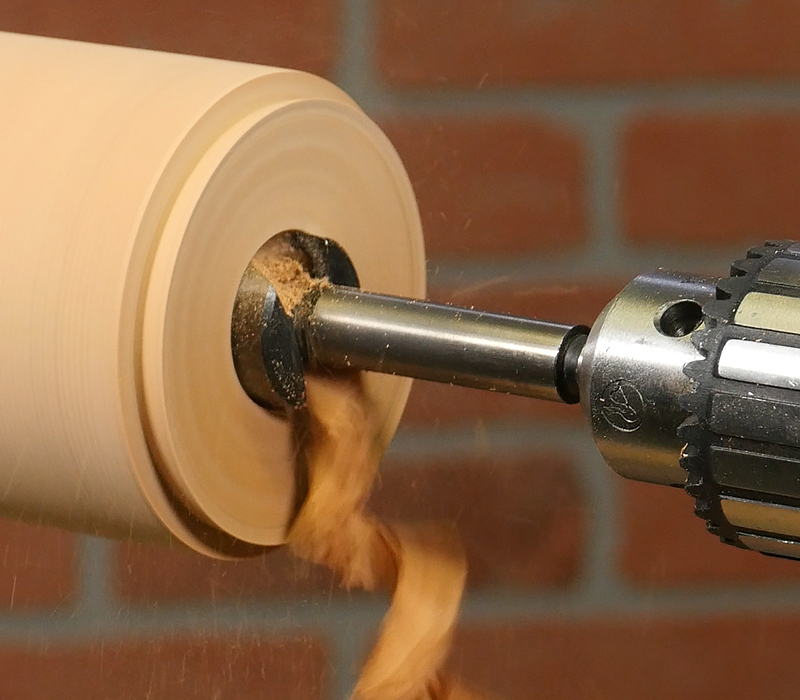
Next, Drill a 1-9/16” hole 2-1/8” from the end of the bottom of the mill. Lastly, Drill a 1-1/16” hole the through the mill body till it meets the other side.
Making the Jam Chuck
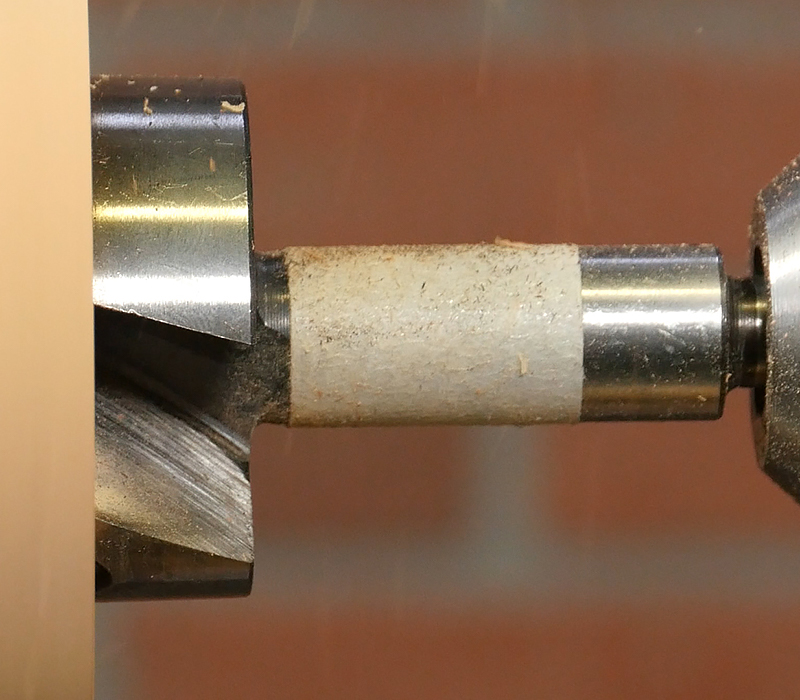
Now, we need to turn a jam chuck to fit in the 1-3/4” hole on the bottom. It needs to fit snugly, so stop and test the fit frequently.
Once the fit is right, mount the bottom of the mill body onto the jam chuck and support it with a revolving cone center.
Turning the Mill Body
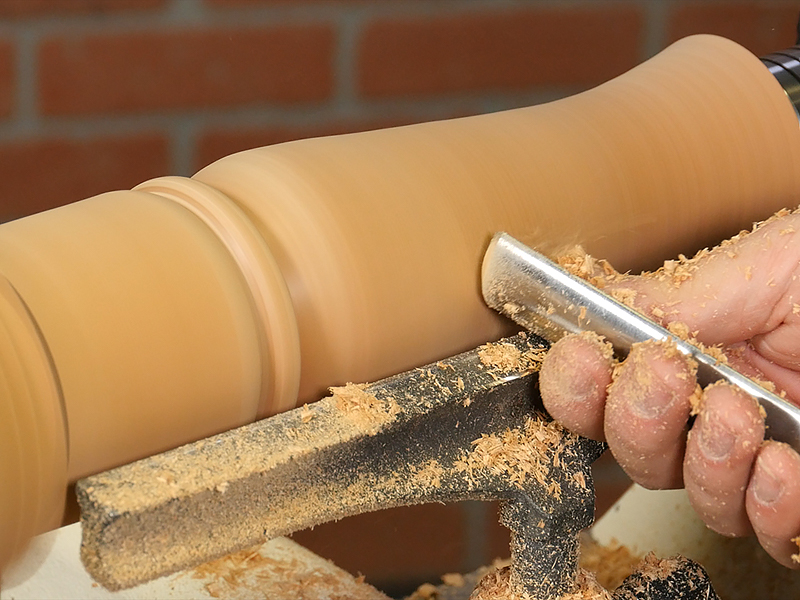
Using the sketch, mark the major design transitions on the mill body. Now we can turn the mill body to shape, I’ll use a spindle roughing gouge for most of the work and will transition to a 3/8” spindle gouge for the beads on my design.
Take your time and be mindful of the wall thickness. You don’t want to get to thin, or worse yet, turn through the side. And keep in mind it’s okay to modify your turning from the sketch.
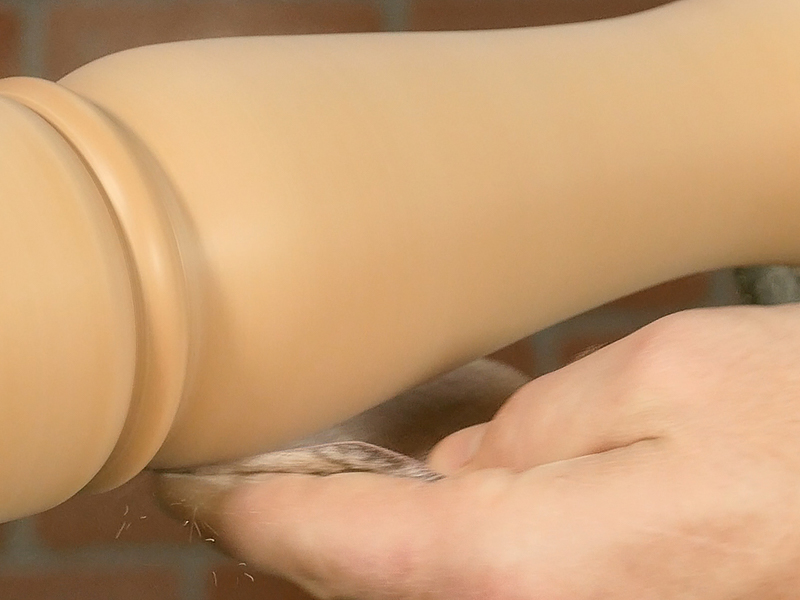
Once the mill body is turned to shape, sand the blank through 320 grit or higher.
Finishing the Mill Body
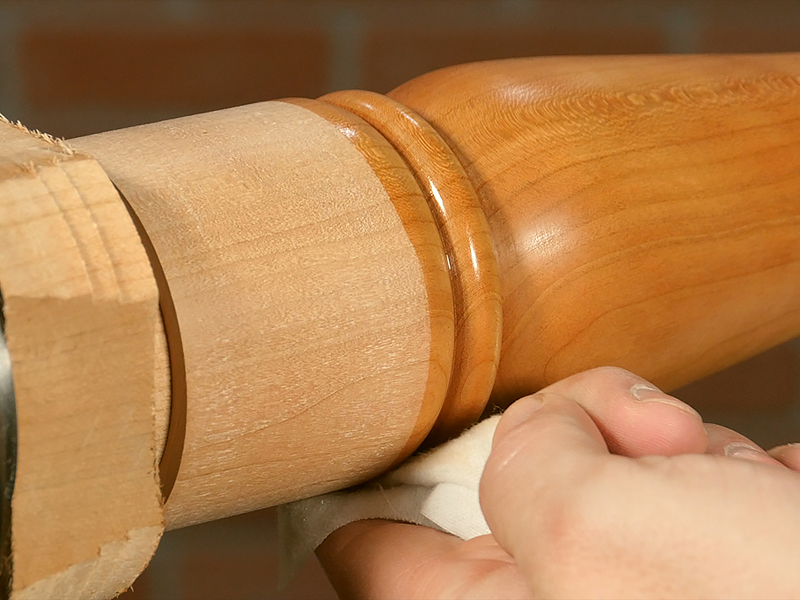
For finish, I like to use Deft Clear Wood Finish that is thinned 50/50 with Lacquer thinner. It leaves a nice satin finish that’s really durable and food safe when cured. After several coats I’ll buff out the finish with steel wool and a paste wax.
Turning the Mill Head
Now we’ll turn the mill head. Mount it in the chuck using the tenon and clean up the end making it slightly undercut.
Now drill a 15/16” hole 1-1/4” deep using tape as the depth indicator. Now we need to make a jam chuck for the mill head.
Remove the mill head and mount our jam chuck we used for the mill body. I’m going to turn down the jam chuck to fit in the 15/16” hole we drilled in the mill head. It needs to fit snugly so check the fit often.
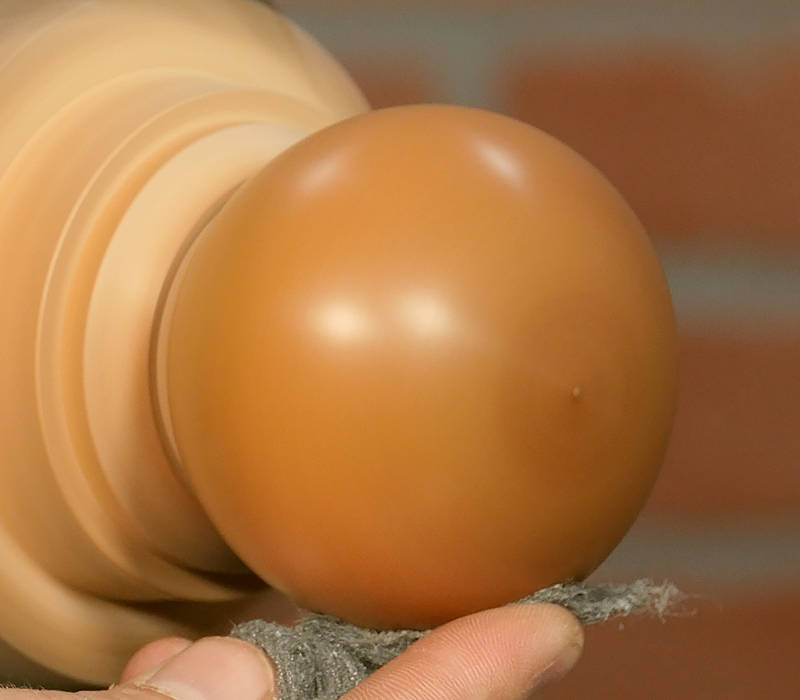
Use the sketch to mark the end points of the mill head. Bring up the tailstock for support while turning, but be careful to not overtighten the tailstock because the cone center can create a big divot in the blank that crushes the wood fibers that proves difficult to remove. Use a spindle gouge to get the mill head so shape.
Once the mill head looks good, sand the blank through 320 grit paper. Finish the mill head the same way we did the mill body. Remove the mill head from the jam chuck.
Assembling the Crush Grind Mill
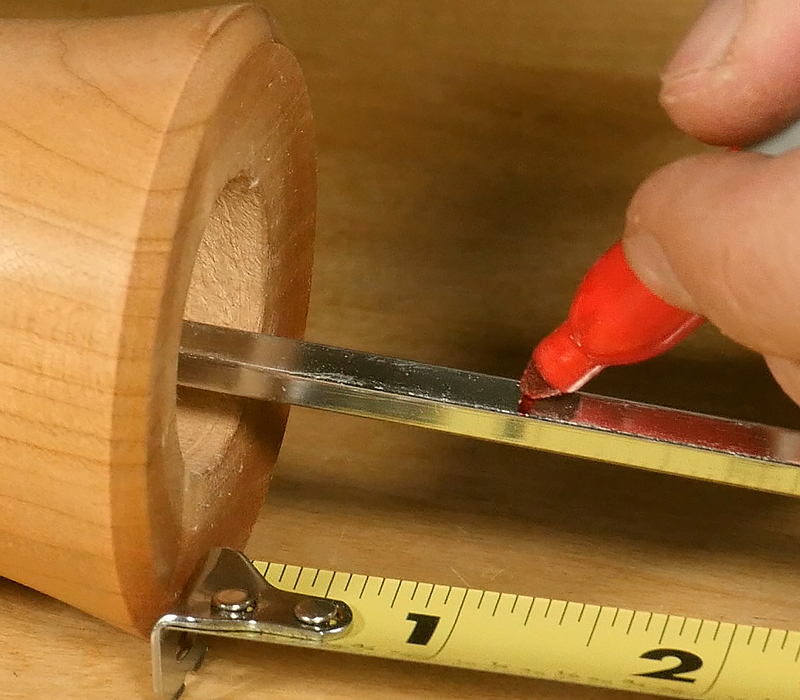
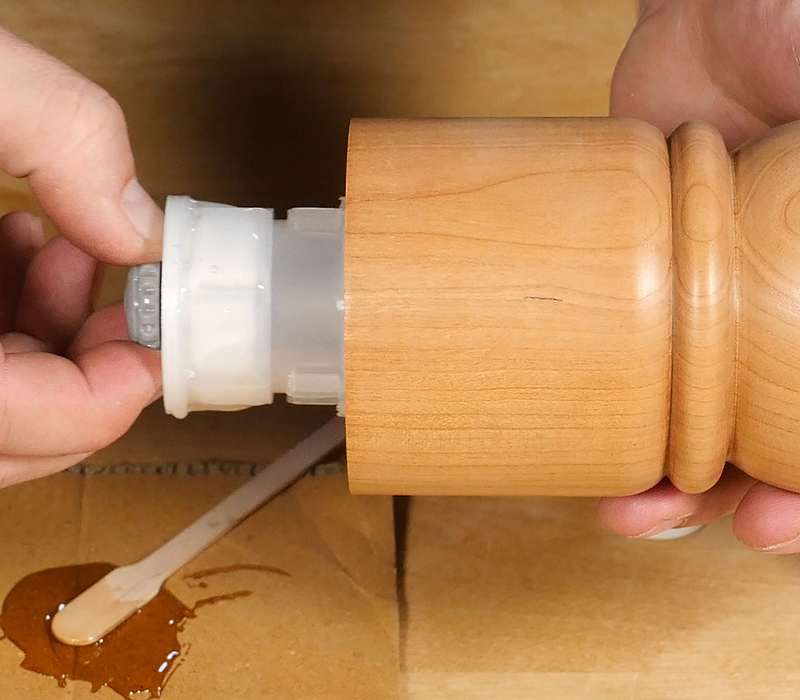
Mount the crush grind mechanism into the mill body and mark the shaft where it sticks out 1-1/8” from the body. Cut the shaft at this mark and file the end to a taper. This removes any sharp burrs and makes the head easier to install.
Now we’ll use epoxy to glue the mechanism in place. I leave the tabs on because the friction fit holds everything in place while the glue dries. After spreading epoxy on the shoulder of the mechanism body I also put a thin layer of epoxy inside the blank as well. Sit this to the side and allow the glue to fully cure before using.
Finally, we’ll glue the stopper into the mill head. Use epoxy here as well. Put it on the stopper, just above the shoulder, then press in.
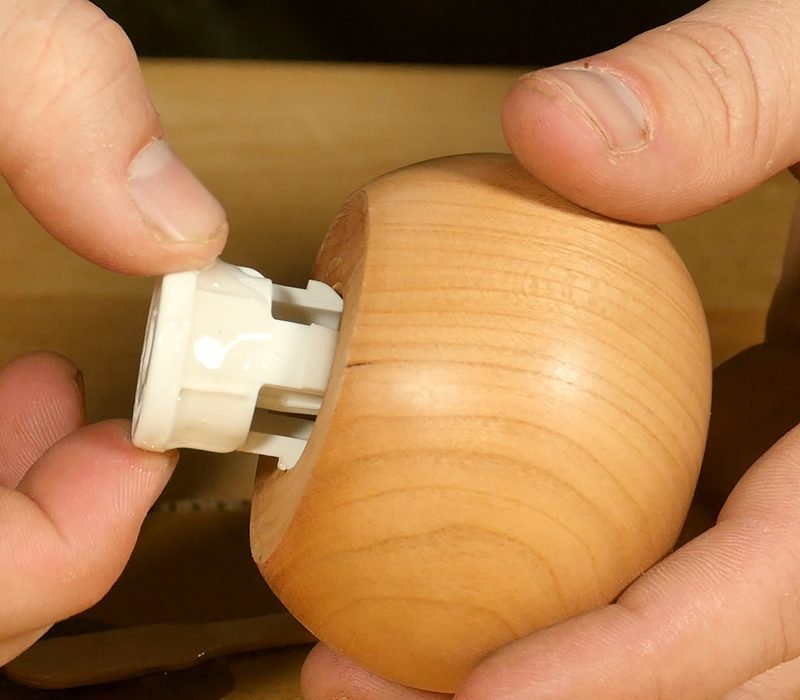
Wipe away any excess glue that squeezes out so it doesn’t create a gap between the mill head and mill body. Once the glue has cured, Fill it with spices, install the mill head, and give it a try!
Now you have a custom turned Crushgrind Mill ready to sell at your next craft show or to grind some pepper on that filet mignon for your next dinner party!
If you have any questions please feel free to call us at 1-800-551-8876 and be sure to visit us at woodturnerscatalog.com for the largest selection of woodturning supplies in the industry.
Supplies Used:
Crushgrind Mill Mechanism
Chuck
2” dovetail jaws
Revolving cone center
Drill chuck
Forstner drill bits:15/16”, 1-1/16”, 1-9/16”, 1-3/4”
Drill bit extender
Spindle roughing gouge
Spindle gouge
Narrow parting tool
Sandpaper
000 steel wool
Mini wood spatula
Epoxy
Deft Clear Wood Finish
Paste Wax
This tells you every thing but the size of the wood blank
Crushgrind mills allow you to turn any size or shape of mill, and because of that we don’t list a specific size. The only recommendation we give is, “select a blank that’s 1/2” larger in diameter and 1” longer than your design.”
Very nice video – I hope it inspires some folks to try this super useful gift. I have made a few, and all are cherished kitchen items.
My only slight negative is that it seemed to me that you ran the forstner bits really fast. I have always thought of them as much lower speed tools.
I recommend taking a pass on the epoxy. It’s really unnecessary and severe overkill. Use a Click-In CrushGrind Recess Tool (Craft Supplies #104-751) to cut grooves in the mill body and the mill cap that match the locking tabs on the CrushGrind mechanism components. DO NOT cut the locking tabs off of the CrushGrind mechanism components. If the hole in the mill body for the Crushgrind@ mechanism is drilled to proper size (1 1/2″ diam), the Crushgrind@ mechanism can be pressed into the mill body using the tailstock until the locking tabs on the mechanism engage the groove in the mill body. It’s a really tight fit. With this technique there is no/zero chance of the grinding mechanism working loose and coming out of the mill body. So, pass on the messy and unnecessary epoxy and go with press fit and locking mechanism tabs. – John
PS – Get a copy of Turning Salt & Pepper Shakers and Mills by Chris West. Everything you ever wanted to know on the subject. Available from Craft Supplies. – J
Thumbs UP!
Dear Sirs, Is it possible to download this article?
I like your video on making a Crushgrind Mill. Would you consider sharing your sketch for the outline of the mill?
Thanks for the comment! I’ve added a PDF of the outline that was used in this article. It isn’t quite a 1:1 diagram, the mill turned is about an inch taller than the outline, I had to scale it to fit on one sheet of paper. Hope this helps!
Look for the link to download the outline in the step: “Preparation”