
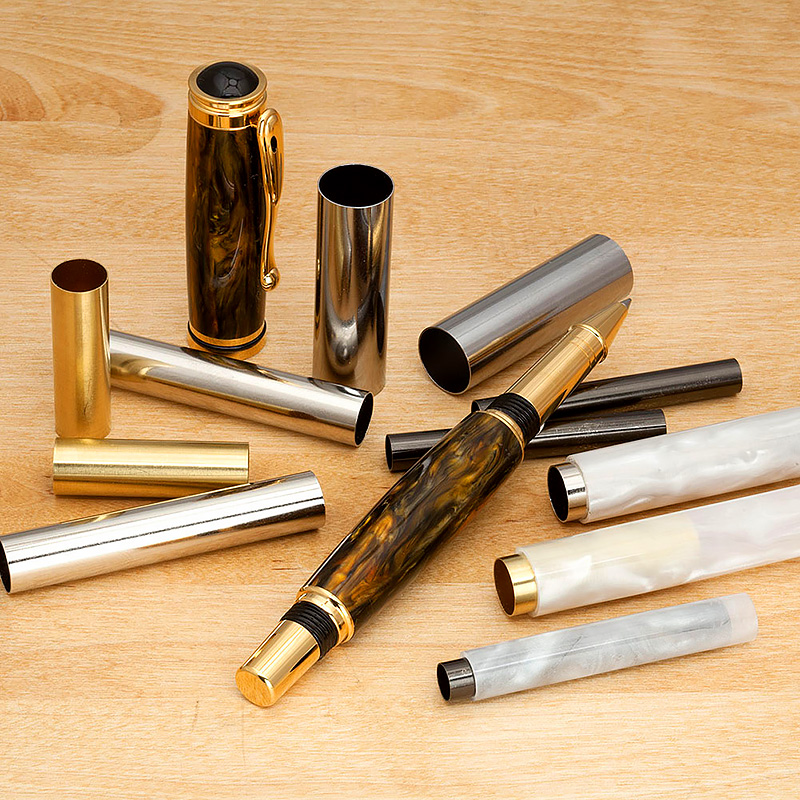
Plastic pen blanks have become extremely popular with pen turners. The wide variety of colors and patterns and the ability to produce a high-gloss, durable finish make them an attractive choice. In this article we walk you through the steps we use for turning plastics to a mirror like finish.
Drilling
Because plastics have a relatively low melting point, extra care must be taken to prevent overheating when drilling and turning. The recommended speed for drilling plastics is 300 to 500 rpm. Drill slowly, clearing the bit frequently to reduce heat buildup. Use brad point drill bits when possible and always make sure bits are sharp! To prevent possible breakout when the bit exits the blank, you can drill through the blank stopping just short of the bit exiting the blank. Trim off the end of the blank to expose the hole.
Working With Semi-Transparent Blanks
For semi-transparent plastic blanks that allow the tube to show through, we recommend painting the tubes or using Chameleon plated pen tubes. Plated tubes can greatly enhance the color and brilliance of the blank.
Gluing
Time permitting, we recommend expanding polyurethane glue for gluing brass tubes into the blank. Polyurethane glue prevent voids from forming between the blank and brass tube by expanding during the drying process providing a solid bond the entire length of the tube. CA Glue or 5 Minute Epoxy can also be used to glue brass tubes in blanks. However, CA glue may leave occasional voids between the brass tube and the blank. These voids increase the likelihood of the blank breaking free from the tube when turning.
Turning
Plastic blanks can be very brittle and may fracture if aggressive cuts are made using traditional tool techniques. We recommend using a 3/8″ Spindle Gouge laid on its side in a non-aggressive scraping position with the handle leading the cutting edge of the tool using a light touch. When turning barrels where the wall thickness is minimal, lay a 1/2″ Skew Chisel flat on its side in the scraping position for making finishing cuts. This method of cutting is less aggressive and is less likely to cause a catch.
Sanding
Plastics should be sanded through 12,000 grit to produce the best finish possible. Sand lightly in order to prevent heat build up and loading the sandpaper surface. For best results, wet sand using Micro Mesh abrasive pads or sheets. The water will act as a coolant while washing away sanding particles. Keep a small container for water on hand for dipping the sanding materials in. Be sure to cover your bed ways with a cloth or plastic to keep water off the bare metal.
Finishing
Two different methods of finishing plastics are described below. Choose the one that best suits you and proceed. Both finishing methods will produce superb results.
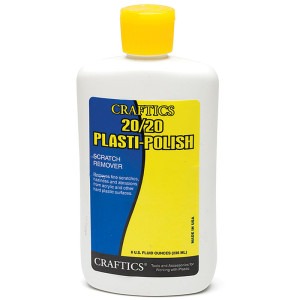
1. Using Plastics Polish
Using a Plastic Polish, apply a nickel-sized spot to a clean, dry cotton cloth. With the lathe running, apply the plastic polish to the blank moving the soft cotton cloth back and forth continuously for 20 to 50 seconds. Buff lightly with a clean, soft cloth.
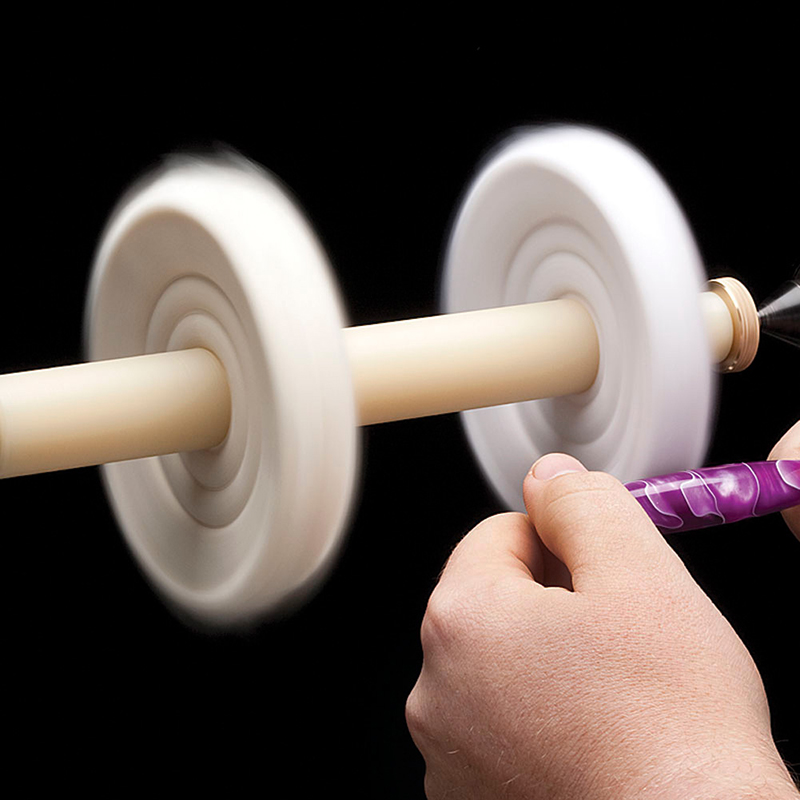
2. Using a buffer
Apply a small amount of buffing compound to a rotating buffing wheel by holding the bar against the wheel. Satin Gloss bar recommended for sewn wheels and High Gloss bar unsewn wheels). Don’t overload the buffing wheel, a little goes a long way. Best results are achieved when the buffer is used at 3/4 speed for plastic and full speed for woods. Hold the pen blank against the rotating buffing wheel, gently moving it back and forth until a uniform sheen is achieved. Apply enough pressure to generate some heat but be careful as too much pressure will melt the blank. For best results, use a separate wheel for each type of buffing compound used.
What rpm do you recommend for the sanding portion of the process?
We’ve found it best to stay around 1,500 – 2,000 rpms
i LOOKED ALL OVER THE PAGE BUT CAN NOT FIND THE LOCATON FOR THE UPCOMING TURNING CLASSES. CAN YOU HELP?
They are held at our workshop in Provo, Utah.