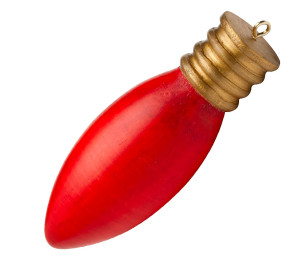
This Christmas Light Bulb Ornament is a quick and easy project that you can make with figured scrap pieces of wood lying around your shop. It makes a great gift to family and friends during the holidays.
Preparing the Blank
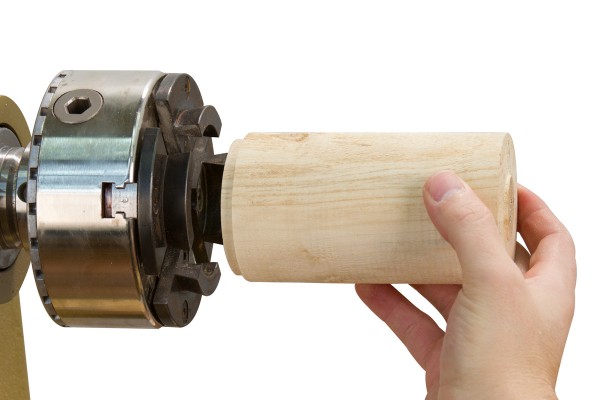
Select a blank 1-3/4″ x 1-3/4″ x 3-1/2″. Use a center finder to mark the center on each end of the blank. Mount the blank on the lathe between centers using a cone center and drive center.
Turning the Blank
Rough down the blank to round using a roughing gouge. Turn a tenon on one end of the blank to fit in the jaws of your chuck. Mount the tenon in a chuck, support the opposite end with a revolving center.
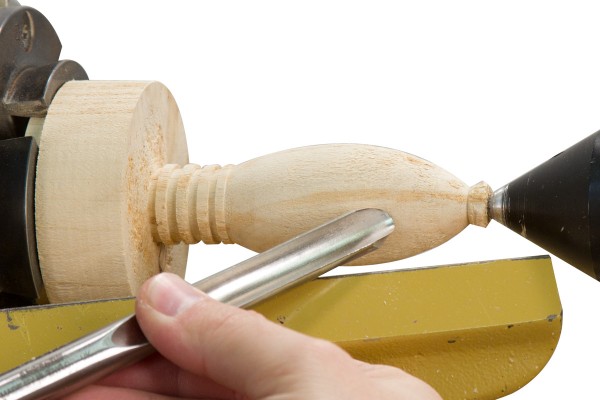
Using a spindle gouge turn the blank to the desired shape. Remove the tailstock and carefully turn away the waste material.
Sanding and Sealing
Sand the ornament through 320 grit or higher. Finish the ornament with your choice of finish. We recommend using Deft Clear Wood Finish to seal and finish the blank. Apply the Deft to the ornament with the lathe stopped using a brush or rag. Apply liberally to the blank and wipe off the excess. Once dry, use a paste wax and Steel Wool while the lathe is running to smooth the deft, to leave a sealed and streak-free surface.
Decorating the Ornament
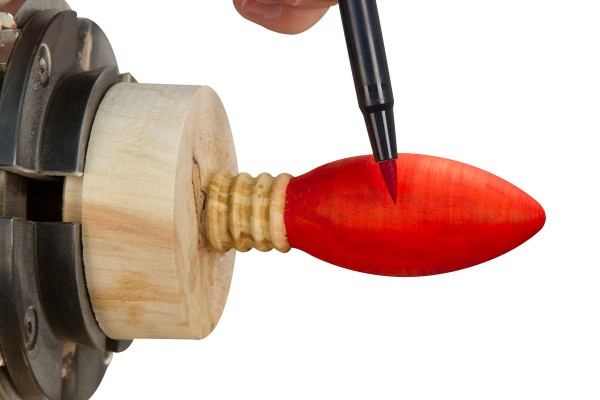
With the lathe running around 500 rpm, color the body of the bulb using a Tombow Marker with the brush tip held in a trailing position below center. You can also use a traditional dye for coloring the ornament body if you choose.
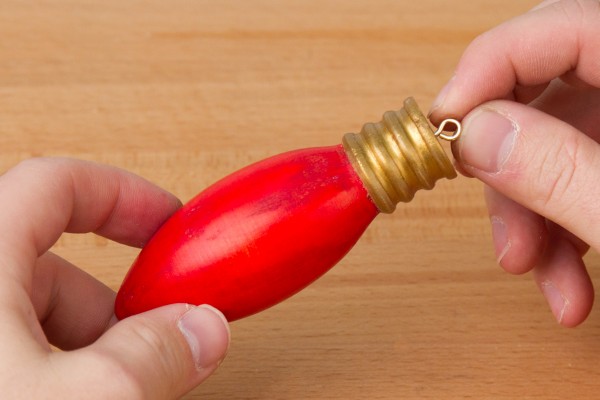
To make the ornament look genuine, use Gilder’s Paste and completely cover the “threaded” portion of the ornament keeping the wax as even and consistent as possible. Let the wax dry for 5-10 minutes, use a clean rag and softly buff the wax.
Hint: Wrap masking tape around the bulb section to prevent the paste from coloring the bulb.
Finishing the Ornament
- Finish the ornament using a spray lacquer.
- With the lathe running, use a parting tool or the long point of a skew and part the ornament from the remaining blank. Sand and finish the end of the blank.
- Drill a 1/16″ dia. hole in the end of the ornament and screw in the eye screw.

Wonderful project. I make them extra special. Put there name on them. Made at least 25 to 50 at Holliday time. I love them
I have done this project in the past , it turns out cool.
But why use such a big piece of stock to start with, start with a 1 x 1 x 3 and do not waste so much tree.
Maybe they were making a C9 bulb. ?
I thought this was a great project. I drew up a quick plan in CAD and made a PDF if you want to have a template to work from. Copy and Paste the link below into your browser and download or print.
https://docs.google.com/open?id=0B4CvUTVZFKTQRlpfS1VpVGRkems