There are a lot of options when it comes to finishing pens, but my favorite, hands down, is the CA pen finish. Nothing shows off your blank better.
CA is short for Cyanoacrylate, which is the chemical name for super glue. A CA finish is made by building up many really thin layers of super glue on your pen, then polishing them to a high-gloss.
It is the most durable finish I’ve found and can be used on virtually all woods, stabilized woods, and even acrylics.
I’ve spent years perfecting my method, and in this article I’ll show you how I apply a CA finish on a wooden pen, but you can use the same process to finish any pen or project.
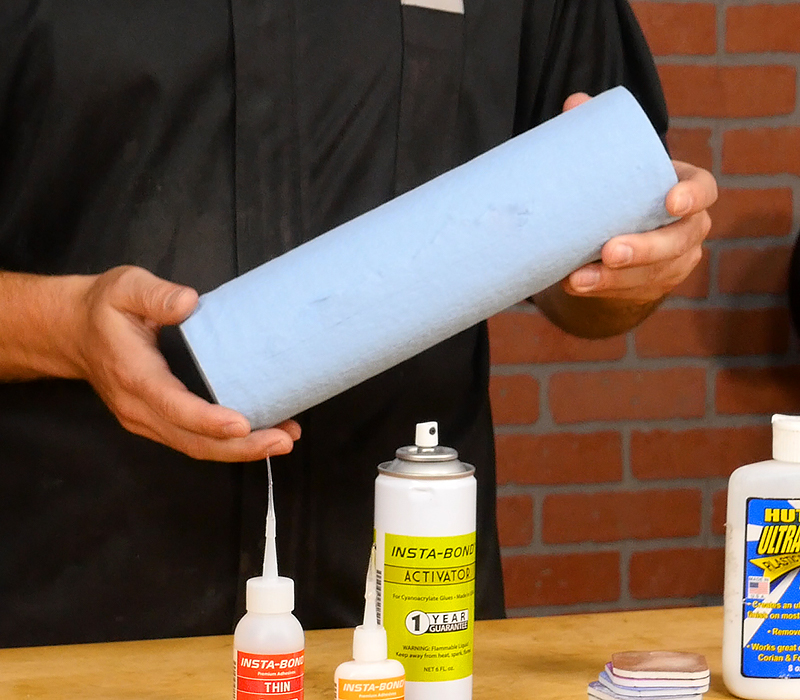
A quick word on selecting the right paper towel. Some cheap paper towels shred during use and leave small fibers in the finish. The absolute best I’ve found are these blue shop towels you can get at most auto departments and stores.
Gloves are highly recommended throughout the process, it’ll save you a lot of trouble later on.
We’ll start with a pen kit that I’ve sanded through 600 grit, but if you need more instruction on turning a pen, then check out our articles: Turning a Pen with Carbide Insert Tools and Turning a Pen with Traditional Tools
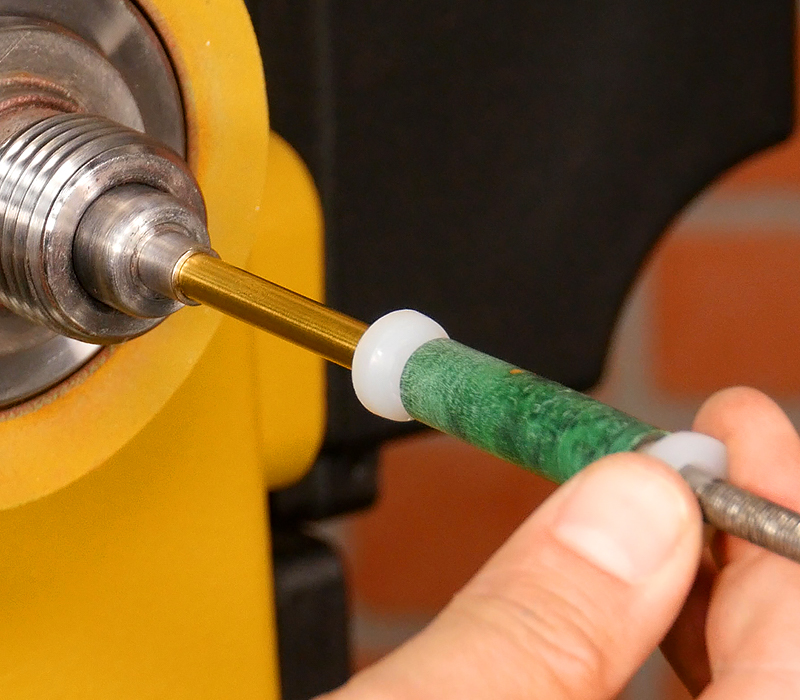
There are two options when mounting the pen on the mandrel. You can use traditional steel bushings, or non-stick plastic bushings. These non-stick bushings won’t get glued to the blank, so we highly recommend them. If you use steel bushings and end up with your pen blanks glued to your bushings, you’ll have to separate them from the blanks, but I’ll show you how when we get to that part.
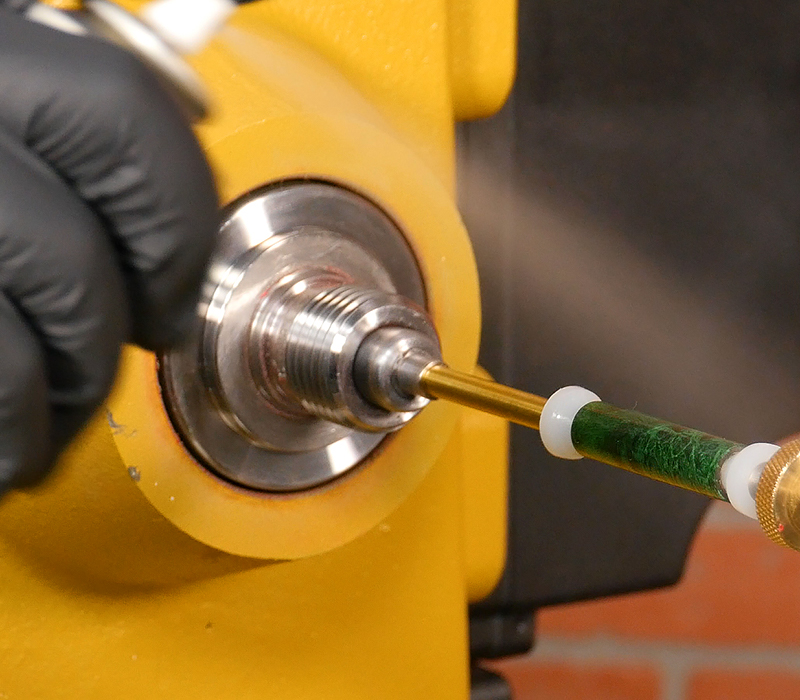
Mount the pen blank on the lathe with the bushings on a standard pen mandrel, then wipe the blank with some denatured alcohol to remove any oil and dust.
With the lathe off, coat the blank in thin CA glue. Thin CA glue is water-thin and will be soaked up by the blank creating a good base layer
Spray the blank with activator and wait a few seconds before moving on.
For the rest of the process, you can use either a thin or medium CA glue. Some people like medium because layers build up quicker, but I prefer to use thin CA because it levels out easier and requires less sanding.
Now turn the lathe down to about 200 rpms, if it is going too fast the glue will cure faster than you can spread it, so keep the speed low.
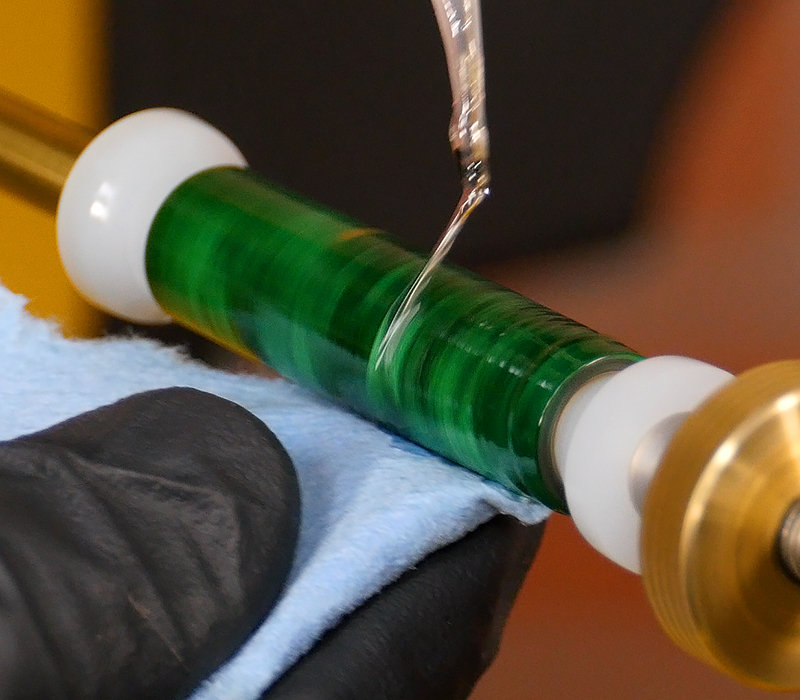
Tear off a small bit of paper towel and place a few drops of the CA on it, then do the same on the blank. Use the paper towel to wipe on the glue and spread it across the blank.
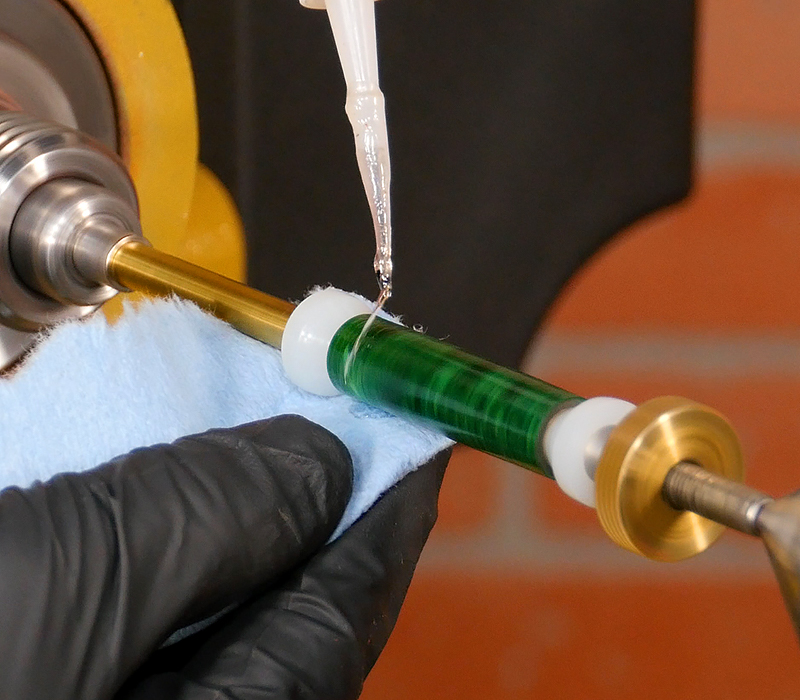
Move quickly and discard the paper towel after smoothing the glue after just one pass.
Now give it a spray or two with activator, then wait for 5 to 10 seconds to make sure the CA is completely dry.
Repeat the process for each coat. I do around 10 coats, discarding the paper towel after each one.
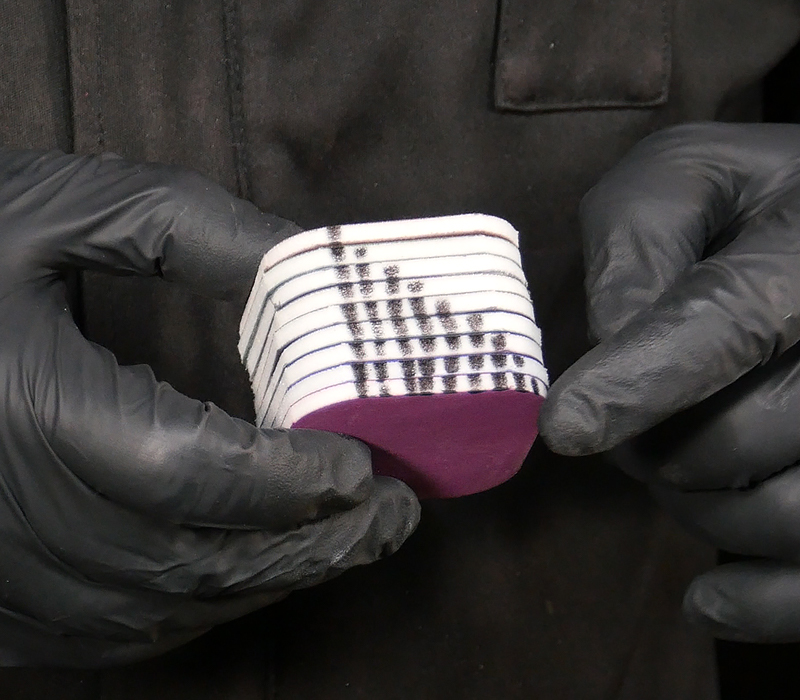
There is more than one way to sand, and I’ve tried them all. My favorite method is with the Micro-Surface Pen Finishing Pads that come in a set from 1,500 to 12,000 grit.
It can be hard to tell the grits apart, so I marked each one when they were new on one side, so I can line them up and proceed in the correct order.
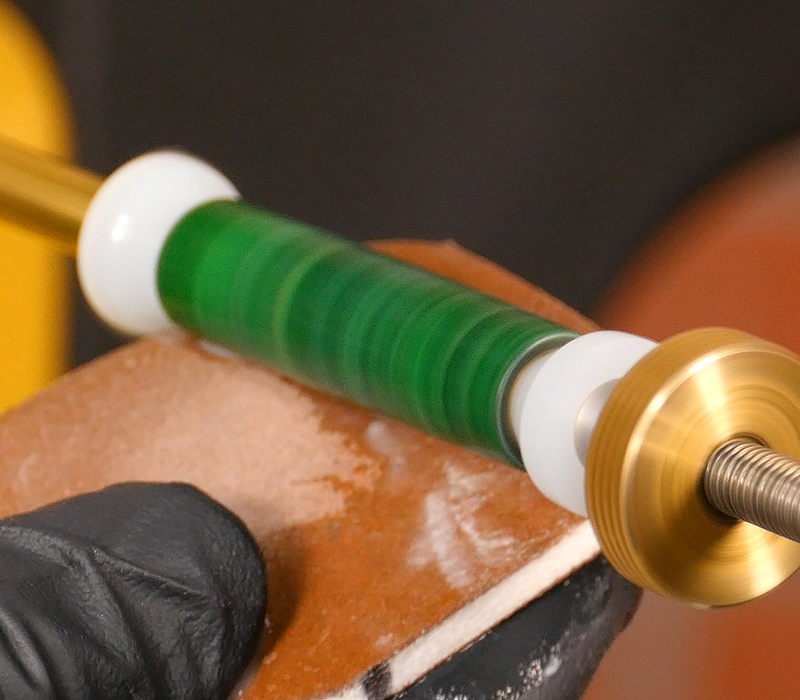
Turn the lathe up to around 500 rpms and grab the first 1,500 grit pad, Dip it in some water and then wet-sand the blank. The pressure should be light enough that the pad doesn’t deform around the blank.
Keep the pad moving and occasionally re-wet it to rinse it off and keep the blank cool.
The goal here is to level out the finish. To tell when it is even, stop the lathe. The dull areas are the high spots that have been sanded and the shiny spots are the low spots.Good lighting is essential here.
Turn the lathe back on and continue with the 1,500 grit until the blank is uniformly matte with no shiny spots. If you get it right with the first grit you won’t need to check for shiny spots on the rest of them.
Before moving on to the next grit use the 1,500 grit pad to sand laterally to get rid of the radial scratches caused by sanding on a lathe
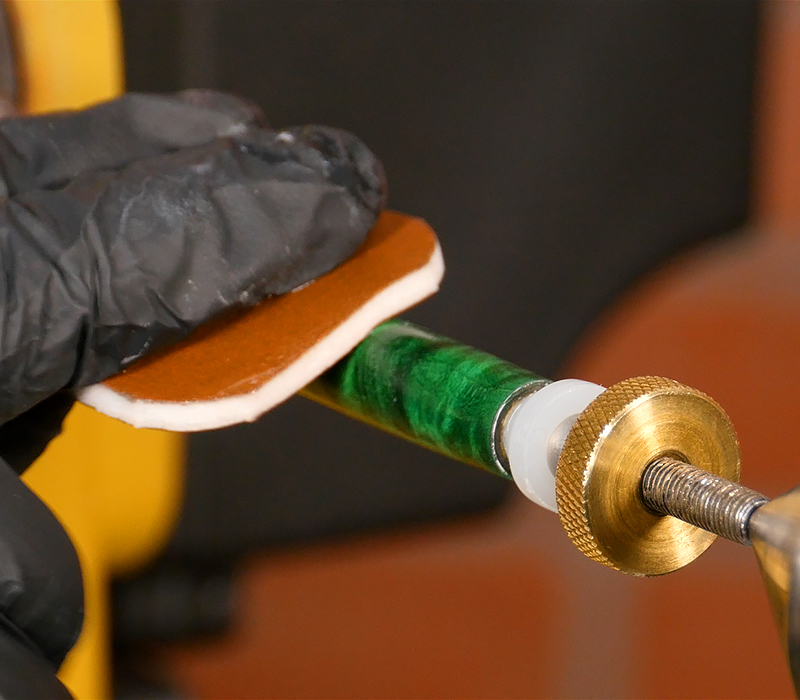
Now continue the process, using the same technique with each grit. Wet sand with very light pressure, then stop and sand laterally between grits
This part of the process is crucial for a good finish so take your time, sand longer with the low grits since the higher ones are more for polishing than removing material.
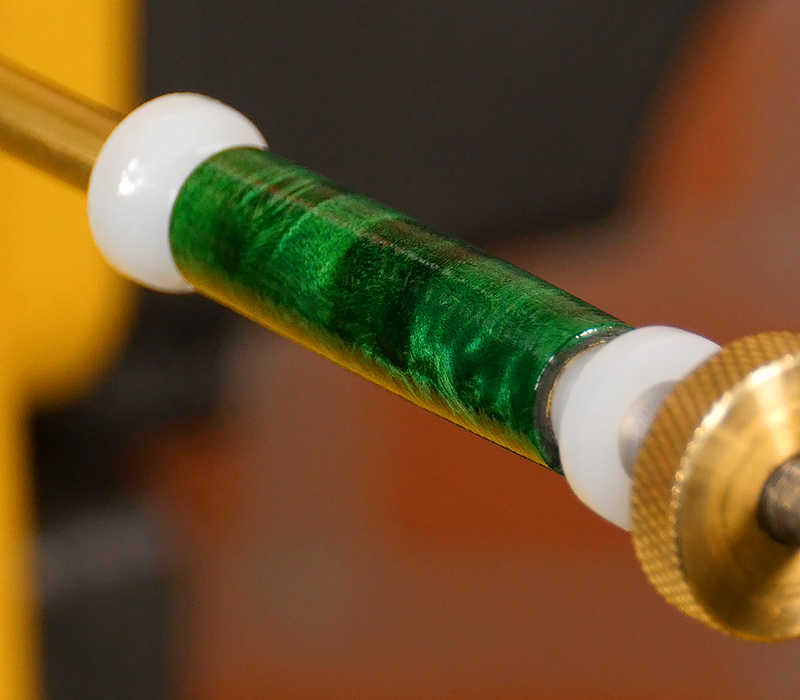
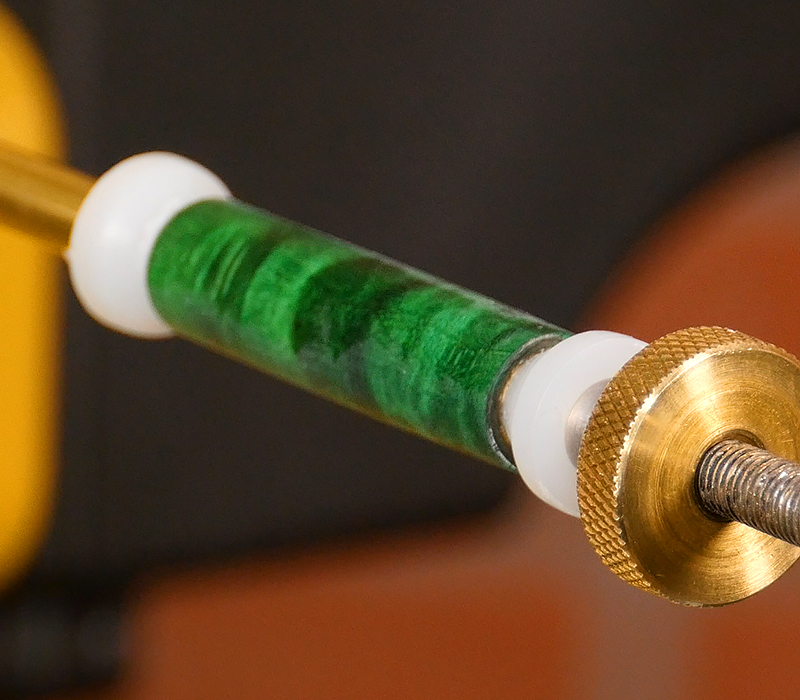
The blank will become clearer as you go, and the last few grits will polish it to a very high sheen.
Work your way through, wet-sanding with all the grits, ending with the super-fine 12,000 grit.
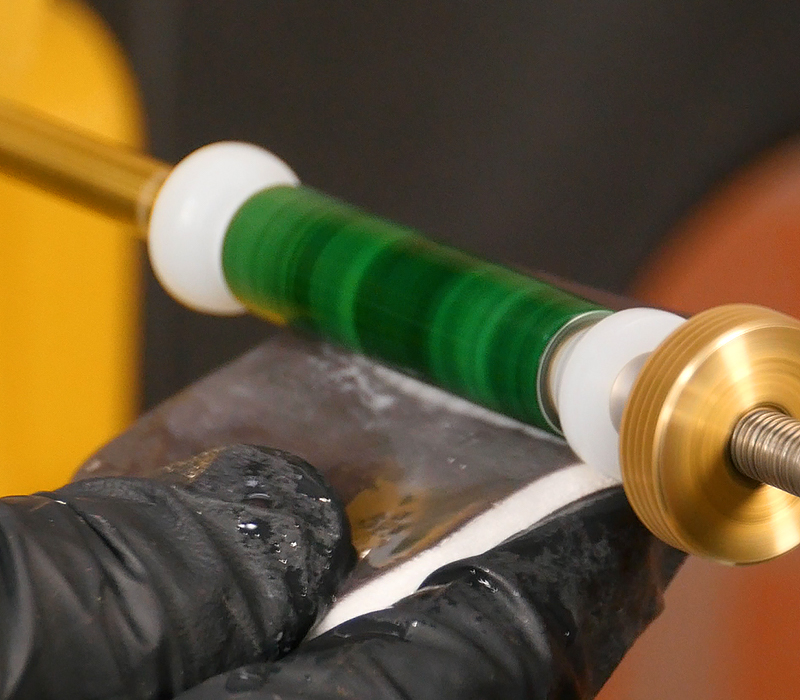
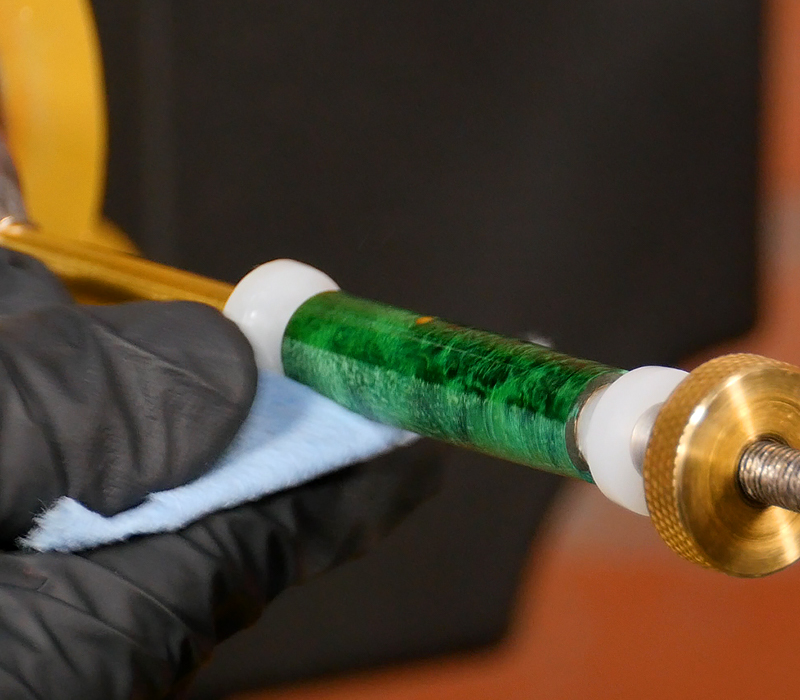
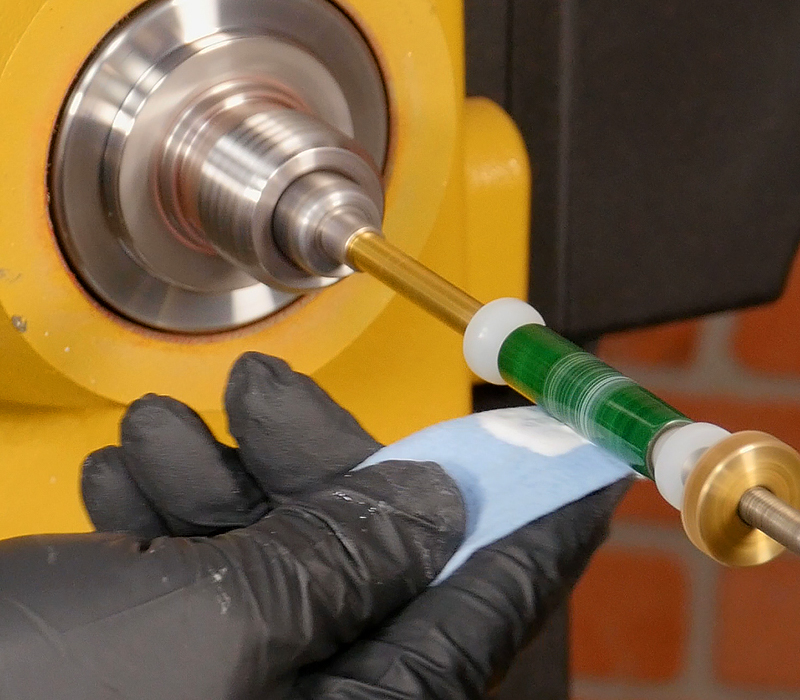
Now we’ll apply Hut Ultra Gloss Plastic Polish. Apply with a clean cloth while the lathe is off, then buff with the lathe running at 3,200 rpms.
Once that is done, remove the blank from the bushings. If you are using standard steel bushings and find the blank and bushings are glued together, try gently rocking the bushings on the blank until it breaks free.
If that doesn’t work, remount the blank on the mandrel and use the tip of a skew to score the glue where the blank and bushings meet and then try separating them again.
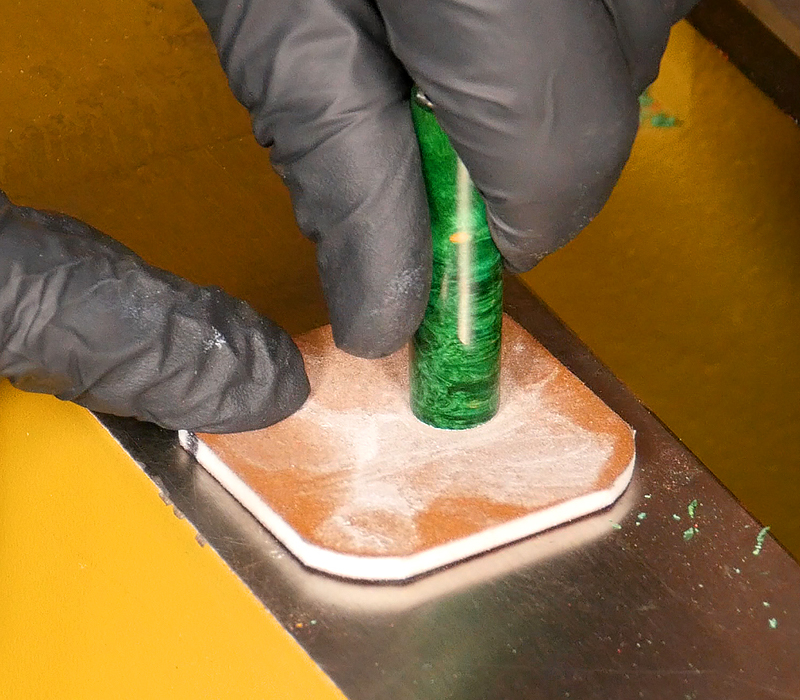
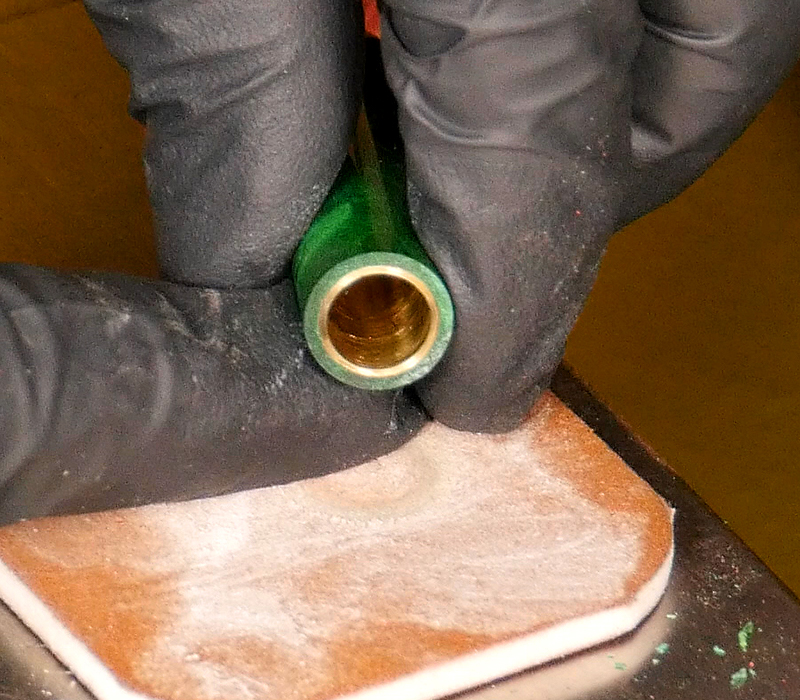
Once the bushings are free you may still have a little glue extending beyond the end of the blank and this is easily fixed.
Place the 1,500 grit pad on the table and gently twist the end of blank into it. I recommend doing this to each end, even if you don’t think you need to. If there are unseen protrusions of glue the finish will chip and flake when you assemble the pen.
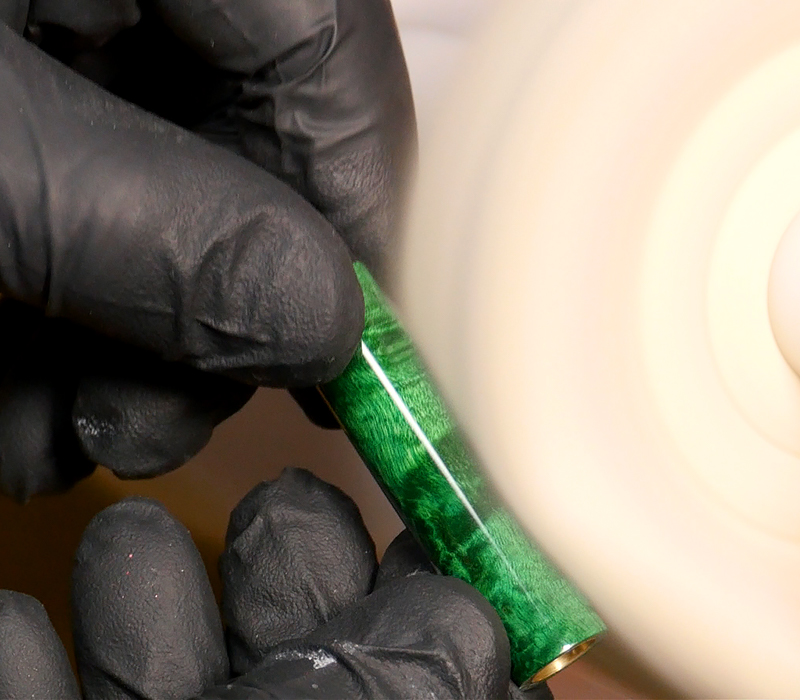
You can stop here, but if you want the best finish possible there is one optional step – buffing. I’m going to buff it now with the Acrylic Buffing Mandrel.
Load the left wheel with a little of the included compound, then hold your blank to the spinning wheel with the lathe at 750 rpms. For the best control buff the blank in a vertical position.
Buff until all of the scratches are gone, then move on to the cotton wheel for final polishing.
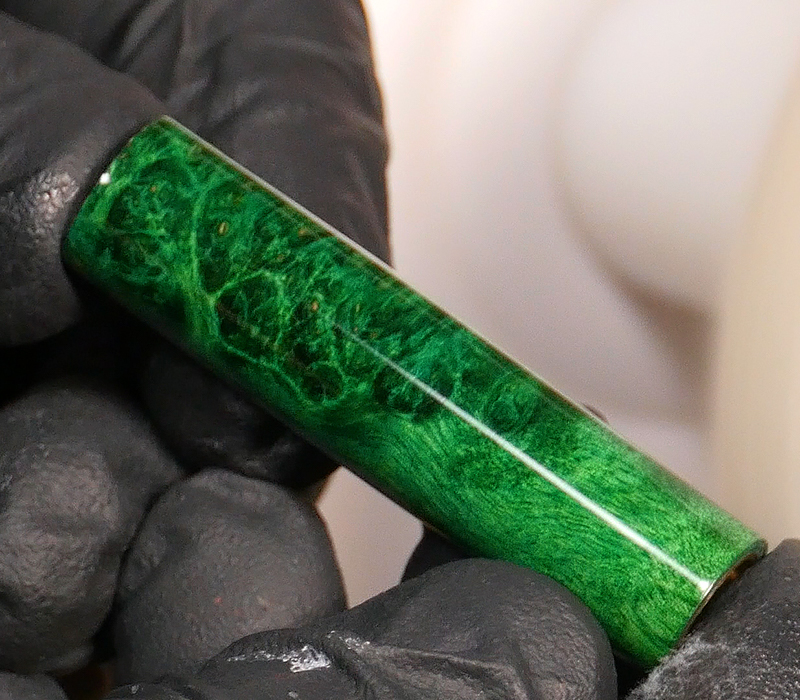
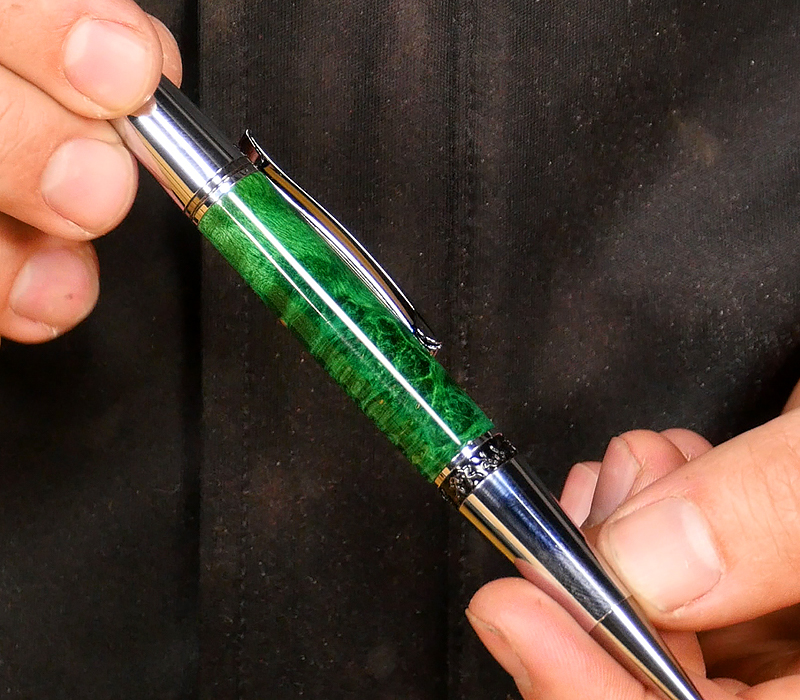
After buffing, the finish is done and it’s time to assemble the pen.
Now the fun part – admiring your finished pen! A good CA finish is incredibly durable and showcases your turned blank better than any other finish.