Pen turners often experiment with new designs and techniques to help make their pens stand out from all the others. Complicated designs and techniques can take years to master and can discourage beginning pen turners.
One way to give a pen a custom look with a minimal amount of extra effort is to use a closed-end mandrel when turning. With a closed-end mandrel, even the “greenest” pen turner can create a custom pen or project using a standard kit without learning complicated techniques. Closed-end mandrels give you the option of leaving one or more ends of the project “closed” which means that it has a solid wood end. This technique opens up a whole new realm of possibilities by allowing you to create custom shapes and sizes.
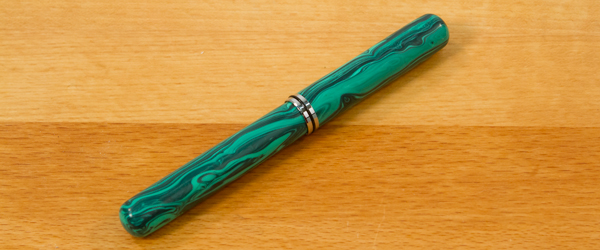
We are going to turn a closed-end pen using a Jr. Gentlemen’s pen kit. It’s a very popular pen style that lends itself well to closed-end mandrel designs. For this Jr. Gentlemen’s pen, we’re going to use a Tru-Stone Malachite pen blank. It drills and turns easily and will look great when paired with a Jr. Gentlemen’s pen kit.
Preparing the Blanks
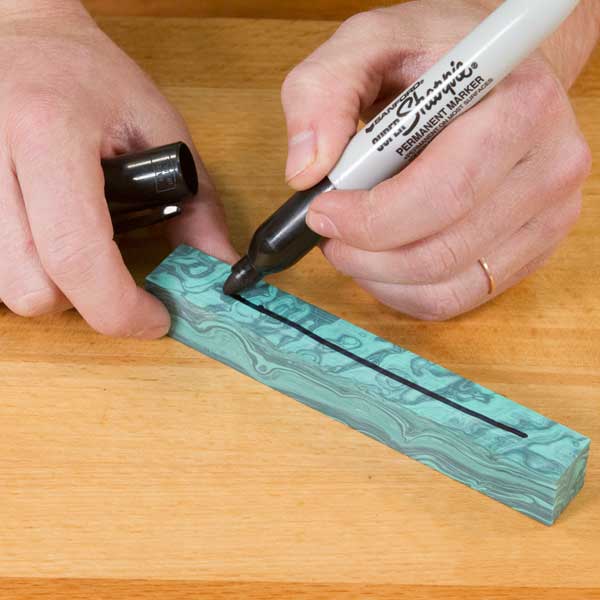
To prepare the blank for drilling, mark a line across the blank providing a visual reference to maintain proper grain alignment. Because this pen will have a closed-end on each end of the pen, we need to cut each blank 1/2″ longer than the respective tube. The extra material is what provides the ability to leave the solid or closed-end on the barrel when turned. If you’re turning a Jr. Gentlemen’s rollerball pen, the lower section blank will need to be even longer to accommodate the rollerball refill.
Drilling the blanks
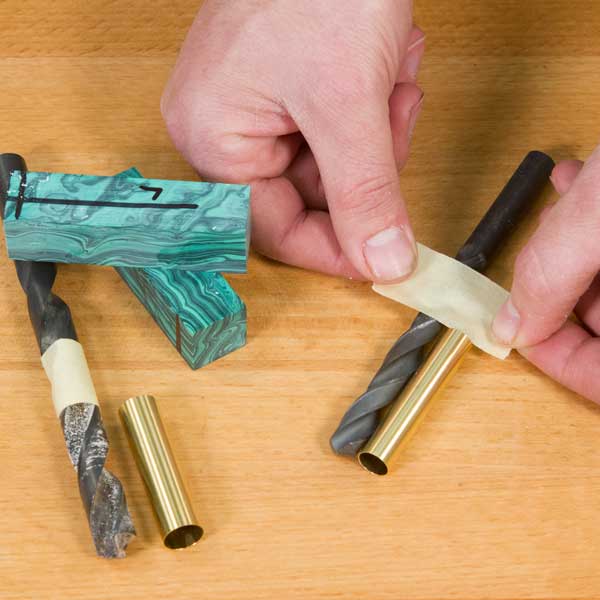
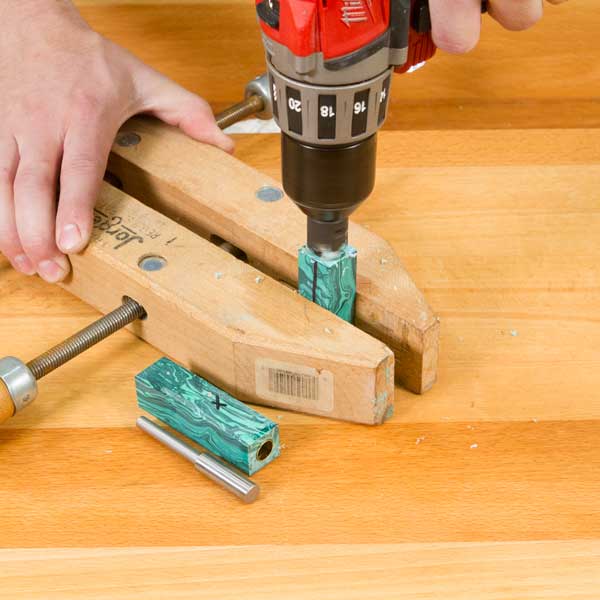
Before we drill the blank, we need to measure the length of the tube to be used and transfer this measurement to the drill bit by wrapping it with masking tape. The masking tape acts as a visual reference on how deep to drill the blank.
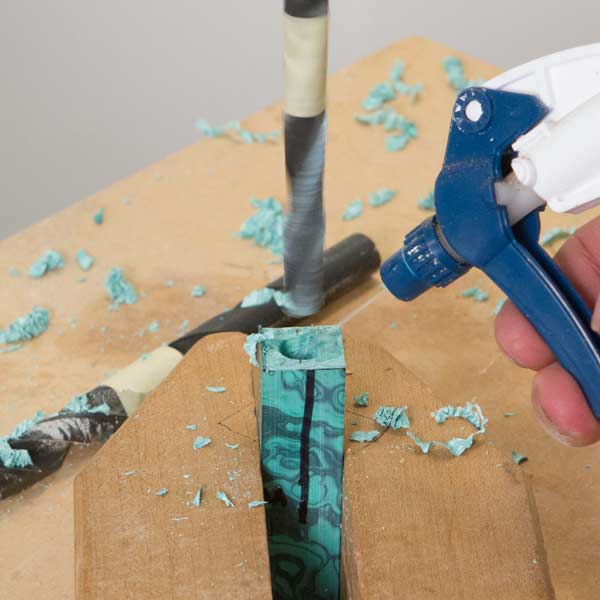
A popular technique that helps prevent cracking of pen blanks when drilling is to spray the drill bit and blank with a little water to help act as a coolant and lubricant while drilling. Give it a try, it really works! Go ahead and drill the blanks as described making sure to drill slowly while clearing the drill bit frequently.
Gluing the tubes in the blanks
Once both blanks are drilled to the correct depth, let’s glue the tubes in using CA glue or epoxy. Once the adhesive has dried thoroughly, we’re ready to square the ends of the blanks using a barrel trimmer. This is a critical step in creating a pen that doesn’t have gaps between components when pressed together. A barrel trimmer does two things, it squares the end of the blank and removes glue residue from inside the brass tube. In most cases, we can’t use a standard barrel trimmer shaft as it’s too long to fit into the blank. For this reason, we’ll use a Whiteside Stubby Pen Mill that will allow us to barrel trim without bottoming out.
Closed-End Mandrel Setup
Because closed-end mandrels depend on very tight tolerances for holding the brass tube/blank securely in place while turning, using a properly sized closed-end mandrel is critical.
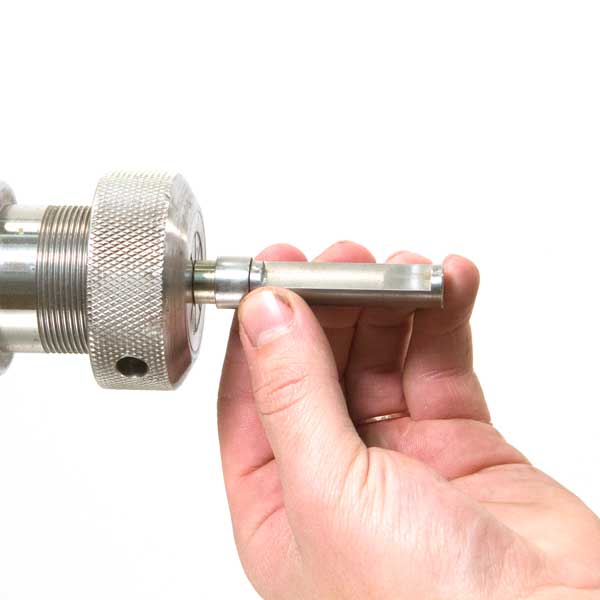
Before we mount the closed-end mandrel on the lathe, we need to place the correct sizing bushing on the small end of the mandrel. The sizing bushing represents the final barrel size. Be sure to stop the lathe often to check the barrel size as you go. You know, the “measure twice, cut once” concept.
Now that the sizing bushing is on the mandrel, go ahead and mount the mandrel in a collet chuck or a drill chuck. Place the roll pin in the center of the milled area on the mandrel and slide the blank onto the mandrel until it rests against the sizing bushing. Position a revolving center with a cup point against the end of the blank for support while turning. Using the tailstock for support whenever possible is a good policy as it provides much needed stability and eliminates vibration too. Now that we are ready to turn, lets get to it!
Turning a Closed-End Jr. Gentleman’s pen
Before we begin, throw on a face shield and dust mask for protection while you turn. Turn your lathe on and set it to about 2500 RPM.
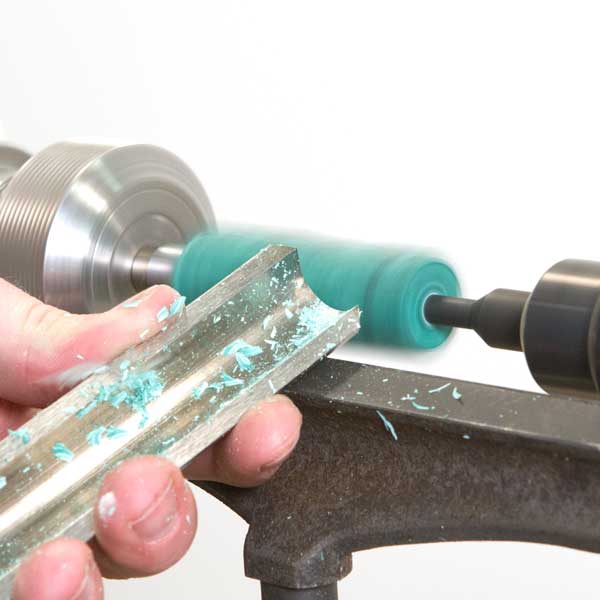
We’ll use 3/4” roughing gouge to bring the square blank to round as it will make quick work of the Tru-stone. However, you’ll need to sharpen frequently as Tru-stone will dull the cutting edge fairly quickly. If you don’t have a 3/4” spindle roughing gouge to rough the blank down to round, you can use a standard 3/8” spindle gouge which is also what we’ll use for final shaping including detail work as needed. Be careful when you’re turning to not turn through the side wall of the pen.
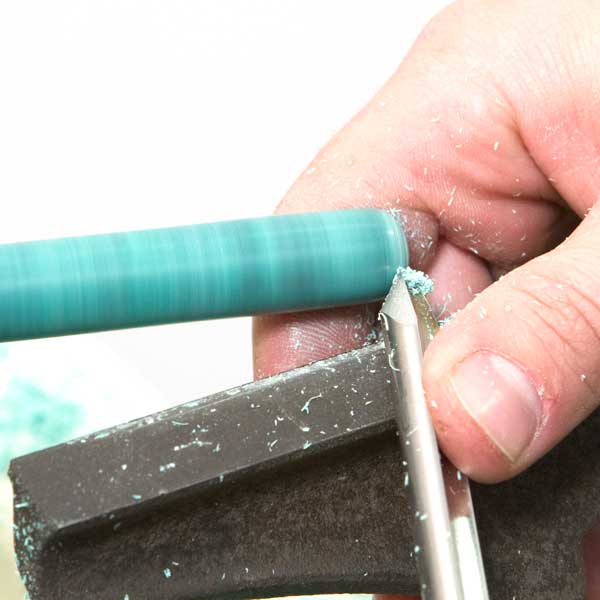
Once you have the pen barrel turned to shape with the open end slightly larger than the sizing bushing, remove the tailstock. Carefully turn away the waste material then complete the final shaping on the end of the blank. Here’s a helpful tip- Use your free hand to gently support the work while you cut with the other. A small amount of pressure will help eliminate chatter and improve control. Now we’re ready to sand and polish!
Sanding
To get a final finish that’s beautiful and soft to the touch, we’ll use the following process for sanding and finishing.
Lets start sanding with 180 grit sandpaper. Use a bit of water or walnut oil on the sandpaper to keep the blank cool while you sand. If the sandpaper gets too hot to hold, it’s a sign that you’re applying too much pressure. Wet sand using light pressure to prevent overheating as this can cause checking on dense grain woods like ebony and pink ivory.
When you’re ready to change grits, stop the lathe and sand the barrel lengthwise to remove any circular sanding scratches. This process is tedious, but is definitely well worth the effort when you’re done. We want to sand through 600 grit in order to have the right surface prior to polishing.
Polishing
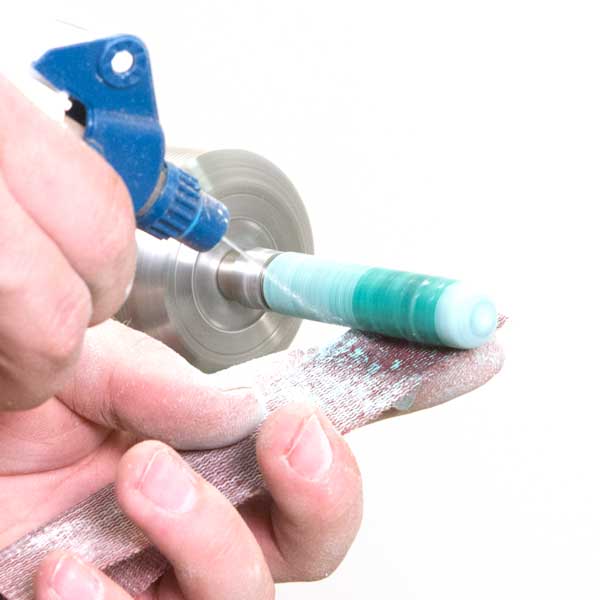
Now that the barrels are ready for polishing, we’ll get started using Micro Magic polishing wax. It’s a wax based 3-step polishing system that’s fast, easy to use and produces a flawless finish on plastics and similar materials.
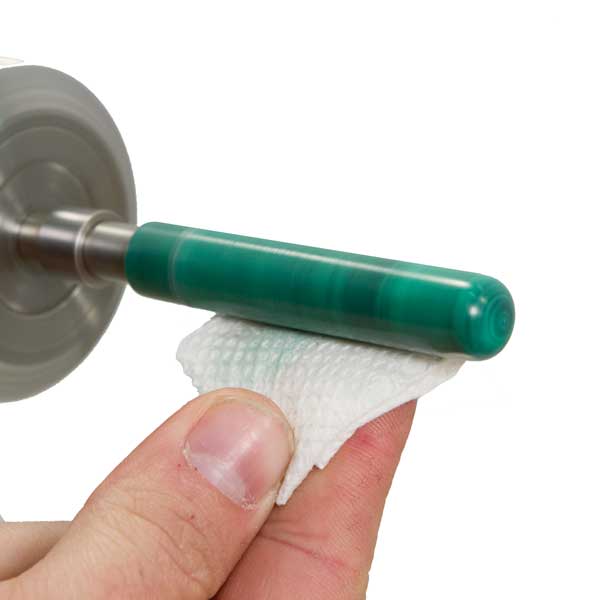
Using a soft paper towel, apply a small amount of Micro Magic Step 1 (red jar) and begin polishing the blank. You may need to apply a small amount a couple of times in order complete the polishing process before moving onto the next step. Once the blank is polished, use a clean paper towel to buff the blank and remove any remaining polish.
Repeat the polishing process using Micro Magic Step 2 (white jar) and Micro Magic Step 3 (blue jar). When we’re done polishing with Step 3, we’ll buff the blank with a paper towel and we’re done! Now, lets assemble the pen and see how it all comes together.
Assembling the Jr. Gentlemen’s Pen
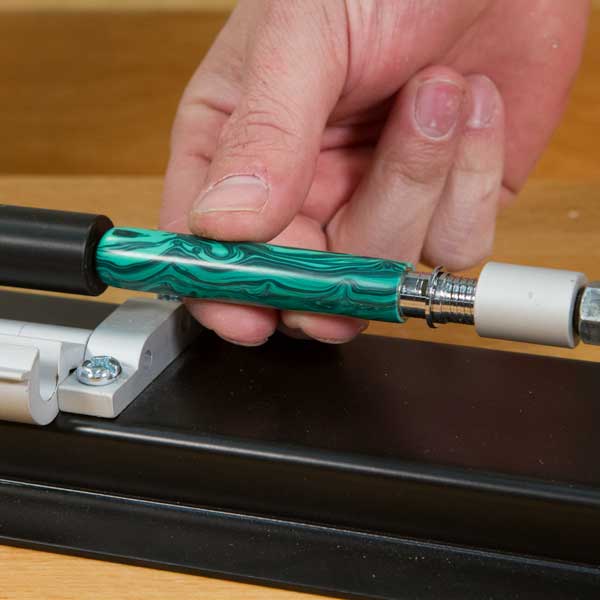
Assembling a closed-end Jr. Gentlemen’s pen is easy, just follow the instructions provided with the pen kit. Don’t get in a hurry! We need to be very careful when pressing pen parts into the turned barrels. It’s critical to make sure the fittings are properly aligned with the barrel so that they press in straight. Attempting to press parts together that aren’t properly aligned will result in a cracked or ruined barrel and possibly a few choice words, especially when using hard materials or plastics.
We’ve finished our closed-end Jr. Gentlemen’s pen! If all went according to plan, it looks great and we have a good understanding of how to use closed end mandrels to open up a world of possibilities! Try this technique with segmented, stabilized, or unique pen blanks for endless combinations.