
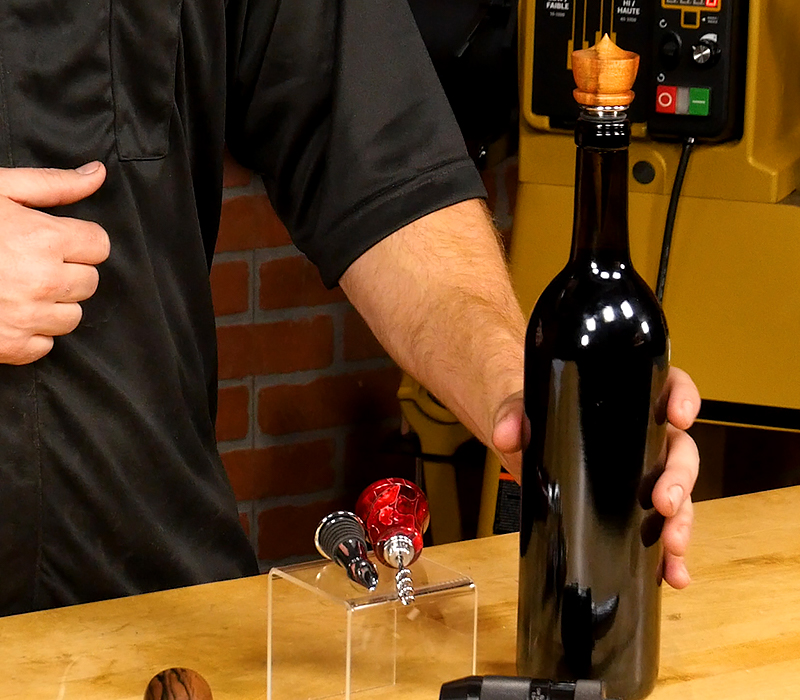
Bottle stopper kits come in a variety of shapes and styles, and all turn very easily. Most of these bottle stoppers are turned using just a drill chuck, mandrel and bushing. That’s what we’re going to turn today.
Bottle Stopper Usage and Wine Storage
Bottle Stoppers are to be used for display purposes only and should never be used to store wine for long periods. They’re just used to highlight the wine and keep it fresh and clean once it’s been opened. Once your bottle has been opened, plan on drinking it, because after it’s exposed to the air, most will spoil in only a few days.
And when you do use your bottle stoppers, it’s always a good idea to stand them upright. Even though the stoppers have silicone to prevent leaks, it doesn’t mean all bottle necks are created equal. Most won’t leak, but don’t take any chances and store the bottle upright if possible. Also, wine will corrode the stopper’s plating surprisingly fast, so that’s another reason to leave your bottles upright. We do offer a stainless steel bottle stopper that won’t corrode, but it’s always good practice to store your bottles upright.
Prepare the Blank
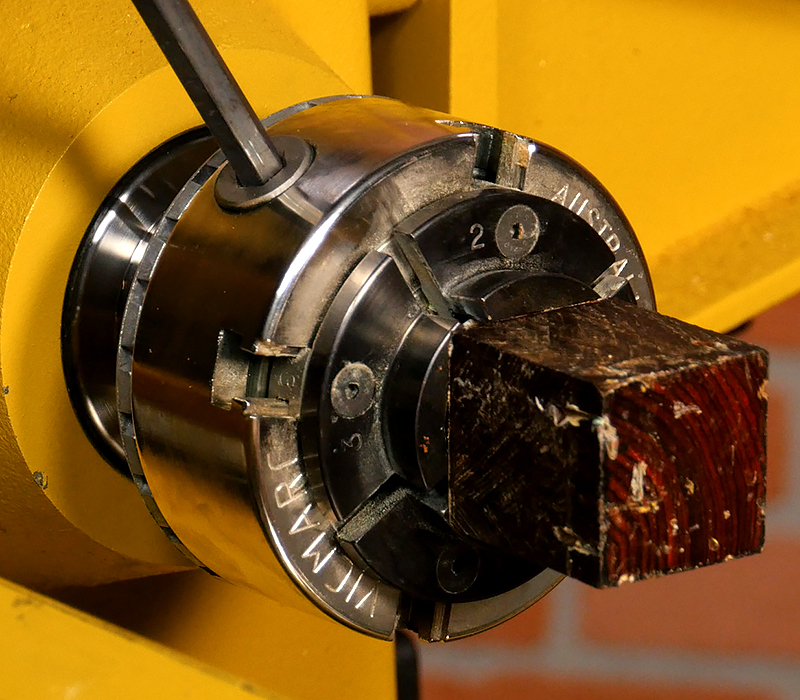
Prepare the blank for drilling by mounting it in your chuck and setting the lathe speed to about 2,500 rpm.
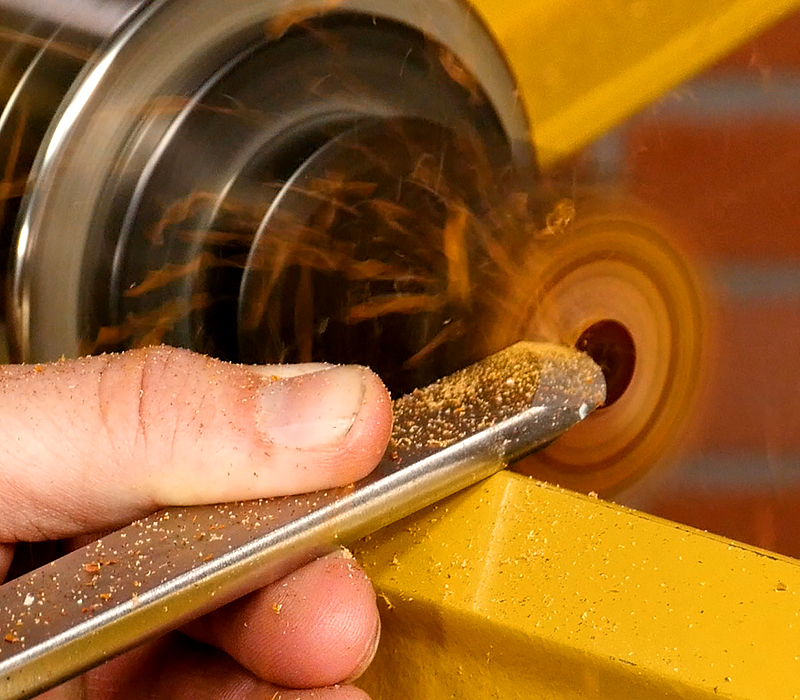
True the end of the blank with a skew, then create a dimple for the drill bit to center itself.
Drill and Turn the Blank
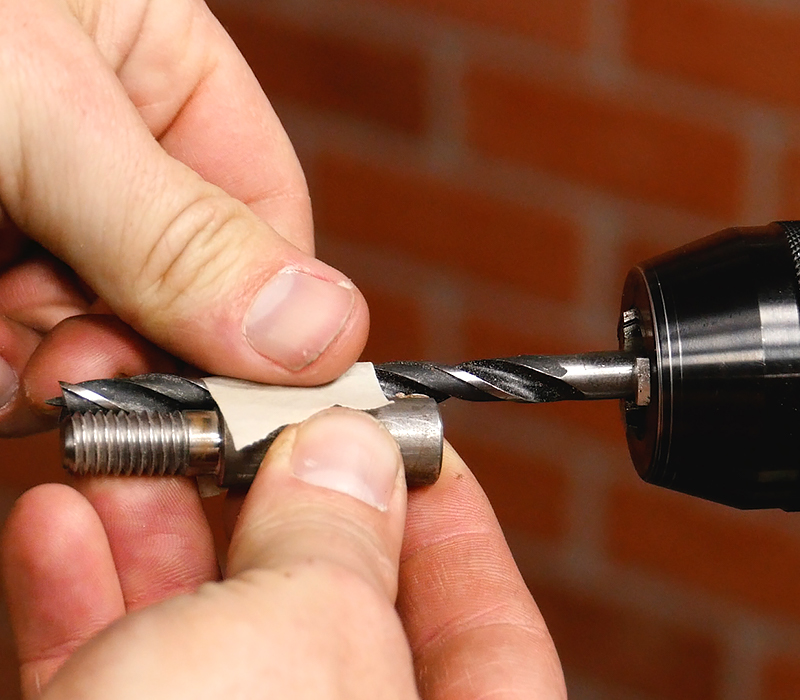
Now that the blank is prepped, let’s talk about using the right size drill bit for the 3/8” tap. For most hardwood and acrylics, an 11/32” bit is perfect, but if your wood is on the softer side, go with a 9/32” bit.
Measure the length of the mandrels stud and add an 1/8” of an inch to be sure you’ll use all the threads, then mark the depth with some tape.
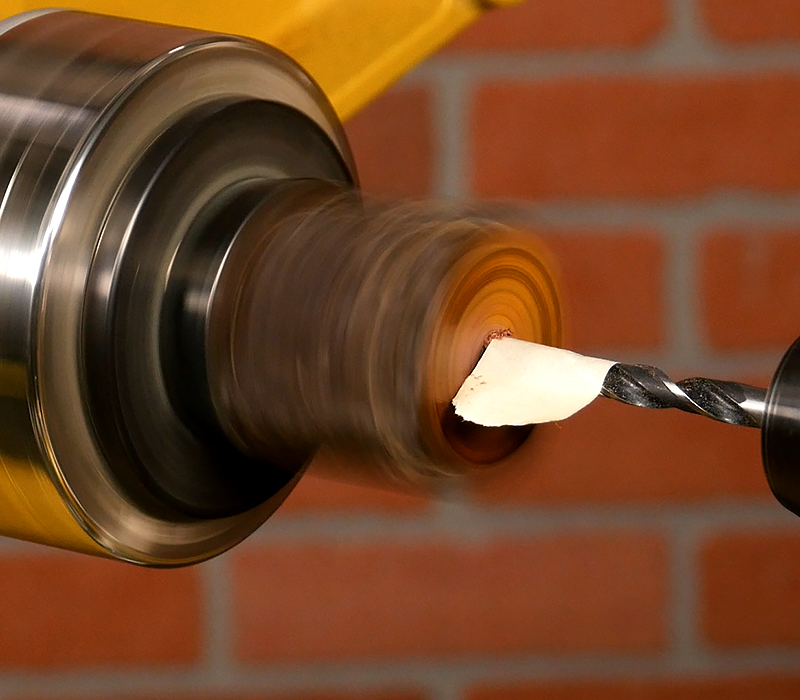
Now place the bit and drill chuck in the tailstock and set the lathe slower to about 750 rpm to prevent heat build-up. Advance the bit slowly until you reach to the tape mark.
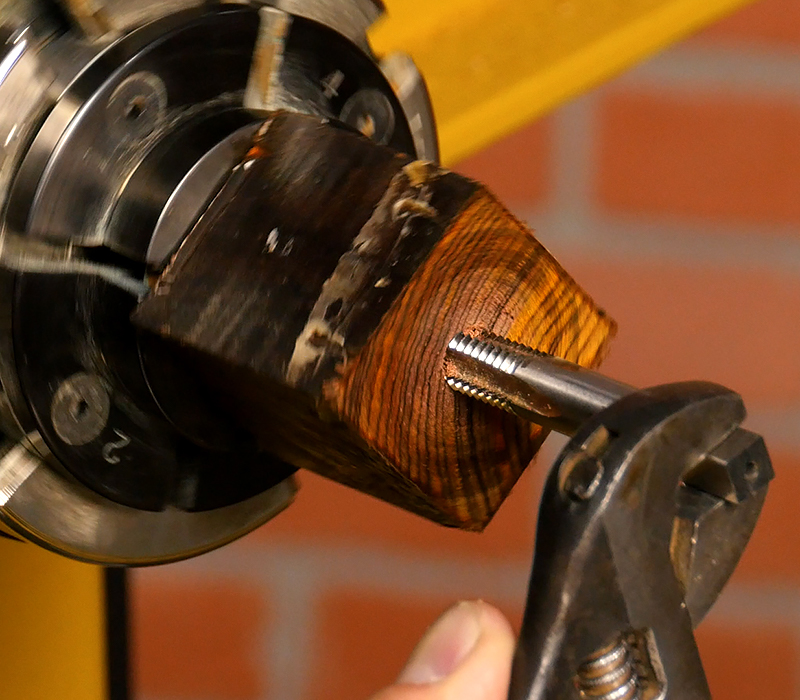
Now we’ll tap the threads. I find it easiest to leave the blank in the chuck for this. Use a wrench or tap handle and advance the tap one turn, then back out a quarter turn to relieve the chips. This technique is a slow, steady process, but it’ll produce the best results. Keep going until the tap bottoms out.
If you’d like more detailed instruction on threading and tapping, see our blog post: Threading Wood and Acrylics.
Once you’ve tapped the blank, mount the bottle stopper mandrel and bushing on your drill chuck on the headstock end. Lightly thread the blank onto the mandrel. Remember, the threads are delicate, so don’t over-tighten. Then advance the tailstock for added support.
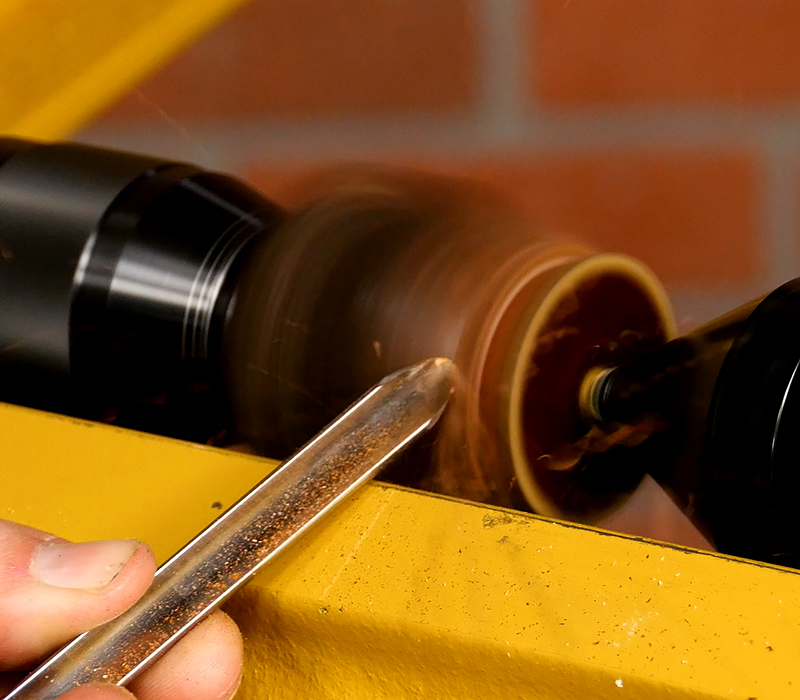
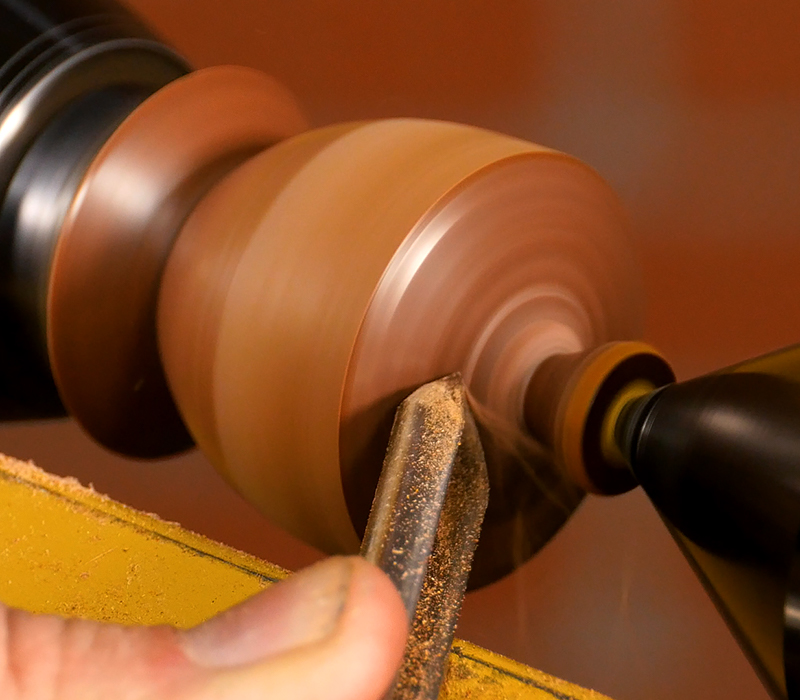
Set the lathe to about 2,500 rpm and turn the blank to round using a spindle roughing gouge. Don’t forget to take light cuts here, because you don’t want a catch that can damage your threads.
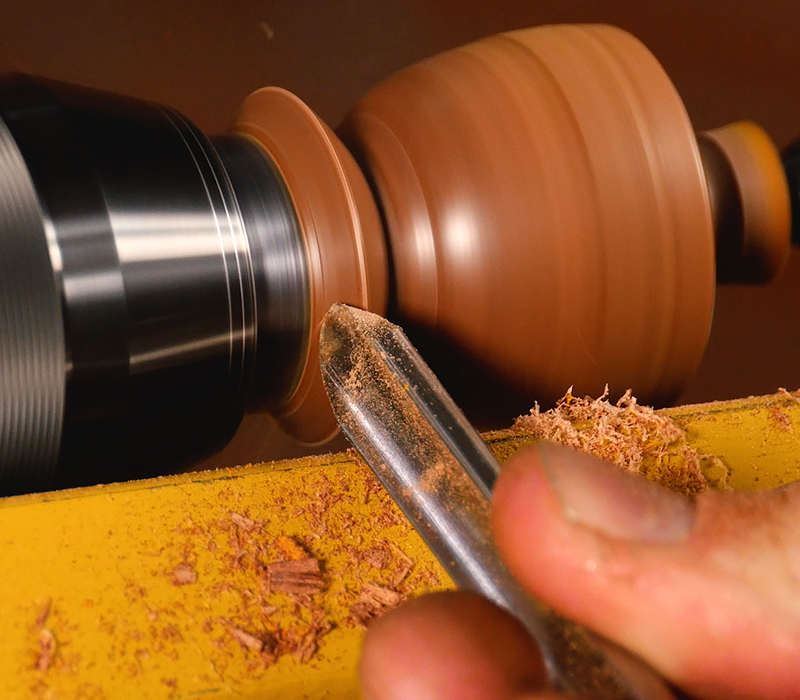
Now turn the bottle stopper to your desired shape. I really like traditional shapes, but this is all up to your imagination. And as for the bushing, it is a sizing gauge, but you don’t have to be precise here like pen kits require. It’s just a guide to help you see what the stopper will look like when it’s complete.
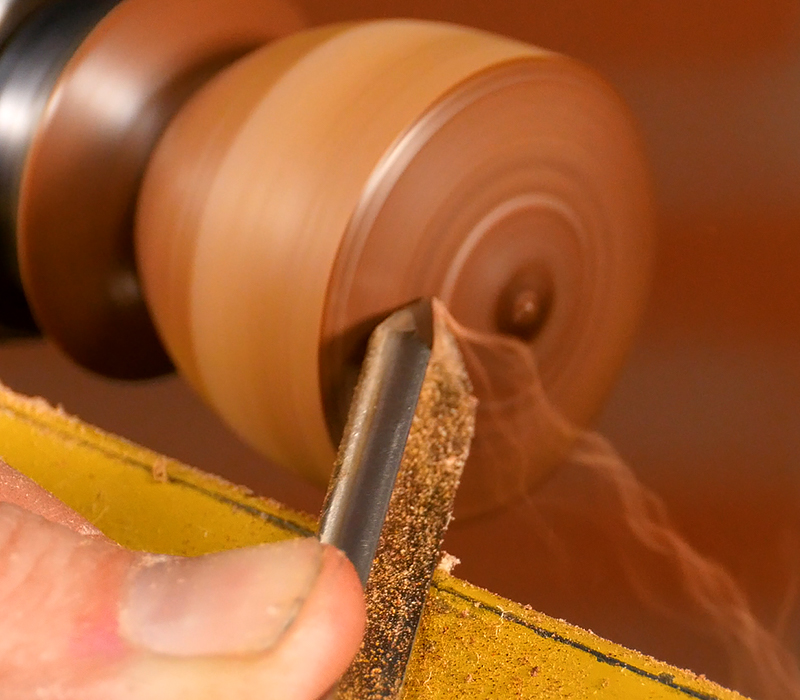
Once you’ve got your shape, remove the tailstock and lightly turn the top of the stopper to its final shape, making sure to take light cuts here, because a catch could damage the threads.
Sand and Finish the Blank
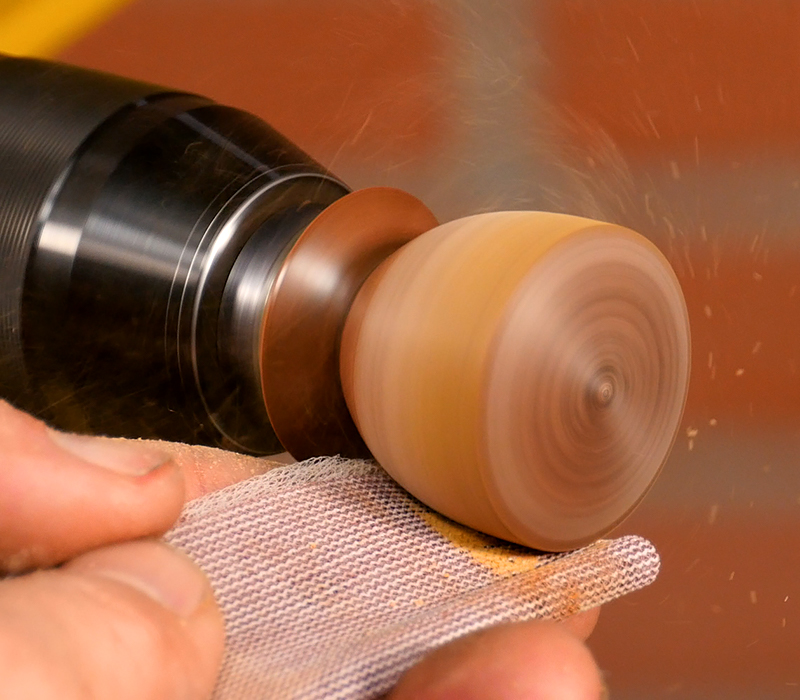
Now sand the blank through 600 grit with the lathe set slower to about 750 rpm again. This will help us avoid some heat build-up from the sandpaper. Abranet sanding screens are ideal as they cut quickly and do not load like traditional papers. When it does, a simple flick of the finger will clear it out.
I’m going to apply a waterlox finish on this bottle stopper, because it’s easy to apply and can handle a lot of use. Start by wiping the stopper clean, then un-thread the stopper just a hair, so you can finish the bottom too. Apply a coat of waterlox with a clean rag, then wipe off any excess and allow one hour to dry. Then apply a second coat of waterlox, wipe away the excess and give this coat 24 hours to fully cure.
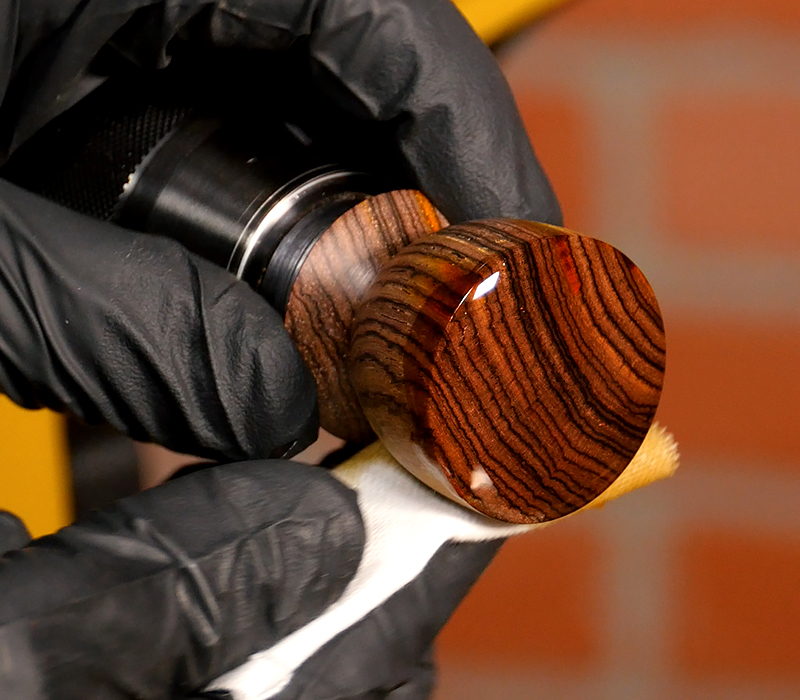
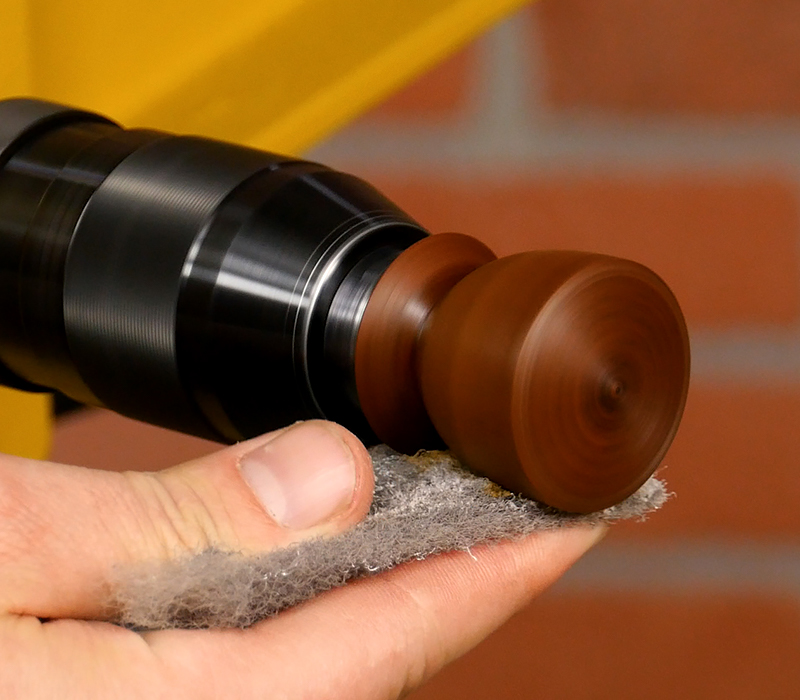
Once cured, use a synthetic steel wool pad or steel wool with some paste wax, for a smooth, close-to-the-grain finish.
Assemble the Finished Stopper
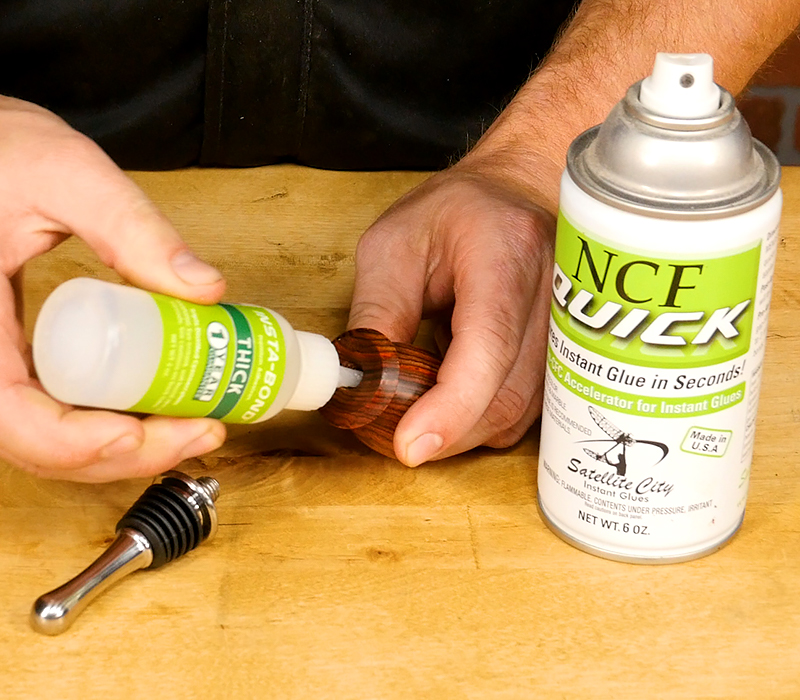
Carefully unthread the stopper and we’ll finish up at the table. I always use CA glue or epoxy when threading the bottle stopper together for an extra secure fit. It’s not necessary, but I like my projects to last.
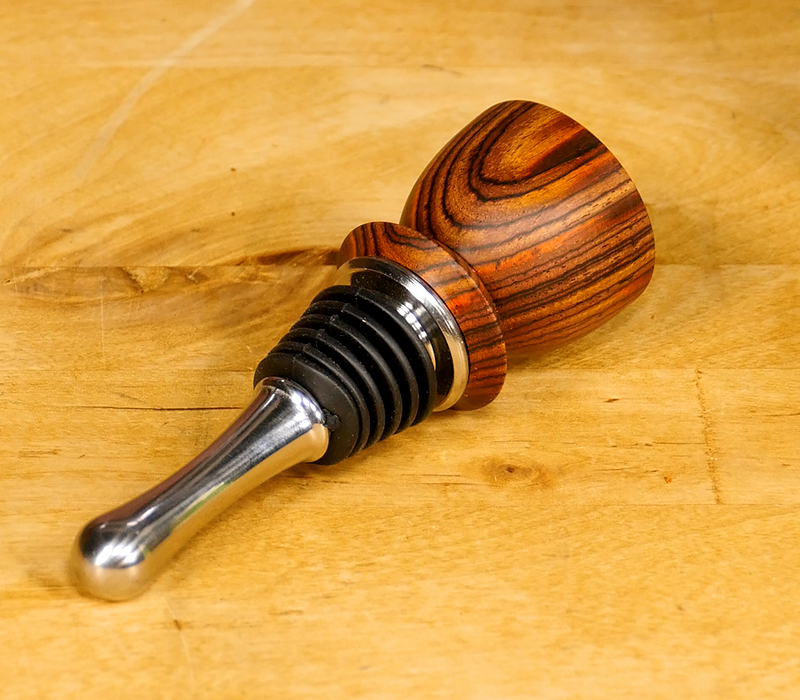
Apply a little bit of glue on the inside of the threaded hole and slowly thread on the stud. Once the glue is dry, simply thread on the droplet, completing the bottle stopper.
One thing to note here is that most of our bottle stopper studs have a double-ended thread design, so even though one end is glued in, you can still swap or clean your bottle stoppers easily. That’s a really cool feature because you’ll never risk wearing out your turned threads.
Supplies Used:
Bottle Stopper
Bottle Stopper Blank
Chuck and Jaws
3/8″ Tap
1″ mandrel and Bushing
Spindle Roughing Gouge
3/8″ Spindle Gouge
1/2″ Skew Chisel
Drill Chuck
11/32″ Drill Bit
Revolving Center
Abranet Sanding Screens
Waterlox
Mirlon Synthetic Steel Wool
Paste Wax
Thick CA Glue
It is nice to see the project develop with such detail and helpful commentary. Thank you!
great! video
Very nice. Great video. Wil look for more.
Love all the how-to videos, always very helpful, thank you.